Read time 9 minutes
A SharePoint site collection includes all of your sites, lists, content, and templates, which makes it the most crucial part of your SharePoint environment. But there are certain circumstances in which you might need to migrate your site collection from one content database to another. For instance, if a site collection outgrows the content database on which it resides, then you need to move it to a larger content database. Also, you can move small site collections in different content databases to a single content database for ease of management.
In this article, we will discuss how you can migrate a site collection from one database to another with PowerShell Commands. Also, we have provided an alternate solution to migrate SharePoint site collection from one content database to another.
Before beginning the migration, make sure that the following conditions are true:
Also, it is necessary to analyze the size of the source site collection because the auditing data is also copied while moving the site collection. If the auditing data is large, you can archive and trim the audit data using PowerShell.
To find the size of a site collection, run the below command in SharePoint Management Shell:
$used = (Get-SPSiteAdministration -Identity <http://ServerName/Sites/SiteName>).DiskUsed
Also, make sure that the destination content database has enough space to accommodate the source site collection. It is recommended to have a free space three times the size of the site collection.
To move the site collection, you need to use the Move-SPSite command in PowerShell. Using this command, you can move a single site collection as well as multiple site collections to a new content database.
To move a single SharePoint site collection, you need to have the following memberships – securityadmin fixed server role, db_owner fixed database role, and the administrator group.
You need to have the same memberships as mentioned above to move multiple site collections from one content database to another.
Using these commands, you can easily migrate site collection from one content database to another. However, there is another method to migrate site collection from one server to another – using the backup and restore of the SharePoint site collection.
With the backup & restore method, you need to backup SharePoint Site collection using PowerShell, and then restore the Site Collection to SharePoint Server with the same technique. However, using Move-SPSite, as described above is the easiest way to move site collections from one content database to another.
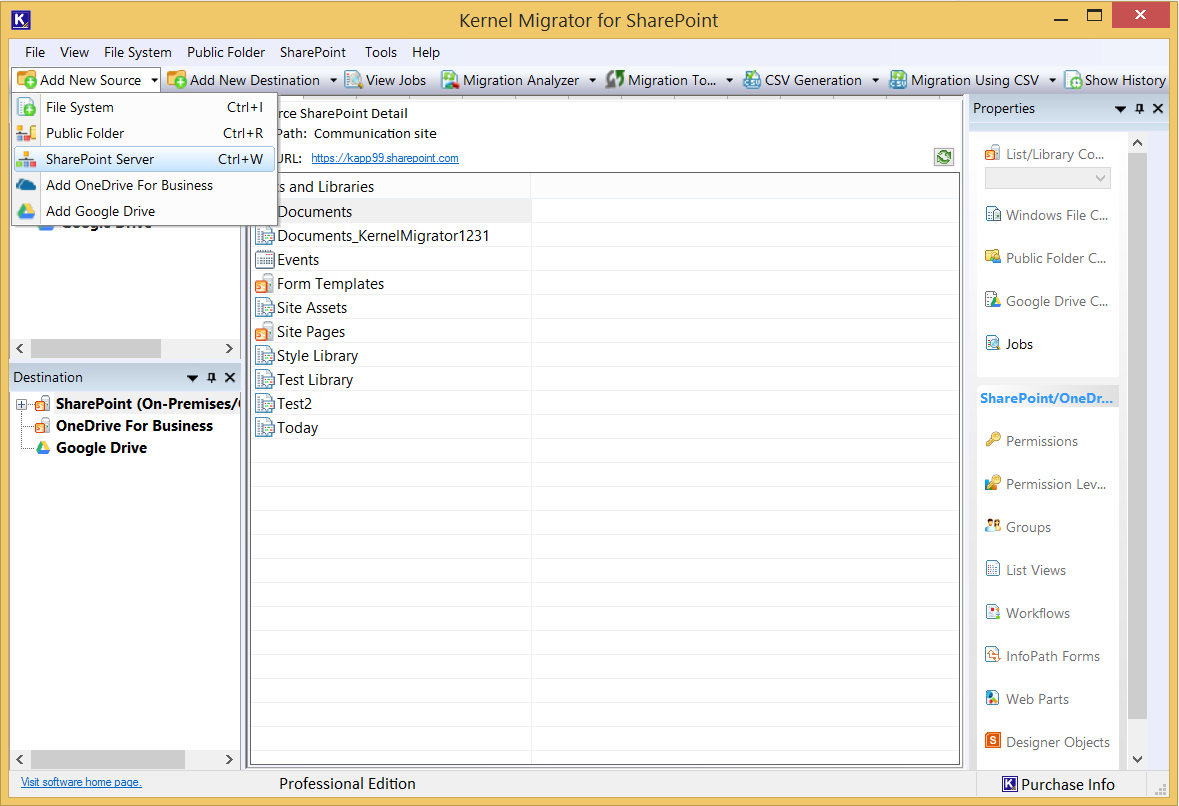
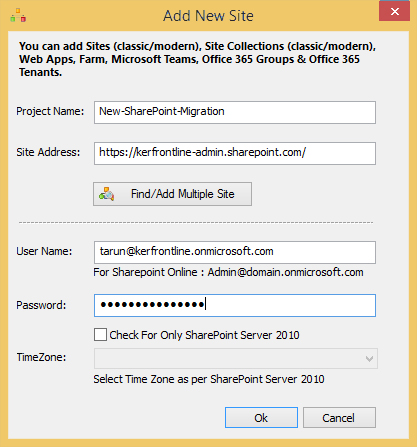
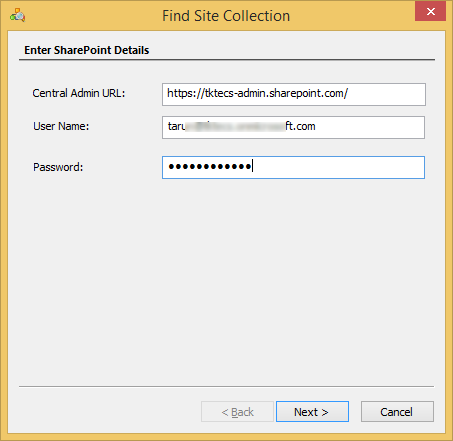
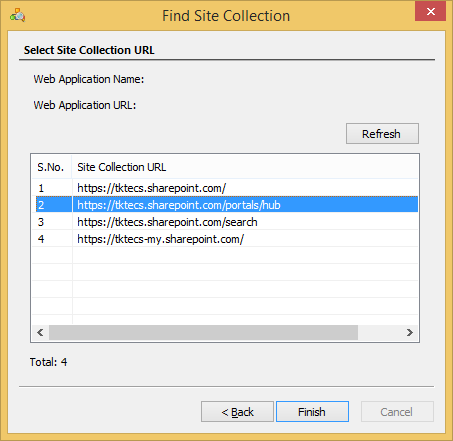
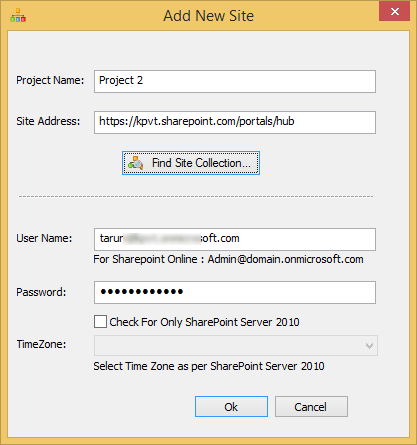
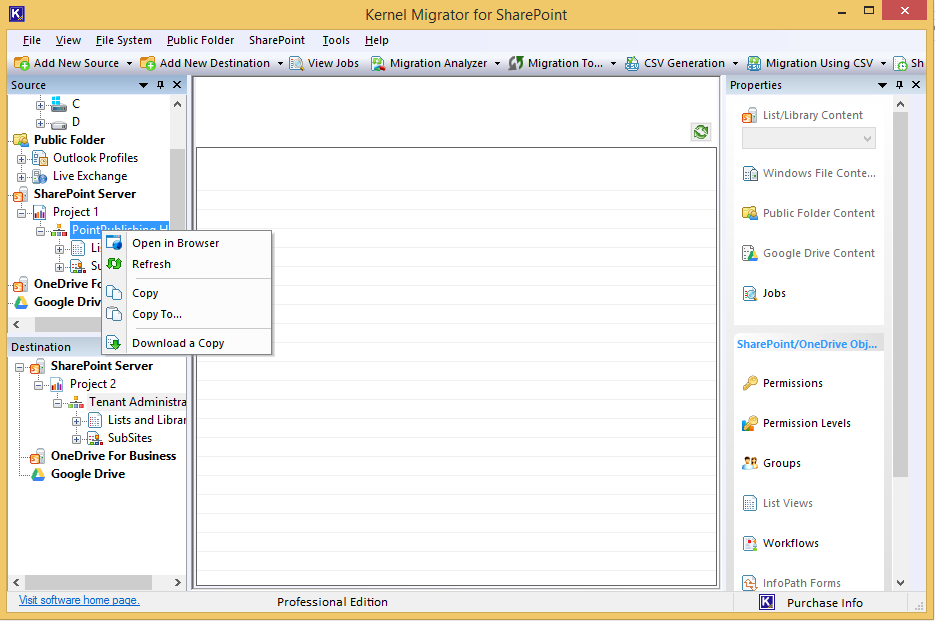
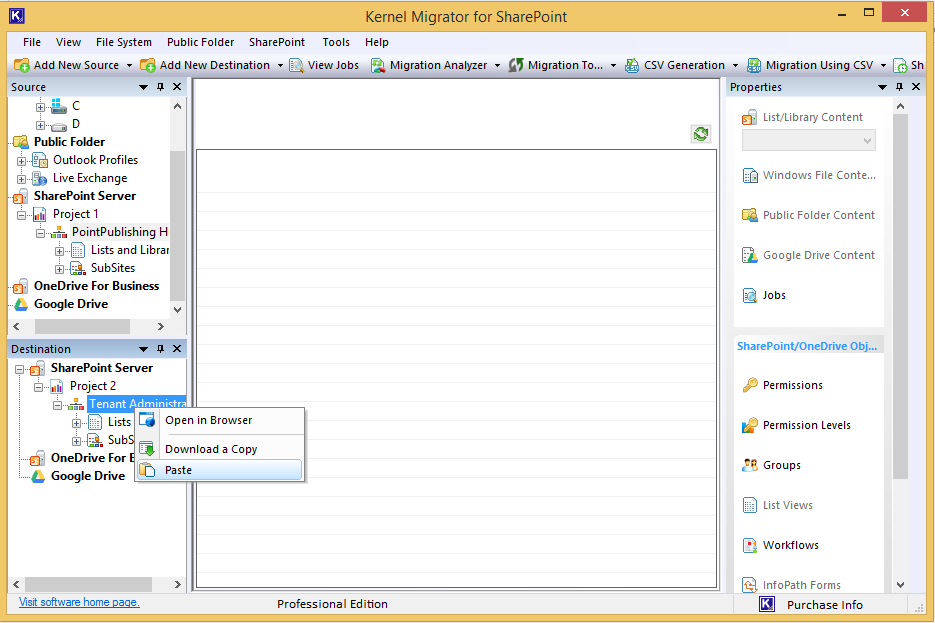
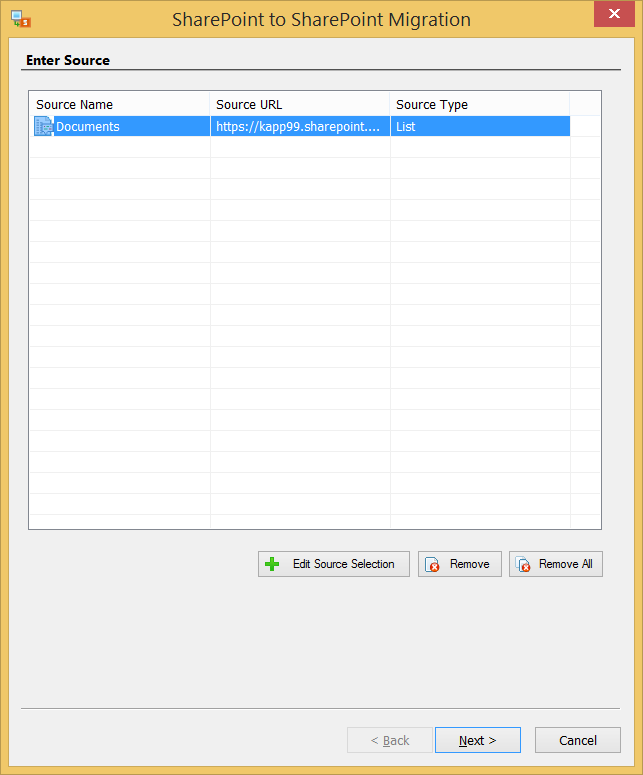
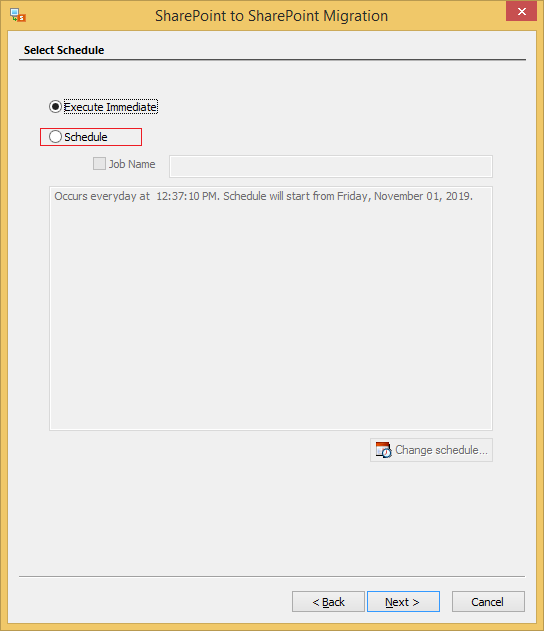
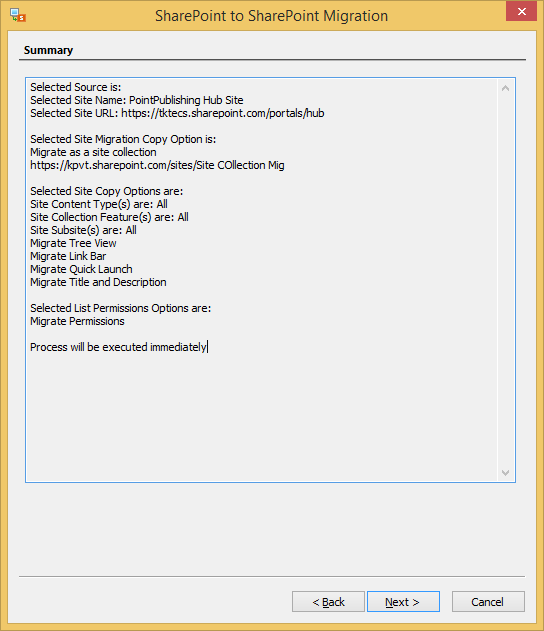
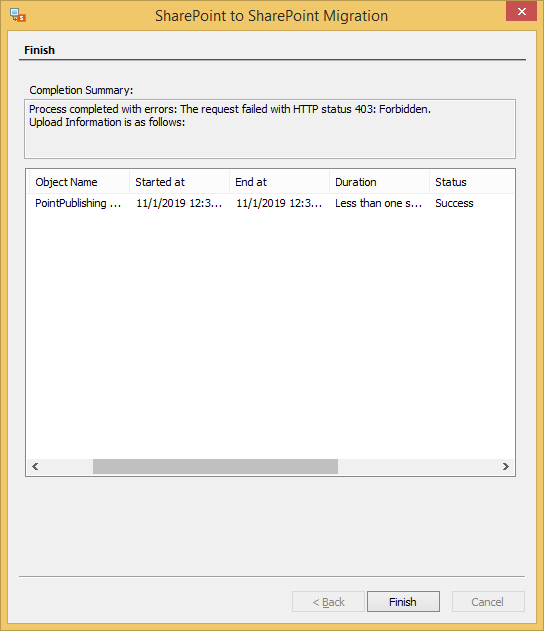
Kernel SharePoint Migrator is an advanced utility that makes it easy for users to migrate between SharePoint versions. It comes with smart features that allow you to migrate site collection between content databases. Also, it allows migrating single or multiple site collections at a time without any glitches. Permission migration, selective migration, migration scheduling, etc. are some of the special features of the tool. Using this utility, you can also migrate data from File System to SharePoint Server and OneDrive. Also, SharePoint Migration software offers a simple working process, which makes it easier for non-technical users to migrate their data.
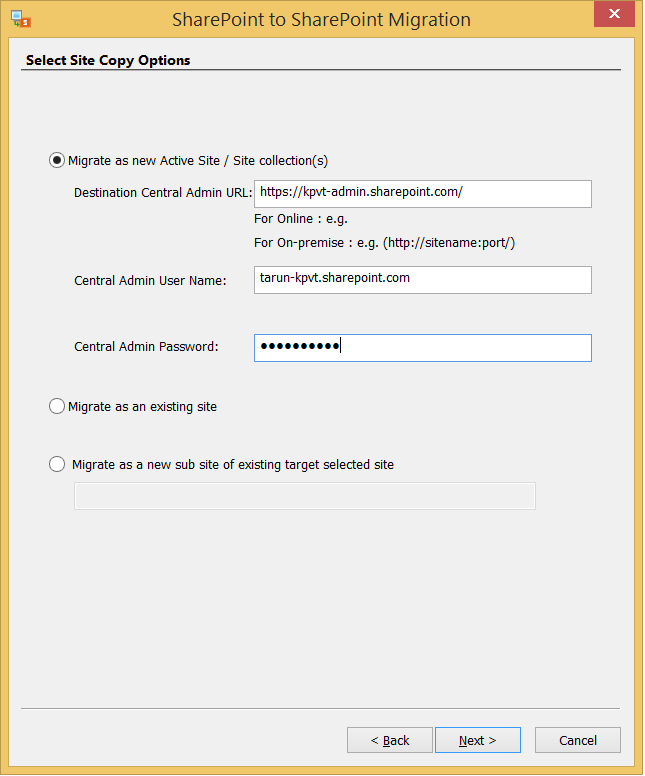
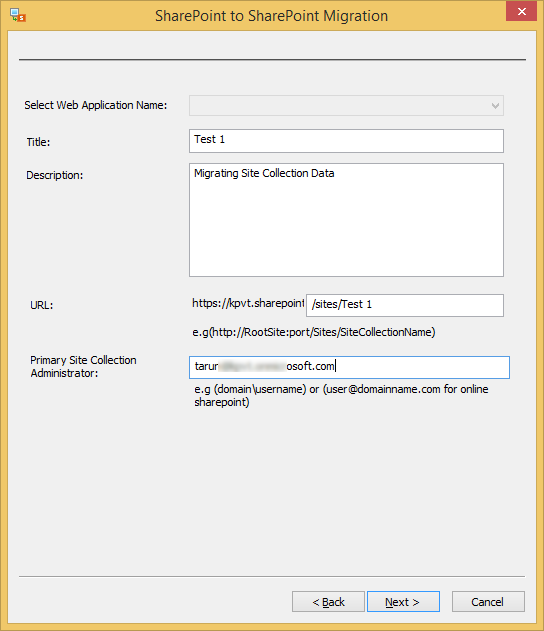
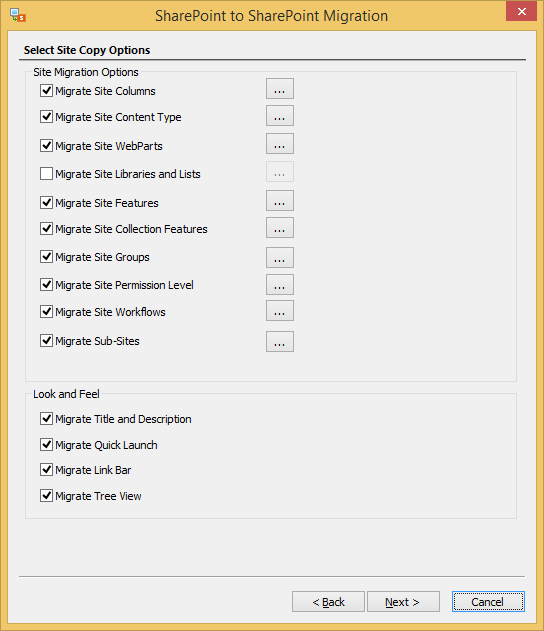
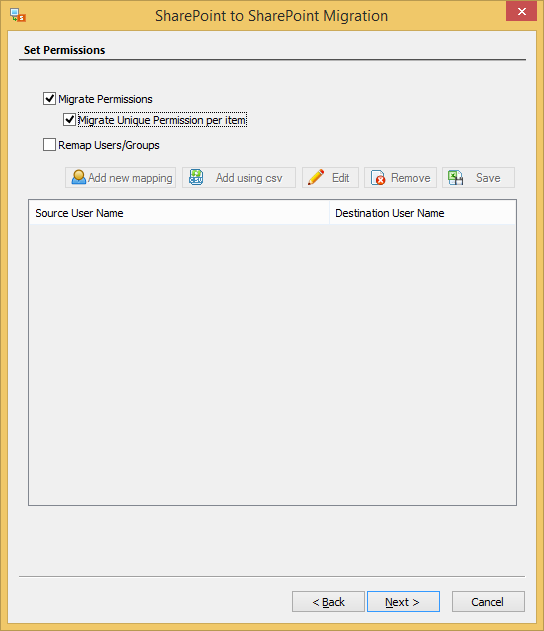
That’s how you can easily migrate SharePoint Site Collection from one server to another with the help of Kernel SharePoint Migrator.
When site collections grow in size or when you want to combine multiple site collections, it becomes necessary to migrate site collections from one database to another. Here, we have discussed how you could migrate SharePoint Server Site Collection from one content database to another with the help of PowerShell commands. Also, we have discussed a useful tool – Kernel Migrator for SharePoint for the migration of site collection from one content database to another.


The content database for my collection of sites is currently large. A previous administrator had created all of the sites in this site collection by himself. I was struggling for a resolution but the manual method above helped me solve all my existing migration problems.
Manually, we cannot migrate a site collection from one database to another. I have done it earlier and failed each time. But, the software provides better environment and cent percent success rate.