Overview
Kernel Photo Repair
Repair corrupt/damaged Photos (JPEG, JPG, BMP, GIF, RIFF, RAF, TIF, PNG, NEF, MRW, and more file formats).
- Repairs all kinds of image files whether inaccessible, corrupt or lost
- Repairs multiple image file formats at one go
- Convenient drag/drop feature to add multiple image files quickly
System Requirements
Processor
- Intel® Pentium Processor compatible (x86, x64) or equivalent
Operating System
- Windows 10, 8.1, 8, 7, Vista, XP, 2000, 98, NT, 95 (FAT 16, FAT 32, NTFS, NTFS5)
Memory + Hard Disk
- 256 MB Minimum + 100 MB of disk space
User Guide
Video
Kernel Photo Repair
Install Kernel Photo Repair
You have to download the installer file of Kernel Photo Repair https://www.nucleustechnologies.com/photo-repair/ Please make sure your computer meets the system requirements and user rights for installing this software.
Perform the following steps to install Photo Repair.
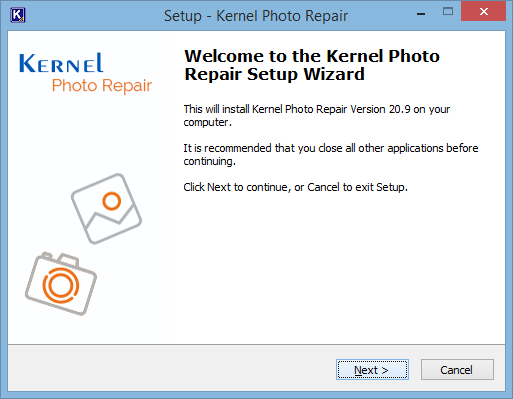
- Double-click the downloaded installer file to start the installation.
- Click "Next" to proceed to the next step.
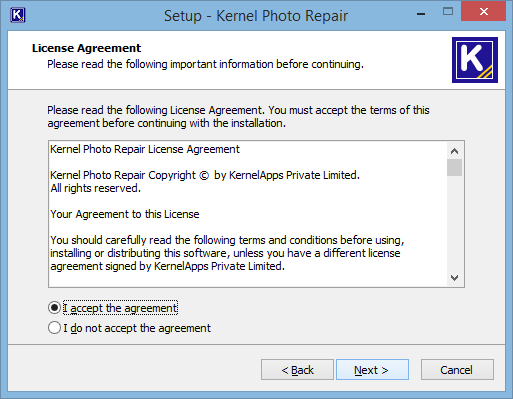
- It is recommended to read the license agreement carefully before installing the software. If you agree to the license agreement and want to continue the installation, then click "I accept the agreement" and click "Next."
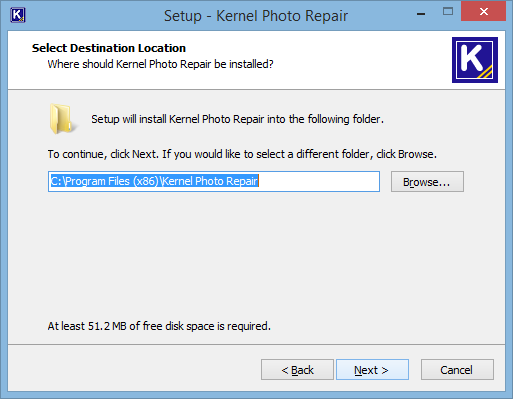
- The following screen appears, which allows you to modify the destination. If you want to modify the installation location, click "Browse" and select the desired location. Click "Next" to proceed further.
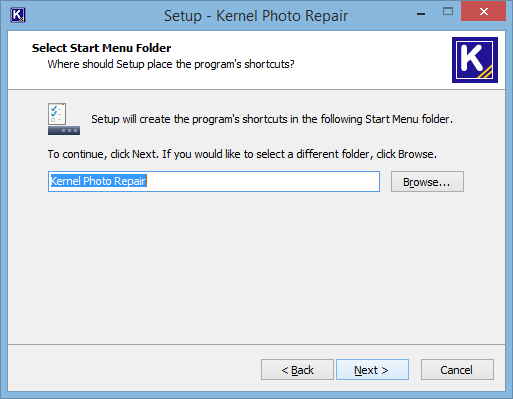
- Here, you can customize the location of the shortcuts folder in the Start Menu. Click "Browse" and select a different location to modify the location of the shortcuts folder in the Start Menu. Click "Next" to use the default or customized shortcuts folder.
- The next step displays the option to create the additional shortcuts. Check the boxes titled "Create a desktop icon" and/or "Create a Quick Launch icon" if you want. Click "Next" to proceed to the next step.

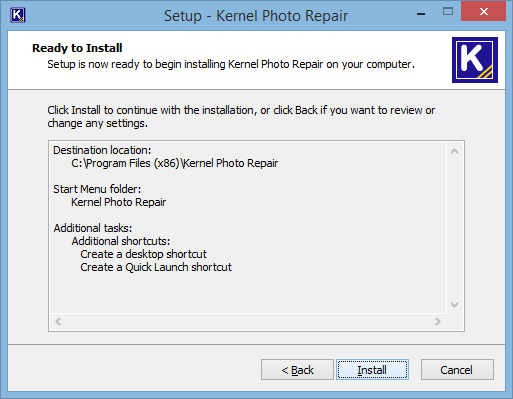
- Click "Install" to begin the installation procedure.
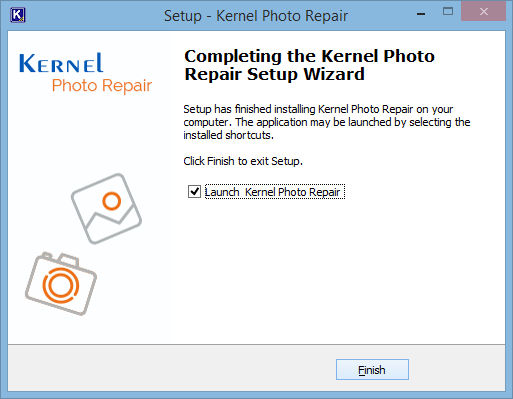
- When the installation process is completed successfully, the user receives the following message. Click "Finish" to complete the process. It will launch the software if you have kept the option "Launch Kernel Photo Repair" checked.
Uninstall Kernel Photo Repair
There can be a situation when you need to uninstall Kernel Photo Repair. Please make sure to close the software before uninstalling it. Follow the steps below to uninstall it.
There are two ways to start the uninstallation.
- Go to Start → "All Programs" → "Kernel Photo Repair," click "Uninstall Kernel Photo Repair."
Or
Click Start → Control Panel. Launch "Add/Remove Programs" or "Programs." Select "Kernel Photo Repair" and click "Remove."
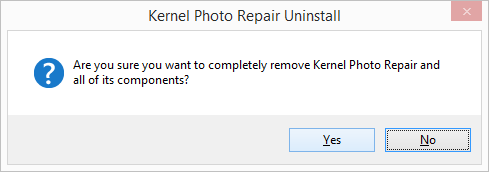
- Following any of the above methods displays a warning message. Click "Yes" to uninstall the software.
- If a scheduled migration job is running while uninstalling the software, you will receive a warning. Click "Yes" to stop the job and to uninstall the software.
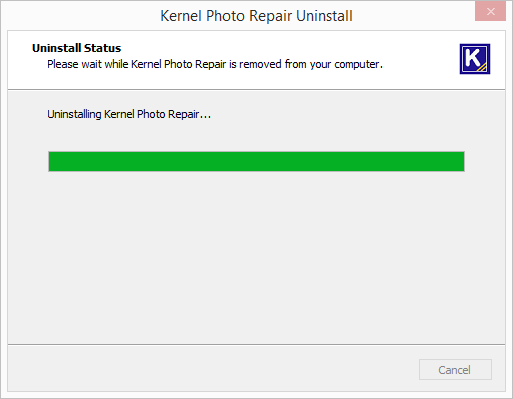
- When the software is removed, the following message box appears onscreen.
Click "OK" to finish the process.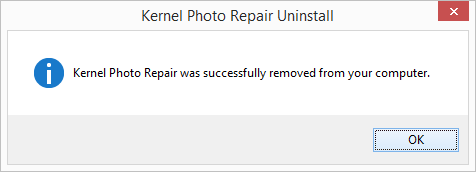
After following the above steps, Kernel Photo Repair will be uninstalled successfully from your computer system. By default, the software is configured to retain the license file, behavioral data to handle source and destinations, and other settings in the program installation folder.
To remove the remaining elements, delete its program installation folder manually and then empty the Recycle Bin as well. Kindly do not remove this folder if you want to retain the license file and/or have to reinstall the same/upgraded version of the software. The default path of the program installation folder is %ProgramFiles%\Kernel Photo Repair – for both 32-bit and 64-bit OS.
Download Trial Version
Try the free version and get a first-hand experience of the tool. It allows you to add corrupt photos, repair them, and save them in a low-resolution (thumbnail) form. It repairs photos in all popular formats in a few easy steps.
- Repairs damaged and corrupt image files
- Repairs JPEG/JPG, PNG, GIF, BMP files
- Repairs multiple images at a time
Purchase Software
Take advantage of the full capabilities of the photo repair tool by purchasing its license. The full version allows you to repair all image files and save them with all the details and original properties.
- Repairs images from all the devices
- Repairs images in all popular formats
- Saves image files with original size & quality
Online Support
Customer support is not a service, it’s an attitude.
Our dedicated team is available 24x7 to provide fast responses to all of your queries. For any technical support you can register or submit a ticket here.
- Register
Register a new account to submit tickets. click here. - Submit a ticket
Submit a new ticket for your query. Our support team will contact you. click here. - Knowledgebase
Search support helpful articles and find answers to frequently asked questions. click here.
Kernel Photo Repair - Repair Corrupt JPEG Files
Best Free Methods to Repair Corrupt JPEG Files in 2021
Causes of JPEG Corruption
- Abrupt system shutdown
- Power loss and system shutdown during the file transfer process
- Header related corruption in the JPEG images
- Malicious attacks on the image files, leading to data corruption
- Improper sharing of files via an infected medium
- Hardware and software issues.
Types of Issues with JPEG Files
- The inbuilt preview tools such as Windows Photo viewer are unable to open these files
- The JPEG file opens, but with degraded image quality
One might see the error message while opening the JPEG files, as shown in the snippet below. 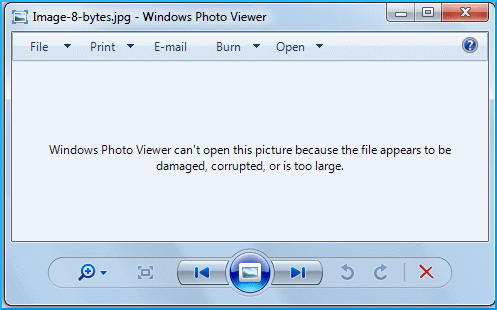
Types of JPEG Corruption
Check out the types of JPEG corruption listed below if you want to know more about JPEG Corruption.
- The Header Corruption in JPEG File: It is the most common corruption in the JPEG file in which the header file gets corrupt. A corrupted header looks like the following:
 You can easily deduce a corrupt header in the JPEG file as it gives no preview in the Windows file explorer. Sometimes, the file explorer shows the error that ‘It looks we don’t support this format.’ or ‘Invalid JPEG Marker.’ If the corruption is recognizable, then file explorer shows the message ‘File appears to be damaged, corrupted or too large.’
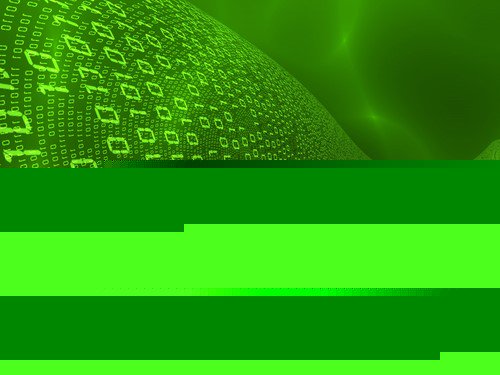
 - Data Corruption in JPEG File: When the JPEG if severely corrupt or damaged, it might open in the photo viewer but have display issues. The image appears incomplete, or the colors appear dim. These distortions might look like the following:
Kernel Photo Repair - Repair Corrupted CR2 Photos Easily
Reasons Behind CR2 File Corruption
Below are some of the prime reasons behind CR2 file corruption:
In this blog, we will discuss H.264 MOV video files, the reason for their corruption, and how to repair H.264 MOV files.
- Wrong file name/ file extension.
- Malicious attacks.
- Unexpected system shutdown while the photo viewer is running in the background, causing file corruption.
- Storing images on damaged or corrupted storage media.
- Removal of storage media while in use.
How to Repair Damaged CR2 Files?
As earlier said, CR2 format is exclusive to Canon cameras only; therefore, one should look for reliable photo repair tools; otherwise, the damage caused to the photos will be irreversible. Unlike these CR2 image files, there are several free methods to repair corrupt JPEG files. Newly launched Kernel Photo Repair utility possesses all the capabilities for repairing damaged image files, including CR2 and CRW photo formats. The minimalist and effective user-interface lets even non-tech savvy users operate the tool without any assistance. The drag and drop feature let you add affected files into the tool quickly, and a batch of photos can be processed- all at once, therefore saving time. Moreover, it supports all popular Windows image formats. Now, let us look at the working of the Kernel Photo Repair tool in detail.
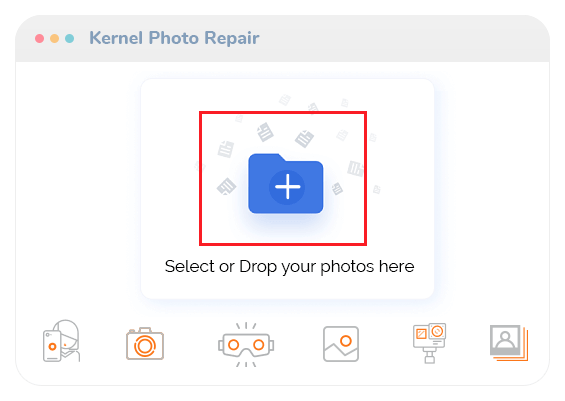
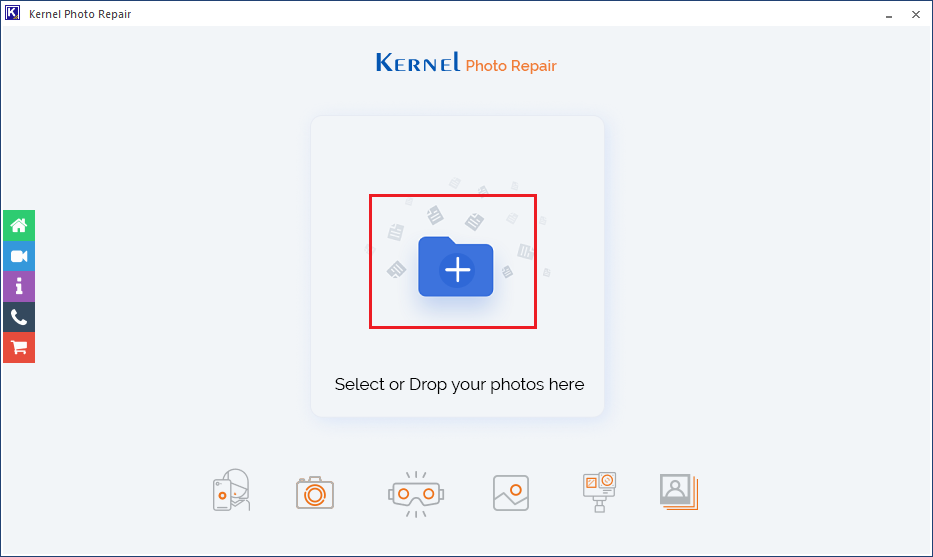
- After installing the software, launch it. The home screen has a folder icon; drag and drop the affected file(s) into it.

Note: Alternatively, you can click on the folder icon to manually select and upload files for repair. Click OHellopen, after you have selected all the relevant files.
Kernel Photo Repair - Fix Broken or Corrupt JPEG File Headers
How to Fix Broken or Corrupt JPEG File Headers?
Due to unforeseen circumstances, multimedia files can get damaged or corrupted easily. If you try to open any damaged JPEG or JPG files, then you receive an error stating the probable cause. A JPEG image is comprised of two parts, i.e., the header and the actual binary image data. So, if the header is corrupted, then it is by far the easiest to repair, using a sample file and a Hex editor such as HxD. In short, it is possible to replace the corrupted header with a healthy header from another healthy image file. Repairing the image data, on the other hand, is a much more complicated and tedious task. Now, we are going to specifically discuss free methods for repairing JPEG Files. Caution should be taken with the image files as a little negligence can cost you a lot later. Following are the top reasons that are responsible for the JPEG/JPG file corruption:
- JPEG/JPG header corruption.
- Malicious attacks on the JPEG files.
- Damaged/bad sectors on the storage media, where JPEG files are stored.
- Improper system shutdown, causing multimedia file corruption.
Method #1 Repair Corrupt JPEG Headers Using Hex Editors
This is an easy way to repair a corrupt header. The only requirement is a healthy image file from the same device (and format) on which the affected image was captured. Using a Hex editor, you can easily replace the header of the affected file with the header from a healthy file.
Method #2 Repair Corrupt JPEG Headers When Healthy File Headers are Unavailable
In the previous method, we had access to a healthy header file. So, if you don’t have access to a healthy header filer then don’t panic as you can create one by following few easy steps as described below:
- Launch the Paint application from your PC.
- Scribble or draw anything in the black space.
- Next, go to File > Save As > JPEG picture.
- In the Save As dialog box, provide the location to save the newly created JPEG file.
- Enter the filename and click on the Save button.
- Next, proceed to import the newly created JPEG file and the affected file in the Hex editor.
- The Hex editor will attempt to repair the affected file.
The aforementioned steps might seem easy, but in practice, it is quite difficult to come by a good and reliable Hex editor. Image corruption issues are complicated and vary from case to case; hence every issue requires a different approach. Hex editors rarely live up to the user’s expectations; hence we require a professional photo recovery tool, which we are going to discuss in the next section.
Read moreKernel Photo Repair - Repair Corrupt RAW Photos
Reasons for Corruption in RAW Files
Before you proceed to know the solutions to fix RAW files, you first must know the reasons for its occurrence. There can be many reasons why you might be facing corruption in your RAW files. Here we are going to mention a few of them, and they are:
Reason for MTS File Corruption
- Virus in storage drive
- Improper SD card ejection practices
- Interruption in the transfer process of RAW files
- Unrecognized and undetectable SD cards.
- Clicking images while your camera’s battery is low.
- Clicking images while the storage space in your SD card is almost full.
- Interruption while downloading the image files.
- System crashes while your SD card is still mounted.
Similarly, there are more unknown reasons that might lead to corruption in RAW files. Now, when we know how RAW files may get corrupted, let’s proceed towards its solution.
How to Fix Corruption in RAW Images?
There are many free methods to repair corrupt JPEG files. But when it comes to RAW files, solutions are a little complicated. However, let’s now discuss the ways with which you can fix the corruption in the images.
Read moreKernel Photo Repair - JPEG Repair Tool for Windows Systems
The Best JPEG Repair Tool for Windows Systems
Amongst multiple image file formats like JPEG, PNG, BMP, TIFF, GIF, PNM, etc., JPEG is the most popular one among photographers and graphic designers. One thing that makes JPEG popular compared to other file formats is its flexibility. It can be used in web sites, email attachments, still images, and offers high compatibility with all operating systems.
However, like all other file formats, JPEG files are also prone to corruption due to operating system or software issues, which can make your JPEG images inaccessible. JPEG files can get corrupt due to multiple reasons.
Reasons for JPEG Corruption
- Virus or malware infections on system hard drives
- Bad sectors on a hard drive or memory card
- JPEG file is broken or has corrupted header
- Improper editing or encoding of JPEG images
Well, whatever be the reason behind JPEG’s corruption, it’s crucial to use the best JPEG repair tool to fix those errors and make your JPEG file accessible. Also, you can opt for free methods to repair corrupt JPEG files, such as:
- Scanning the hard drives with anti-virus to remove corruption from JPEG files
- Using CHKDSK utility to fix the bad sectors of hard disk in which JPEG files are stored
- Restoring the earlier version of JPEG/JPG files
You can checkout these top 5 JPEG file errors and ways to fix them, but these methods are not always helpful in fixing highly damaged JPEG files. In such scenarios, you need the best JPEG repair tool that can quickly fix all the major corruption issues and make your images accessible again.
Read moreKernel Photo Repair - Repair or Fix Grainy Photos
How to Repair Grainy Photos?
You click pictures to preserve memories forever and to cherish those memories all your lives. But sometimes you don’t realize that when you are clicking pictures, they are getting destroyed due to many external factors. When you check on those pictures later, you realize that you have made a mistake, and now those pictures are destroyed forever. One example of those mutations is grainy images. If you too have grainy images and are looking for a solution to fix them, then we are going to discuss it right here.
What is Grainy Image?
Grainy image is also known as digital noise. It is a kind of image distortion that happens due to many reasons and leaves an image unclear or ugly. Grainy image mostly refers to the very small dots on the surface of an image, making it look dusty or grainy.
How Grainy Effect Happens in Photos?
Before moving towards the solution to fix grainy images, let’s first discuss how they happen. Sometimes images may get grainy due to a lot many reasons, few of which are mentioned below:
- Poor Lighting conditions: Poor lighting quality while clicking the pictures can cause images to look grainy. If you are taking pictures in a dark room or in the night where the lights are not properly lit, you may face the grainy image effect.
- Poor Camera Quality: If you are using a poor-quality camera or a camera with comparatively low pixels then it might mutate the quality of the images you are clicking, and you may get the grainy effect in the images.
- ISO: If you are using high ISO settings while clicking the images, you will most definitely get the grainy images as the results of it. The calculation is simple: the higher the ISO settings of the camera, the higher the chances to get the grainy images as a result. Most people set the ISO settings to high when they are shooting in the darkroom or in the night; some people may also know ISO as the night mode in the camera’s settings. So, when you turn on the night mode or keep the ISO settings to high, the chances to get the grainy images to get higher.
- Small Camera Sensor: If your camera is low on the light-sensitive spots, you are highly likely to get the grainy images. A poor or bad sensor is one of the most common reasons for noisy images.
Kernel Photo Repair - Repair Corrupt CR3 Files
How to fix corruption in CR3 files?
CR3 files are a part of the RAW family and hence any software or tool that can fix RAW files, can repair CR3 files as well. After discussing a bit about CR3 files and the reasons for its corruption, let’s proceed with finding the best solution for these image files.
Try to update the photo viewer
If you are using a particular photo viewer program to open your CR3 images, then try updating it. There are many old formats that your photo viewer program might be opening without any issue, but not CR3. Comparatively, CR3 is a bit new file format, and hence the photo viewer program needs to be updated.
Once you update the photo viewer program, try to open the CR3 file with it and check if the problem still persists. If there is no change in the condition of the images, try the next method.
Try a different photo viewer to open the CR3 files
If you have updated your photo viewer, and the images are still inaccessible, try switching to another program. It might also happen that even the updated version of that photo viewer program does not support the CR3 file. You can try opening the CR3 files with a totally new photo viewer program in such a scenario.
You can search in google for the photo viewer programs that support CR3 files. Download and install the eligible photo viewer program and try to open the CR3 file with it.
Try converting CR3 files to another file format
Converting the current image file format to another is also a technique to fix corruption in the images. You can use a reliable image converter tool for the same. You can try to convert CR3 images to JPEG.
Try Hex Editor
If only you are professional and know how to work with Hex Editor, you can try it. It is a file editor that shows files in binary data. The binary data is in hex code, and hence if you have enough knowledge, you can compare the binary data of corrupt and healthy files.
Take help from the binary data of healthy files and edit the binary data of corrupt files accordingly.
If you are not that proficient with Hex Editor, take help from a professional, or just leave this process. For the best solution for your corrupt images, try the next method.
Fix Corrupt Images with Kernel Photo Repair
If none of the above-mentioned methods worked for you, or you want quick, guaranteed solutions, try Kernel. Kernel Photo Repair is one such product that can be your final way to fix the corrupt images in no time. Be it minor or severe corruption, this tool will fix your images with its original quality intact. You can fix formats like CR3, RAW, JPEG, JPG, BMP, GIF, RIFF, RAF, TIF, PNG, NEF, MRW, etc. with it.
The tool has a very easy and user-friendly interface; hence it can be operated by non-techies and even beginners. The tool is equipped with self-descriptive features with which one can easily proceed with the steps involved. The tool provides you options to add or remove multiple images at a time and process it in one go. There is no limitation to the size and the number of images you add. Just a few clicks, and your images will be fixed in minutes. Depending on the size and number of images, you will have to wait for the repair process. Repairing is quick, and it doesn’t make your system slow or crash. Let’s know how to fix CR3 image files with Kernel Photo Repair:
- Start with downloading and installing the tool in your system. Click here (https://www.nucleustechnologies.com/photo-repair/) to go to the tool’s page.
- Setup and run the tool properly on your system.
- Now, on the home screen of the tool, click on the Add icon to add the corrupt images.
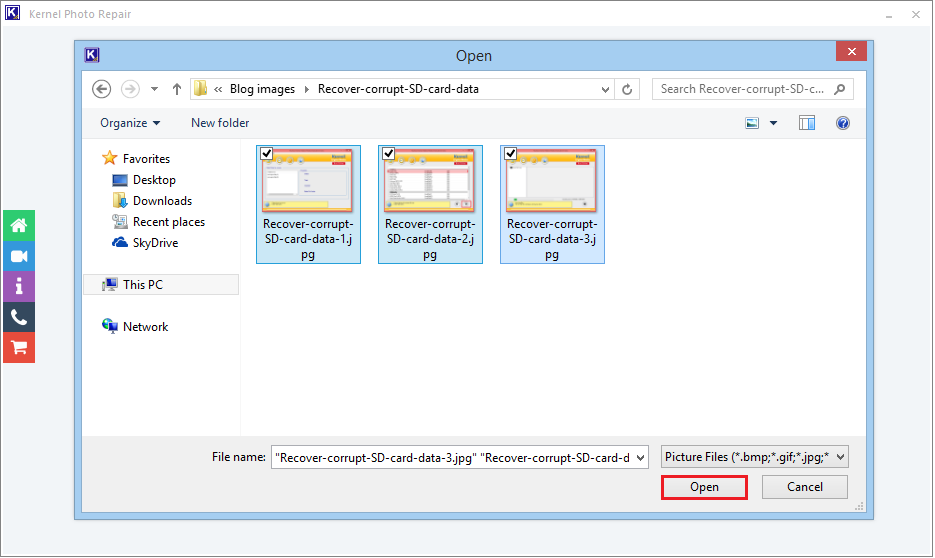
- Trace the location of the files on your system and select them. Once selected the desired files, click on the Open button.

Note: Here we have selected JPG images for the demonstration purposes, you can select and add any format files you are facing issue with. Not only CR3 images, you can also repair corrupted CR2 photos easily.
Kernel Photo Repair - Repair “Unreadable” Images
How to Repair “Unreadable” Images?
Image files are of great importance in all of our lives – they can be important documents or our past moments and memories. But these files do get corrupted, damaged, or broken sometimes. One can assume multiple reasons such as power outages, virus intrusions, bad external drives, bad sectors, corrupted device drivers, etc., as responsible for such issues.
“Unreadable” Images
As the name itself suggests, these image files cannot be read, opened, or viewed by the users. These image files are not lost but available in the corrupted form and have become inaccessible or unreadable now.
To access or open these ‘Unreadable’ images again, you need to repair them if a backup is not available to restore the images.
Ways to Fix the “Unreadable Images” Issue
Mainly, there are two ways to fix the “Unreadable Images” issue:
- Through native approach (includes the use of manual solutions and practices)
- Through professional approach (includes the use of professional software to fix image file related issues)
Native approaches to fix the “Unreadable Images” issue
We are proposing some native solutions to fix “Unreadable images” and make it viewable again.
- Update or Downgrade the Photo Viewer Application The photo viewer application that you are currently using can be the reason behind the issue. It is suggested to upgrade the photo viewer application or choose a different one. But when the ‘Unreadable Images’ issue has occurred just after you have changed the photo viewer application, you should downgrade the photo viewer application to the previous version and access the images.
- Scan with Sfc/scannow It is a simple manual approach to repair corrupt or unreadable image files on the Windows system. First, as an administrator, run the Command Prompt and then follow the below-given procedure.
- Execute the following command to run the Inbox Deployment Image Servicing and Management tool. DISM.exe /Online /Cleanup-image /Restorehealth
- Now, run the scan over the system using this command. sfc /scannow
- Wait now for the completion of the scan, and after that, check for the integrity of the image files.