Read time: 7 minutes
Anybody who has ever tried to import OLM file into Outlook knows that the process isn’t as simple as just clicking on Import and waiting for the results. It’s because Microsoft Outlook doesn’t have any native way to import OLM files. If you still have access to your Mac account, you can try to import OLM files configuring an IMAP account in Mac Outlook. This guide will go over the best practical ways to import OLM to Outlook for Windows 2019, 2016, & 2013.
If you’re in search of potential methods to import OLM files into the Windows Outlook environment, you’ve landed in the correct spot.
Why users import OLM file into Windows Outlook?
There are various reasons why users move data from Mac Outlook to the Windows Outlook environment, such as:
- Cross-platform migration: Users import OLM file into Outlook when migrating from Outlook for Mac to Windows Outlook.
- Merging multiple accounts: Often users move multiple OLM files to a single, unified Windows Outlook account to access data in a single, centralized account.
- Archiving OLM files: Many users shift their OLM files from Outlook for Mac to Windows Outlook to archive them for a long period of time. This helps users to reference old information during legal audits and investigations.
- Accessibility across platforms: OLM files are exclusive to Outlook for Mac, thus it’s not possible to view and share them with people having Windows devices. It’s why users shift their OLM files to Windows Outlook for easy access and uninterrupted collaboration.
How to import OLM file into Outlook?
OLM files can’t be directly imported in Windows Outlook because these files can only be opened in Mac Outlook. Thus, the only option is to import OLM files by configuring an IMAP account in Mac Outlook, and then syncing mailbox data to shift it to Windows Outlook.
Method 1: Import OLM file into Outlook via an IMAP account
The OLM file data is copied into an IMAP enabled account in Mac Outlook. Then, this data is synchronized by Microsoft Outlook to transfer all the data. This process is divided into three parts. Firstly, we configure an IMAP account in Mac Outlook. Secondly, we transfer the OLM files from Mac Outlook to the IMAP account. Then, we configure the IMAP account in Microsoft Outlook. Here are the steps for this process:
Configure IMAP (Gmail) Account in Outlook for Mac
- Launch Outlook for Mac and go to Tools > Accounts.
- Click on the plus (+) button to add a new account to Outlook.
- Enter details like Email address, Password, and the Gmail account username in the givens section.
- Input gmail.com as the Incoming Server and smtp.gmail.com as the Outgoing Server.
- Tick the Use SSL Connect
- Enter 465 in the Outgoing Port option and then click on Add account.
Copy OLM Files to the Gmail Account
- Create a new folder under the Gmail account in Outlook for Mac.
- Select the OLM folder that you want to import to Windows Outlook.
- Paste all the in the newly created folder. Once done, check if all the required OLM files are pasted in the folder.
Configure Gmail Account in Microsoft Outlook
Now configure Gmail account in Microsoft Outlook that contains all the OLM files. Once the email is configured, transfer all OLM files to a folder in Microsoft Outlook. Wait for the process to end successfully and all your OLM files will get imported in Windows Outlook.
Method 2: Converting OLM files to Outlook PST
Since PST files can be easily imported in Windows Outlook, you can initially convert OLM file into PST format and then import the converted PST file to Windows Outlook via the Import/Export wizard. Kernel OLM to PST Converter easily converts Mac mailbox data like emails, contacts, calendars, and tasks to PST format efficiently.
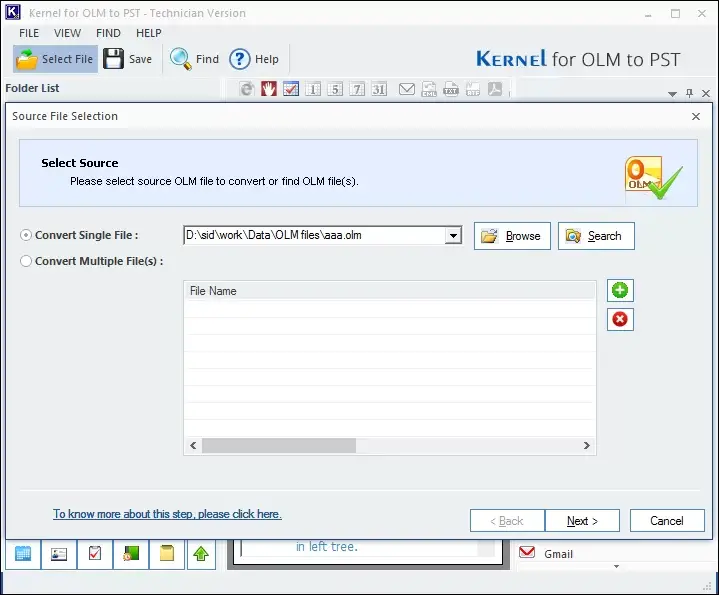
Step 1. Convert OLM files to PST Format
- Launch the converter tool and then select Browse to select a single or multiple OLM files.
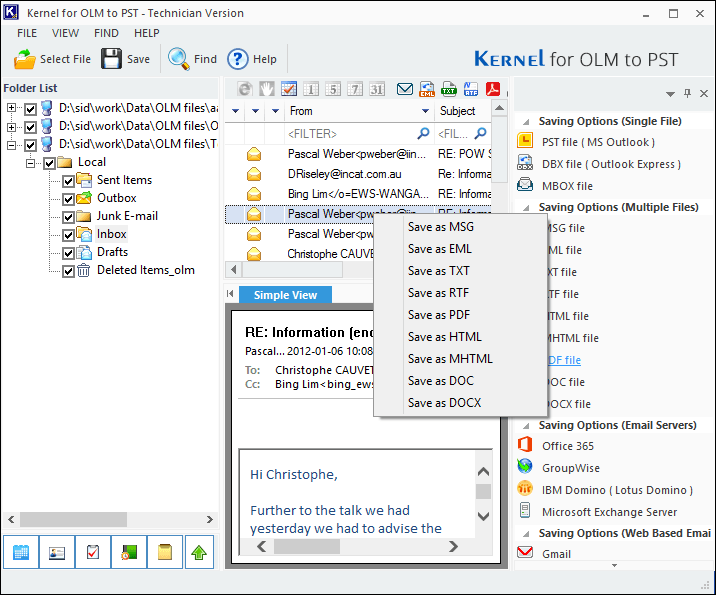
- Preview the added files if needed before conversion. Now, click PST file (MS Outlook) from the right panel of the software.
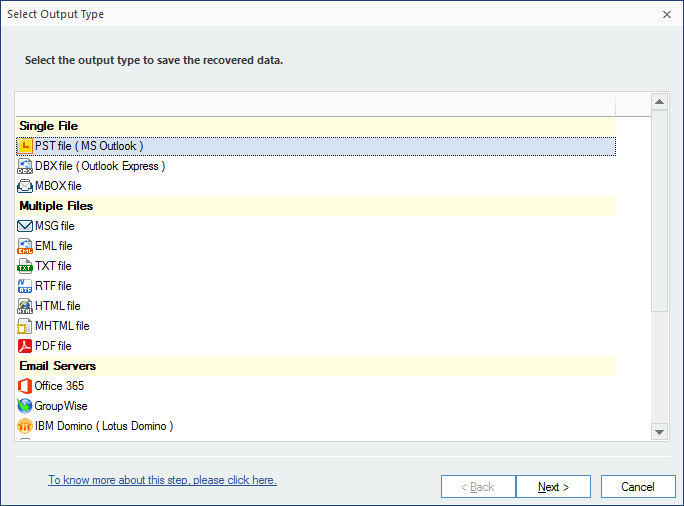
- Now, select the Output type as PST file (MS Outlook) and click Next to proceed with the conversion process.
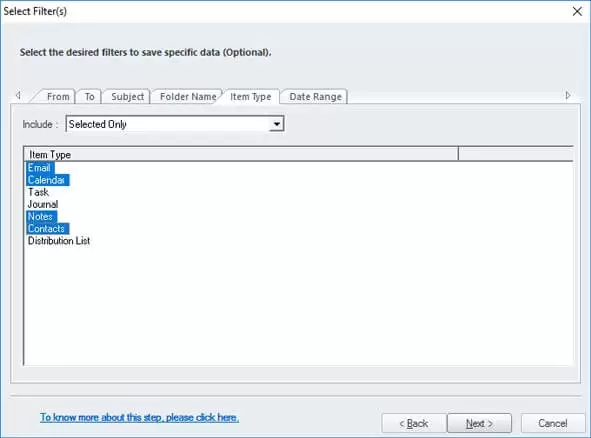
- Opt for smart filters just in case you want to save specific items. This is an optional filter.
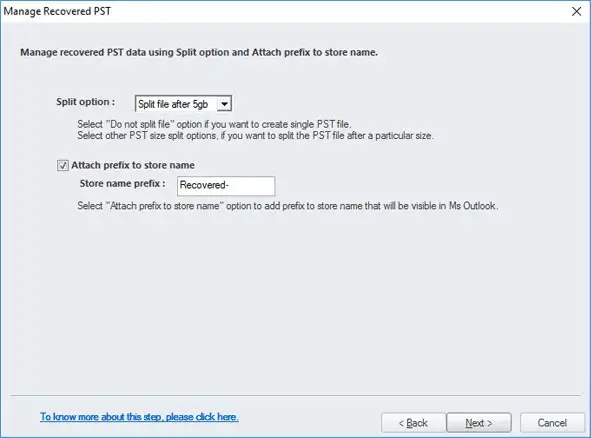
- Split the PST file if the resultant file is too large in size. Otherwise, simply select Do not split file option to save the entire data to a single file.
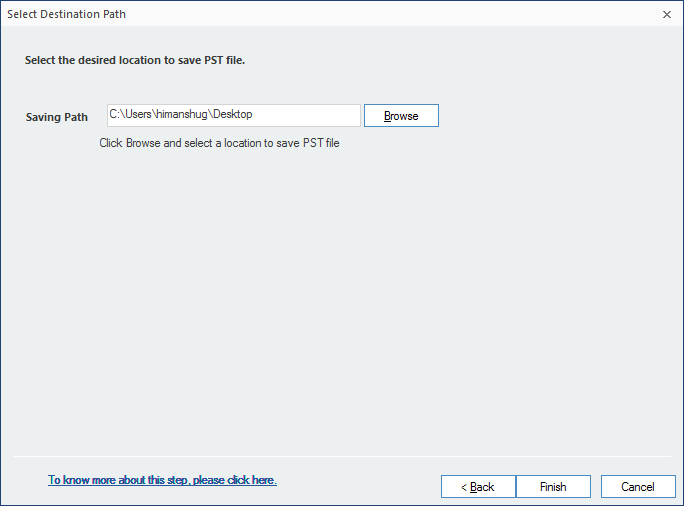
- Finally, select the destination to save the converted file using the Browse button and click Finish.
Step 2: Import PST files to Windows Outlook
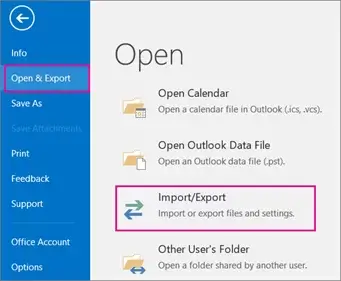
- Open MS Outlook and select File.
- Select Open & Export >> Import/Export.
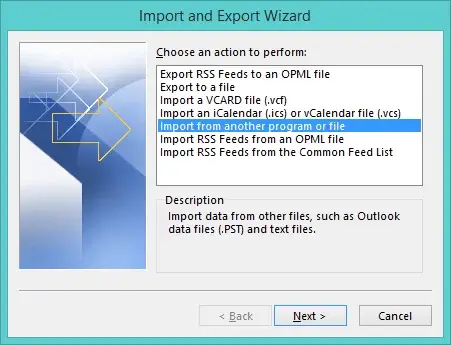
- In the Import and Export wizard, select Import from another program or file, and then click Next.
- Now, select Outlook Data File (.pst) and click Next.
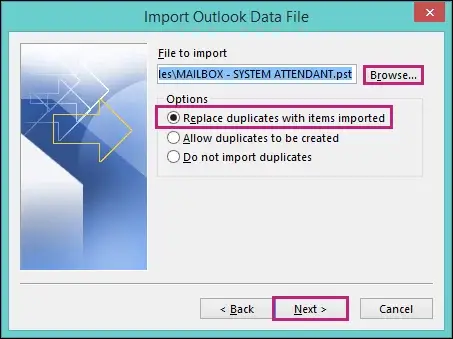
- Select the file to import by clicking on the Browse button; under Options select the suitable option and click Next.
- At last, select Import Items into the current folder and click Finish.
Conclusion
OLM files cannot be imported in Outlook directly, as Microsoft Outlook doesn’t support OLM format. The IMAP method provides an efficient workaround to move OLM files to Windows Outlook by synchronizing OLM data via an IMAP based account like Gmail. Choose the migration approach that fits your needs and environment the best to access OLM file data in Windows Outlook without losing any data.
Frequently Asked Questions
A. It’s not possible to open OLM files in Microsoft Outlook because these files are the native format of Mac Outlook. Outlook for Windows only supports PST and OST format.
A. No, the contacts are not transferred from Mac Outlook to Windows Outlook because the data is synchronized.