Overview
Kernel G Suite Backup Tool
The G Suite Backup tool backs up G Suite mailboxes, appointments, & Google Hangouts/Chats to local systems safely. It backs up multiple mailboxes using a CSV file or Super Admin Account. Also, it provides filters and reports.
- Backup G Suite mailboxes to PST without Outlook
- Backup Gmail, Contacts, Calendar, & Google Drive files
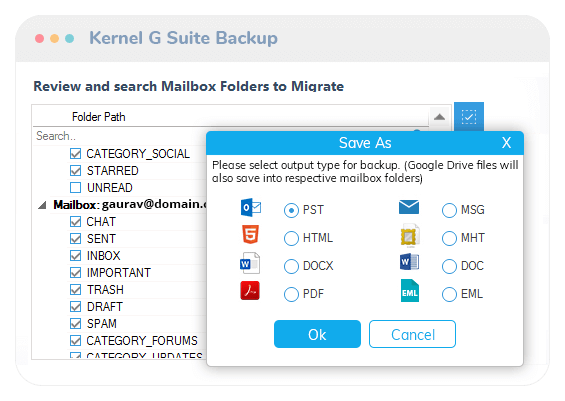
- Backup emails to PST, MSG, HTML, MHTML, DOCX, DOC, PDF, or EML.
System Requirements
Before you start installing Kernel G Suite Backup, make sure that your computer meets the following requirements:
Supported Versions
- Outlook PST File - Office 365/ 2019/ 2016/ 2013/ 2010/ 2007/ 2003/ 2002/ 2000/ 98 and 97
Operating System
- Windows OS Platforms - Windows 365/ 11/ 10/ 8.1/ 8/ 7/ Vista/ XP/ 2000/ 98/ NT 95 / Windows Server 2016/ 2012/ 2008 R2/ 2008/ 2003 R2/ 2003
Processor
- Intel® Pentium Processor compatible (x86, x64) or equivalent
Memory + Hard Disk
- 2 GB Minimum Minimum 1 GB of disk space
Install Kernel G Suite Backup
You have to download the installer file of Kernel G Suite Backup from https://www.nucleustechnologies.com/g-suite-backup/
Please make sure your computer meets the system requirements and user rights for installing this software.
Perform the following steps to install Kernel G Suite Backup.
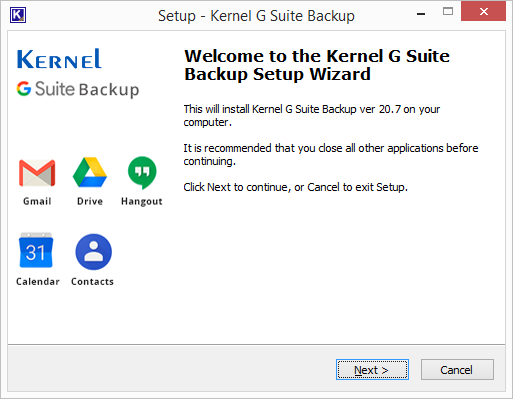
- Double-click the downloaded installer file to start the installation.
- Click "Next" to proceed to the next step.
- It is recommended to read the license agreement carefully before installing the software. If you agree to the license agreement and want to continue the installation, then click "I accept the agreement" and click "Next."

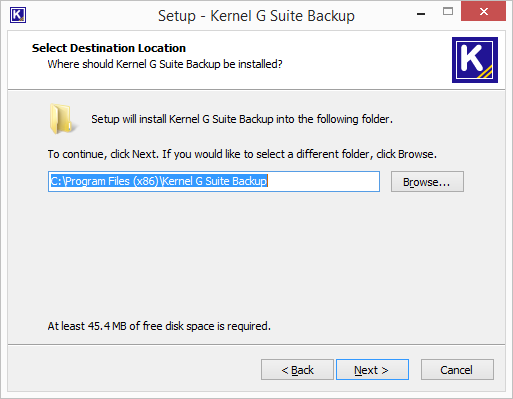
- The following screen appears, which allows you to modify the destination. If you want to modify the installation location, click "Browse" and select the desired location. Click "Next" to proceed further.
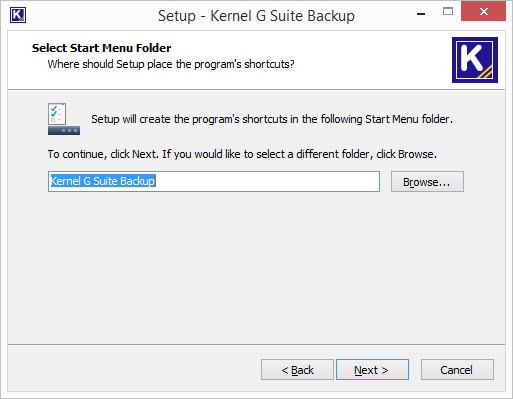
- Here, you can customize the location of the shortcuts folder in the Start Menu. Click "Browse" and select a different location to modify the location of the shortcuts folder in the Start Menu. Click "Next" to use the default or customized shortcuts folder.
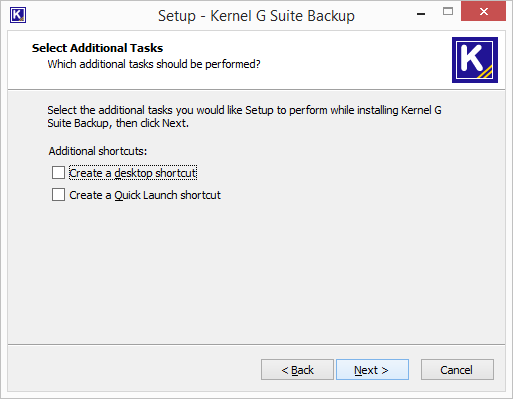
- The next step displays the option to create the additional shortcuts. Check the boxes titled "Create a desktop icon" and/or "Create a Quick Launch icon" if you want. Click "Next" to proceed to the next step.
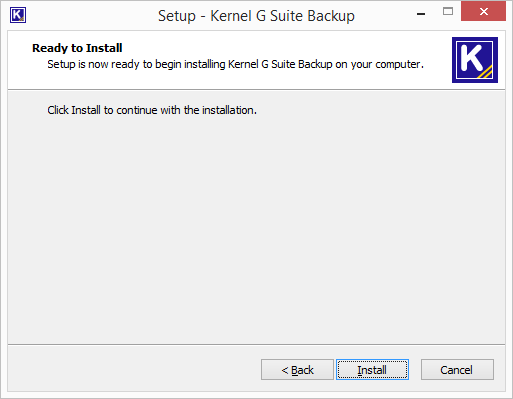
- Click "Install" to begin the installation procedure.
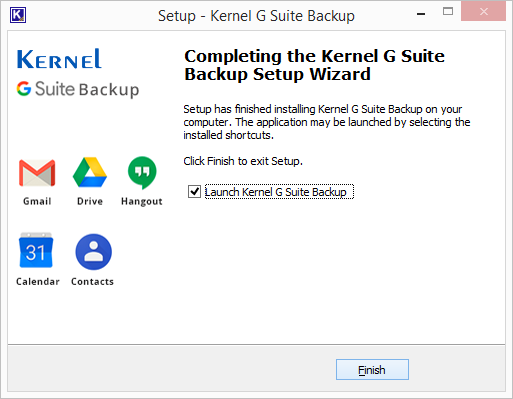
- When the installation process is completed successfully, the user receives the following message. Click "Finish" to complete the process. It will launch the software if you have kept the option "Launch Kernel G Suite Backup" checked.
Uninstall Kernel G Suite Backup
There can be a situation when you need to uninstall Kernel G Suite Backup. Please make sure to close the software before uninstalling it. Follow the steps below to uninstall it.
There are two ways to start the uninstallation.
- Go to Start → “All Programs” → "Kernel G Suite Backup", click "Uninstall Kernel G Suite Backup". or
Or
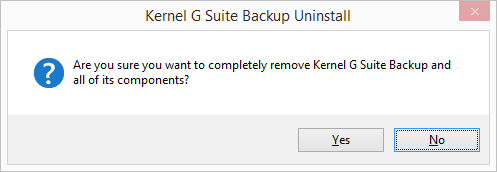
Click Start → Control Panel. Launch "Add/Remove Programs" or "Programs". Select "Kernel G Suite Backup" and click "Remove". - Following any of the above methods displays a warning message. Click “Yes” to uninstall the software.
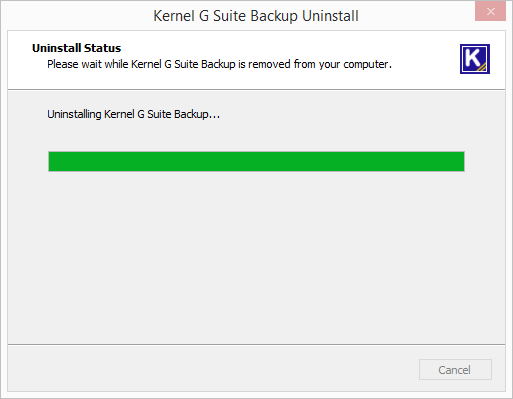
- If a scheduled migration job is running while uninstalling the software, you will receive a warning. Click “Yes” to stop the job and to uninstall the software.
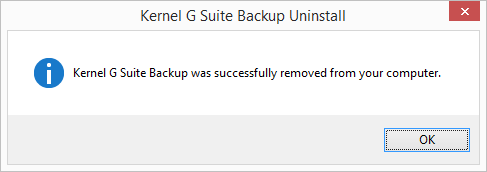
- When the software is removed, the following message box appears onscreen. Click “OK” to finish the process.
- After following the above steps, Kernel G Suite Backup will be uninstalled successfully from your computer system. By default, the software is configured to retain the license file, behavioral data to handle source and destinations, and other settings in the program installation folder.
- To remove the remaining elements, delete its program installation folder manually and then empty the Recycle Bin as well. Kindly do not remove this folder if you want to retain the license file and/or have to reinstall the same/upgraded version of the software. The default path of the program installation folder is %ProgramFiles%\Kernel G Suite Backup – for both 32-bit and 64-bit OS.
Video
Kernel G Suite Backup
Release History
Good news for G Suite users – the Kernel G Suite Backup tool gets updated with some major improvements and enhancements. The new version (22.3) supports the backup of Google Work Space Groups (Google Groups). Also, it now offers a faster backup of G Suite Contacts and Calendar. The tool is more accurate and efficient after bug fixes and algorithm improvements and supports all G Suite plans. Overall, all Google Workspace users are going to benefit from this update.
Kernel G Suite Backup (version 22.1) gets released with many enhancements and added features. It now offers faster and more accurate backup of Contacts and Calendar items. The precision and speed of the backup process also have improved considerably after some minor bug fixes and algorithm improvements. The tool now offers splitting up of large G Suite mailboxes to save them in multiple PST files. And the new version supports all G Suite/Google Workspace plans more effectively. Overall, the new version is great for G Suite backup requirements.
KernelApps has welcomes new year 2022 with the great updated in its G Suite Backup software. The new version of Kernel G Suite Backup 22.1 is capable in migrating complete contacts and calendar details of your G Suite accounts collectively. The backup process will be completed quickly and the OWA calendar preview will be enhanced too.
Kernel G Suite Backup, the popular G Suite backup tool from KernelApps, gets updated (version 22.1). It facilitates improved backup of the G Suite calendar and contacts. The new version of the tool is more precise and faster after some bug fixes and algorithm improvements. Also, it supports all Google Workspace plans. KernelApps hopes that all backup requirements of G Suite users will be met by this tool.
Kernel G Suite Backup, a prominent G Suite backup tool from KernelApps, gets an updated version (21.2). After some algorithm enhancements and bug fixes, the tool is more efficient and powerful now. The backup of calendar items also has improved. The new version lists and backups an unlimited number of mailboxes without any issues. With the UNICODE support, it can migrate emails in any language too. With these updates, the tool is going to be more useful for G Suite users.
To facilitate the backup of G Suite data, KernelApps is launching a brand-new software - Kernel G Suite Backup. The software is designed with a simple user interface that will take the backup of all Gmail, G Drive, Google Hangout, Contacts, and Calendar/Appointments. The Gmail mailbox data will be backed up in formats like PST, MSG, HTML, MHTML, DOC, DOCX, PDF, and EML. The tool offers advanced filters before backup and provides a detailed backup report in the end with the complete information regarding the backup. With this tool, KernelApps aims to meet all the backup requirements of G Suite users.
Request a Quote: Kernel G Suite Backup
Backup G Suite and Google Drive content to the local PC.
- Backup all the G Suite content – emails, contacts, calendars & Google Drive
- Save selected G Suite emails to PST file and more formats
- Free live demonstration of the software working (upon request)
Online Support
Customer support is not a service, it’s an attitude.
Our dedicated team is available 24x7 to provide fast responses to all of your queries. For any technical support you can register or submit a ticket here.
- Register
Register a new account to submit tickets. click here. - Submit a ticket
Submit a new ticket for your query. Our support team will contact you. click here. - Knowledgebase
Search support helpful articles and find answers to frequently asked questions. click here.
Kernel G Suite Backup - Export G Suite Emails to PST
Methods to Export G Suite to PST
Generally, two possible methods can be used to export G Suite mailboxes to PST. Both these methods require some technical expertise and G Suite admin credentials to export the mailboxes.
1st Method – Using G Suite/Google Workspace Admin Console
Using the G Suite Admin console is one of the best methods to export G Suite mailboxes to PST. From here, you can use the Data Export tool to export your mailboxes. Before using this utility, you need to make sure of the following things:
- Have an account in your domain for more than 30 days
- Credentials and permissions of Super administrator for your domain
- Activation of 2-step verification on your account
- Have less than 1,000 users on your Google Workspace account
After confirming these points, you can move on to use the Data Export tool with the following steps:
- Open the Data Export tool in the G Suite admin console by clicking Open at the top-right; click Data Export under the Tools.
- Now, click Start Export.
The tool might take up to 9 days to export your data based on the size of the mailboxes. Once the data is exported, you will get an email with the information to export it to an alternative service. After exporting the data, you can even check the export report to see what data has been exported.
Read moreKernel G Suite Backup - Backup G Suite Contacts/Calendar to Outlook PST
How to backup G Suite Contacts and Calendars/Appointments to Outlook PST File?
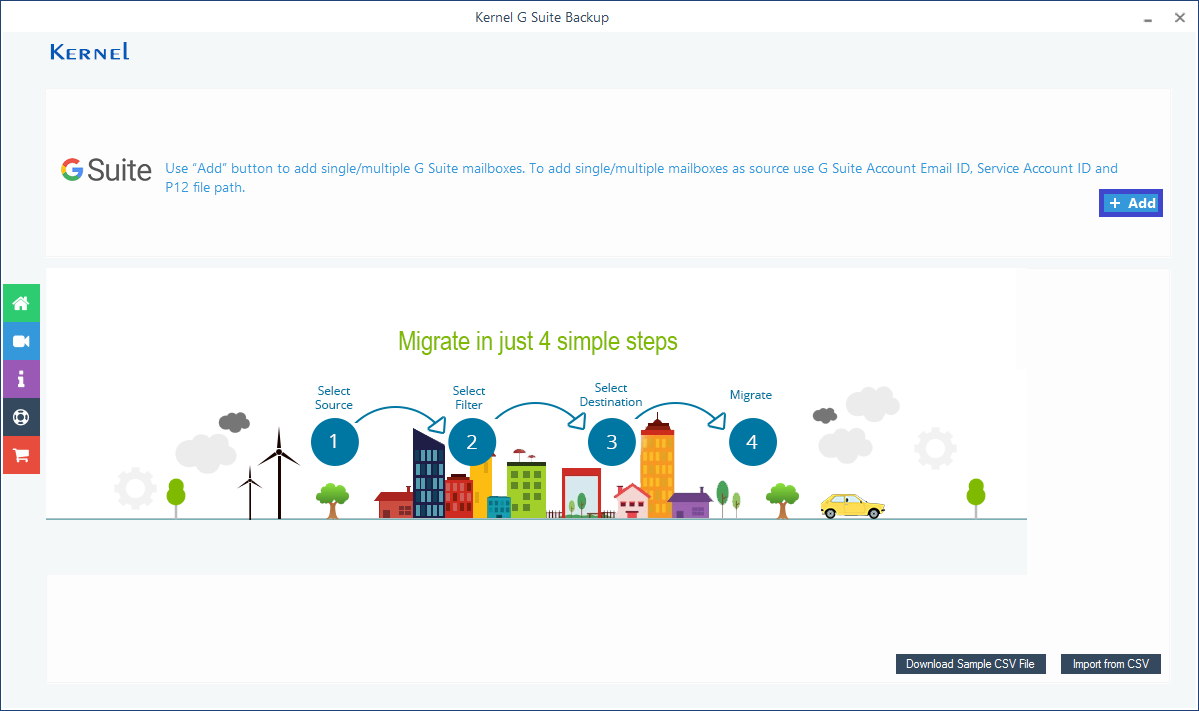
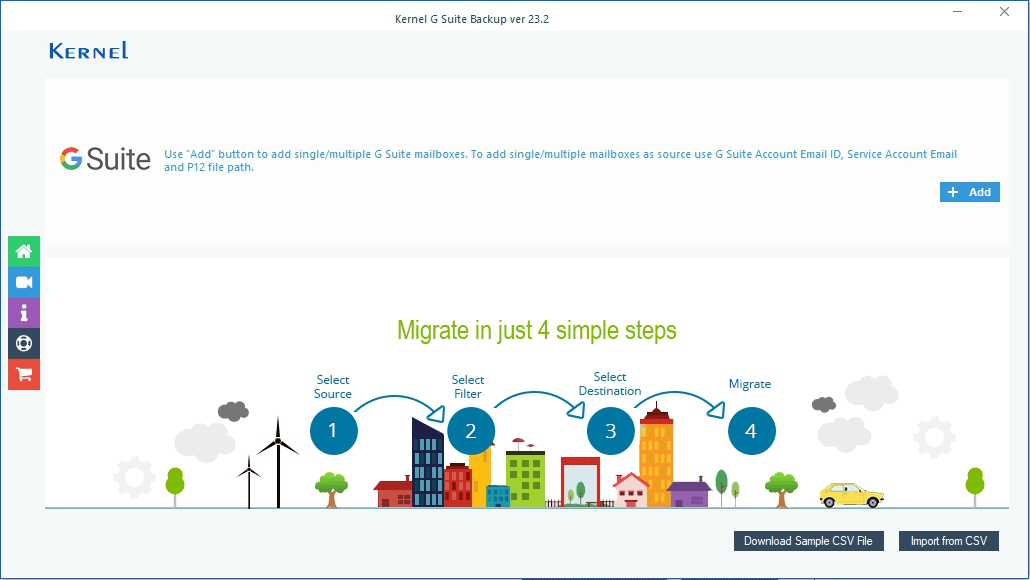
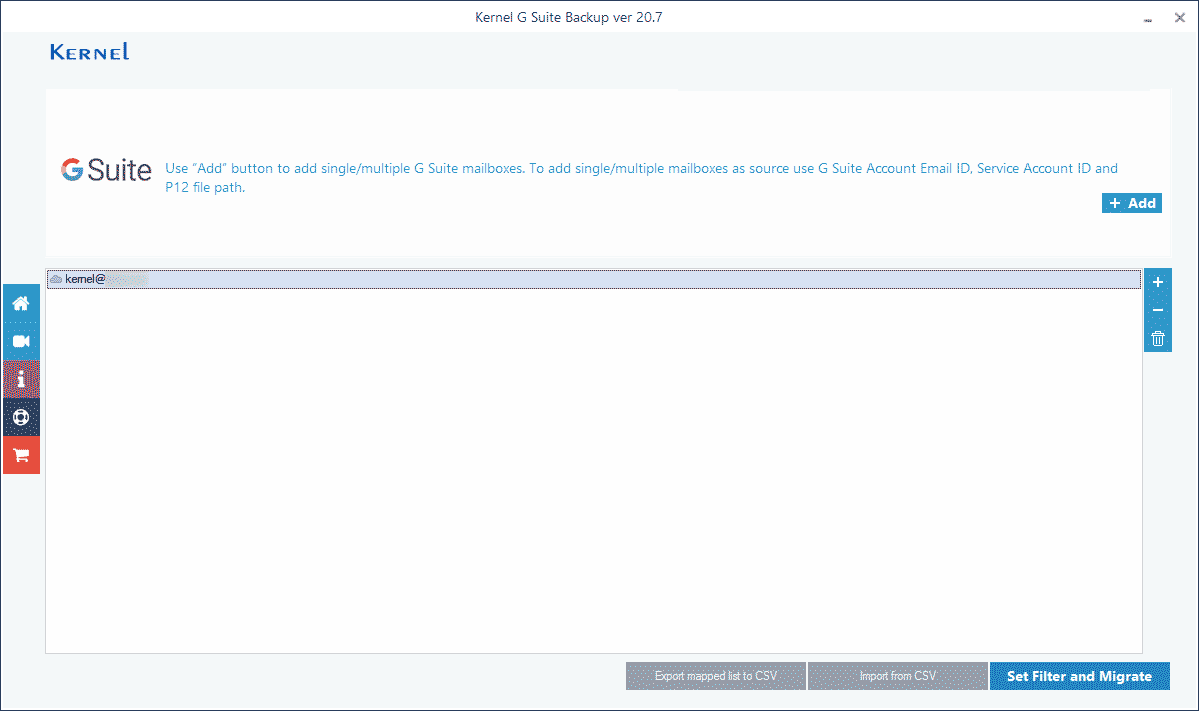
- Launch the Kernel G Suite Backup tool. On the Welcome Screen of the software, click on the Add option to add the G Suite account.
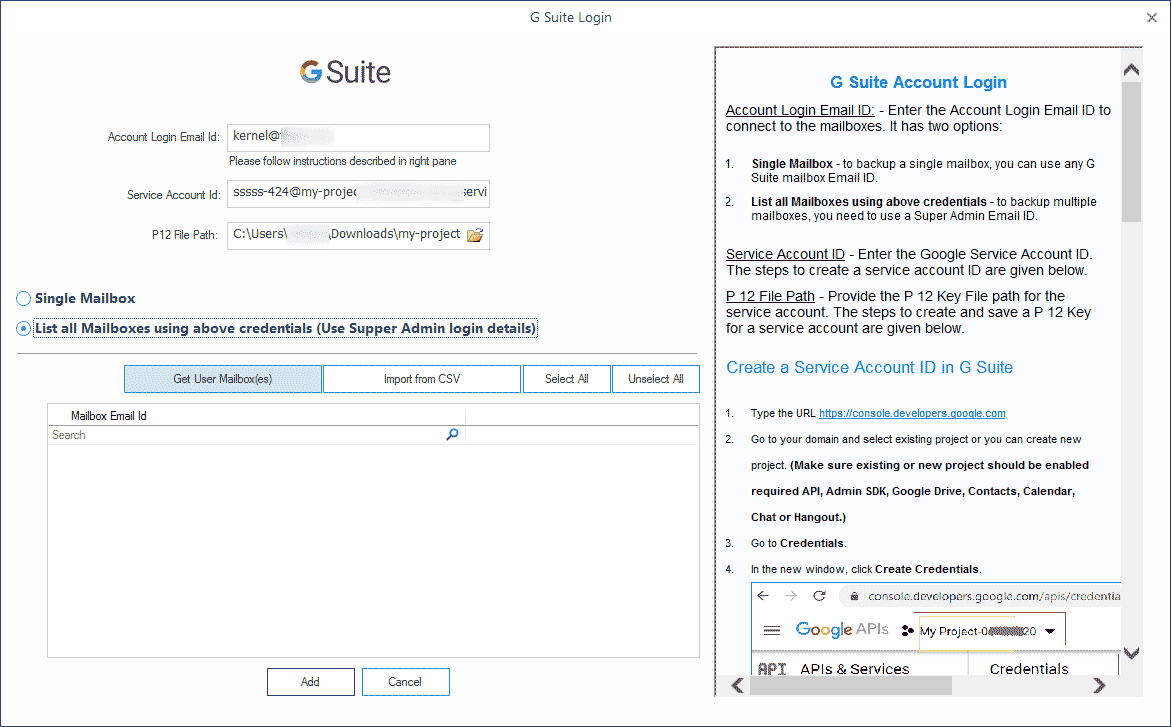
- On the G Suite login page, provide account information like Account Login Email id, Service Account id, and P12 File Path; select the option Single Mailbox (to add a single mailbox from the account). (To add multiple mailboxes, select the second option and click Get User Mailbox(es). Then select the required mailboxes.) Finally, click on the Add option.
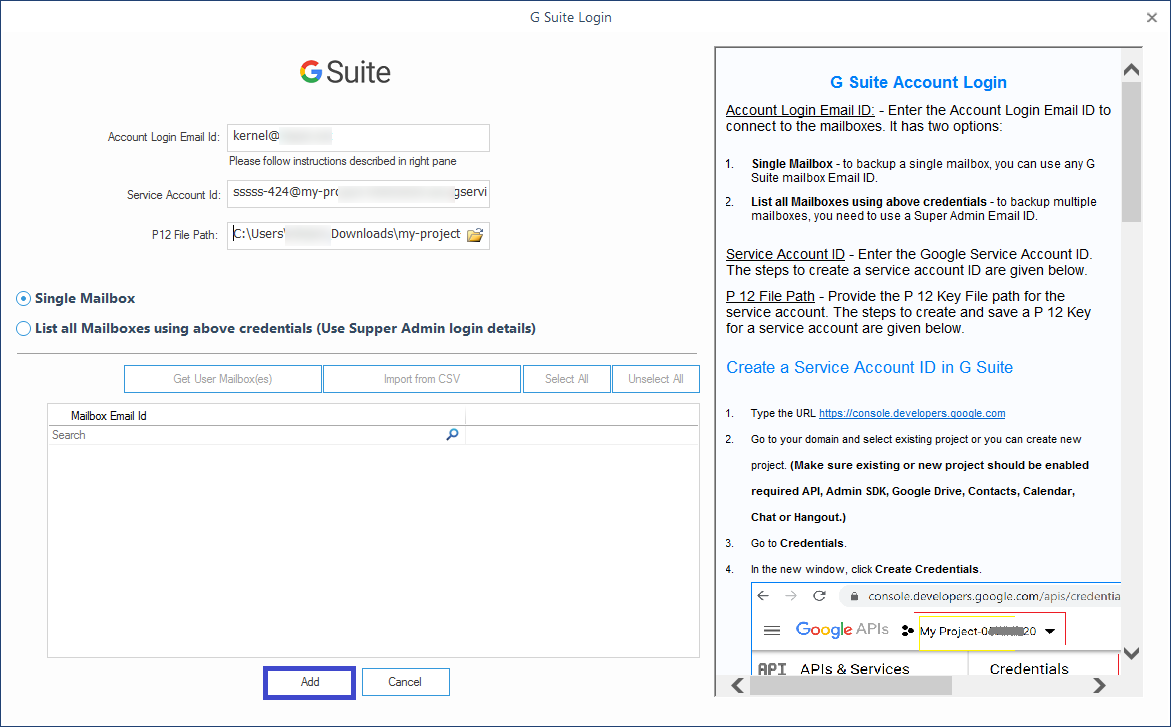
Note: Users can get detailed information about creating the Service Account ID and P12 File path from the same software interface.
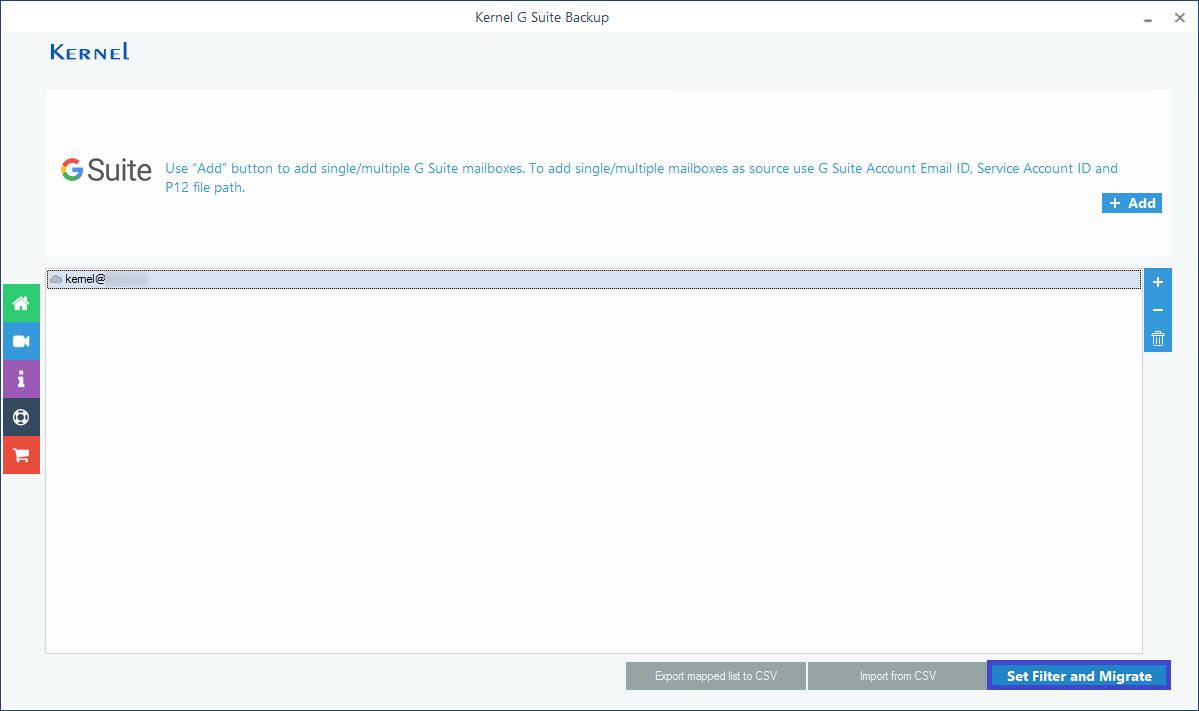
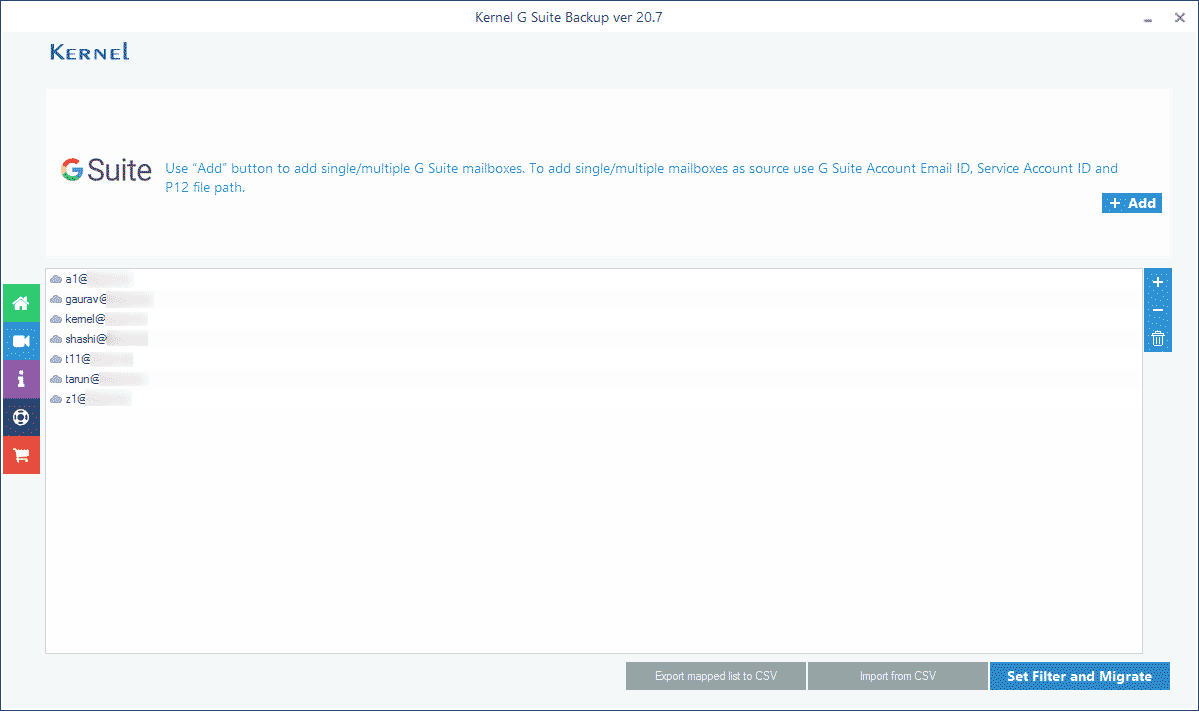
- The G Suite account will get added soon and displayed. Click Set Filter and Migrate option to continue.
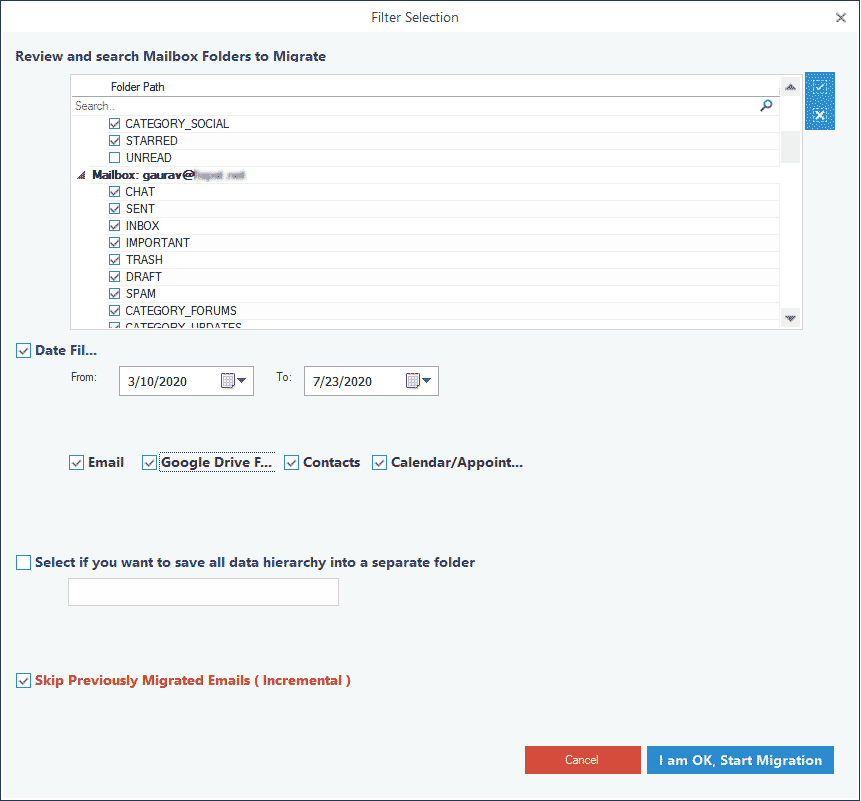
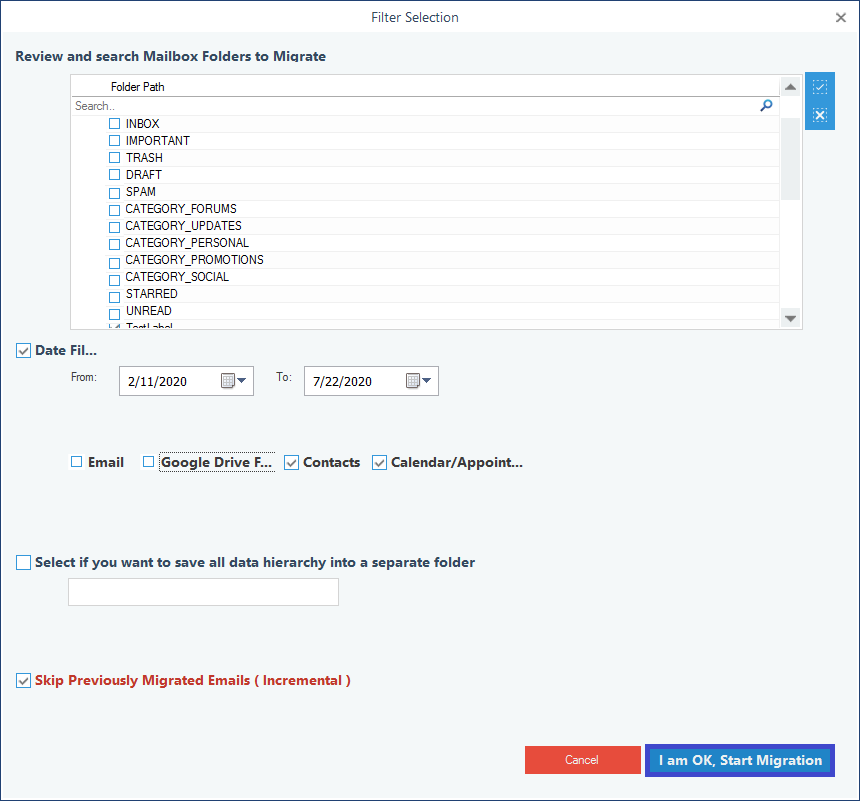
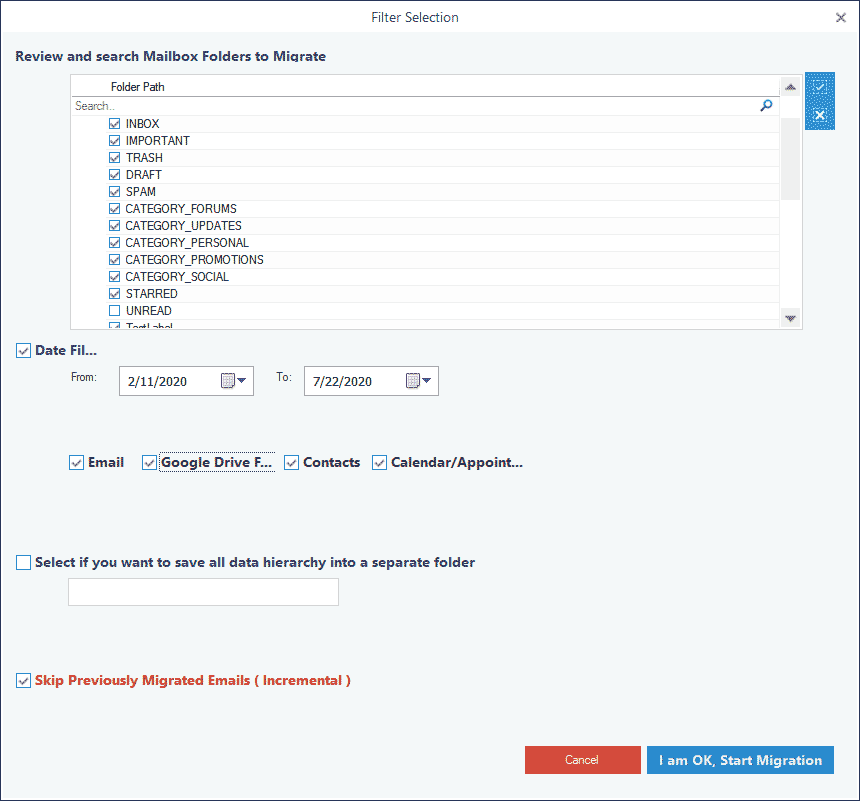
- From the Filter Selection page, select Contacts and Calendars/Appointments and choose other options if required. Click I am OK, Start Migration.
Kernel G Suite Backup - Backup a Single G Suite Mailbox
Backup a Single G Suite mailbox
To take a secure backup of G Suite data using Kernel G Suite Backup by following the steps below:
- Launch the software and click the +Add button to add the G Suite account for backup.
- In the Login page, input the G Suite details like Account email ID, Service Account ID, and P 12 File path.
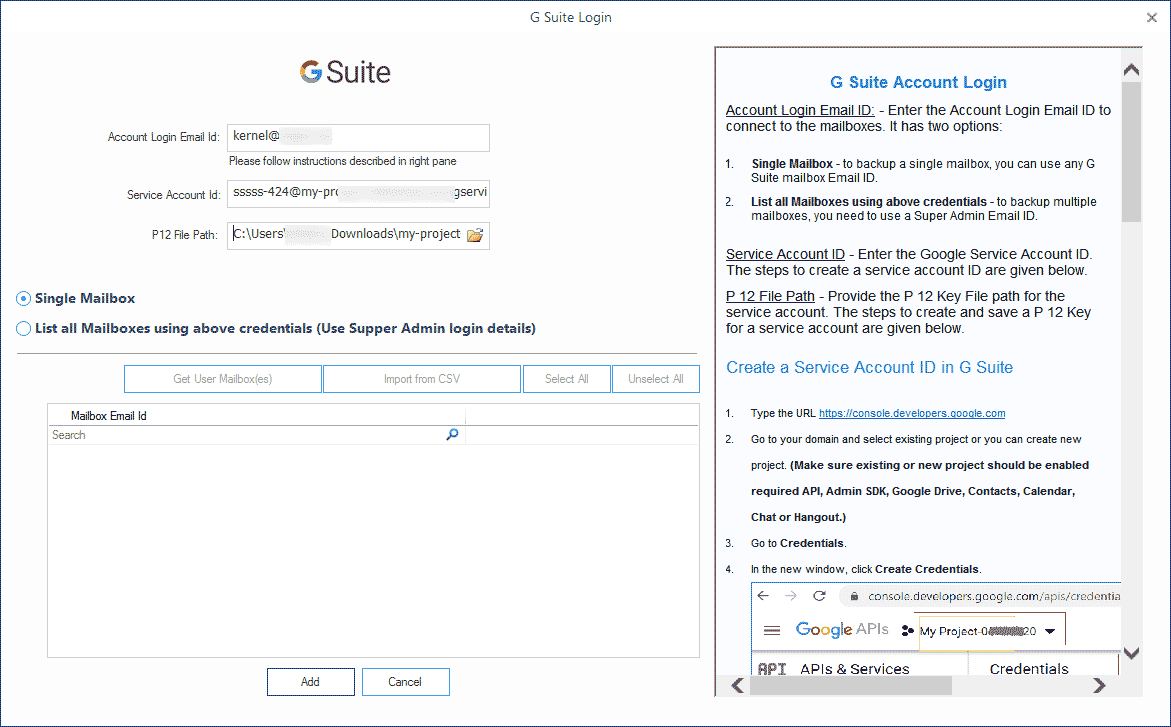
Note: If you have any doubts regarding the G Suite account details, please see the description in the right panel.
- After selecting the G Suite account, click the button Set Filter and Migrate.
- The filter page provides multiple filters options to perform selective backup.
- Folder selection
- Date Filter
- Item selection
- Save the entire hierarchy to a separate folder
- Skip previously migrated emails (Incremental)
After choosing the filters, click, I am OK, Start Migration.
Kernel G Suite Backup - Backup Multiple G Suite Mailboxes
Backup Multiple G Suite Mailboxes
To take the backup of multiple mailboxes, you need to have the email ID of the Super Administrator account, which has created other G Suite account. Here is the process:
- Launch the software and click the +Add button to add the G Suite account for backup.
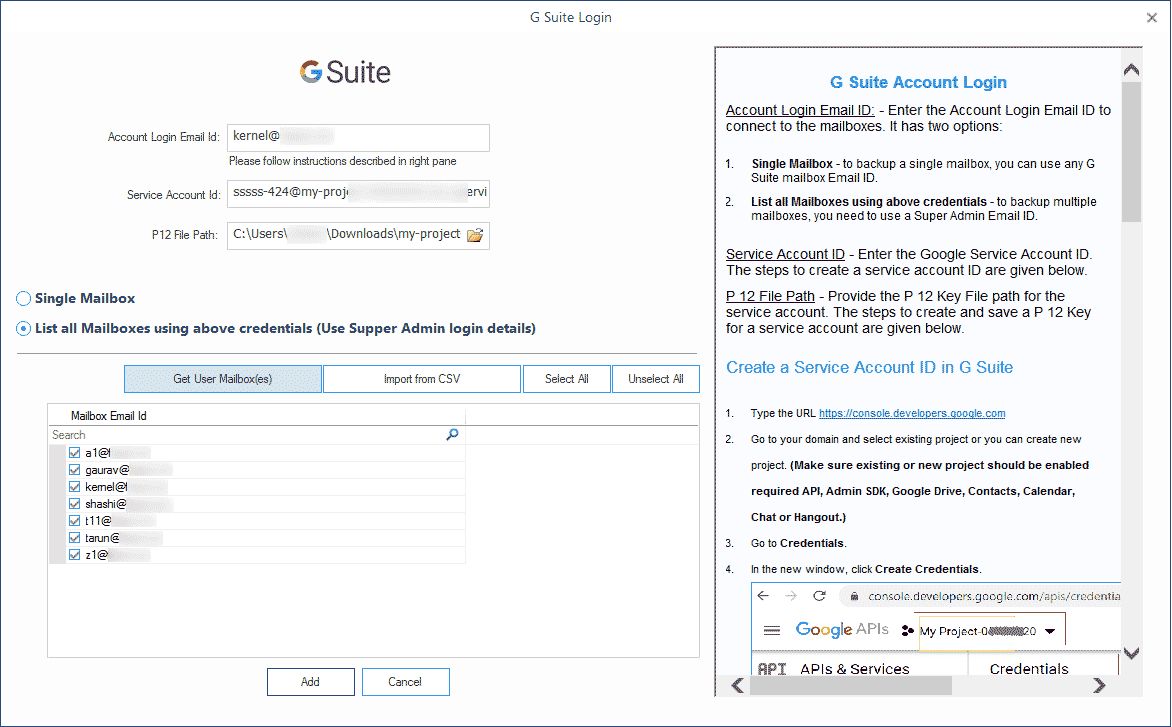
- In the Login page, input the G Suite details like Account email ID, Service Account ID, and P 12 File path. Choose the second option ‘List all mailboxes using above credentials.’ Then click Get User Mailbox(es).
- The tool will fetch all the mailboxes. Select the required mailboxes and click the Add button.
- After you have added all the mailboxes in the tool, you can remove any mailbox if you do not want to backup it. Later, click Set Filter and Migrate.
- In the App access control page, click the option Manage third-party app access.
- Folder selection
- Date Filter
- Item selection
- Save the entire hierarchy to a separate folder
- Skip previously migrated emails (Incremental)
Then click I am OK, Start Migration.