The tool has been designed to conduct migration easily. Here are the steps:
- After starting the software, click the Add button in the source section.
- Input the details of the G Suite/Google Workspace account. Its email address, service account, and public P 12 key. Choose the option for the single or multiple mailboxes.
- Now, click the Add button in the destination section. Then input the email address and password of Office 365. Then choose the option for single and multiple mailboxes as the destination.
- Map the source and destination account for both platforms.
- Choose between primary mailbox, archive mailbox, or public folder.
- Apply the appropriate filters at the filter page.
- The tool will start the migration and provide a report in the end also.
The P 12 key is a public key that helps the service account to connect with third-party applications like out software. To create the P 12 key –
- Login to your Google Workspace account and go to the list of service accounts.
- Choose the service account whose apps data you want to migrate to Office 365.
- After choosing the service account, click the Add Key option.
- Click Create New key.
- Choose the second option of P 12 and click Create.
- P 12 key will be downloaded on the computer. You can go and check it in the download folder. You will need to input the whole path of the P 12 key in the G Suite login page of the software.
The tool does not put any specification for the domain name of the accounts. It will choose the data and migrate to the office 365 mailbox. It doesn’t matter if the domains are the same or not.
The tool shows the list after you provide the Office 365 login details. You can deselect the mailboxes easily and proceed with the migration.
The tool makes sure that you need not perform any post-migration activity. You can start working with the new data immediately after the migration.
The free version of the software will migrate 10 items per folder. It is better to download the trial version, then run the migration and check its results.
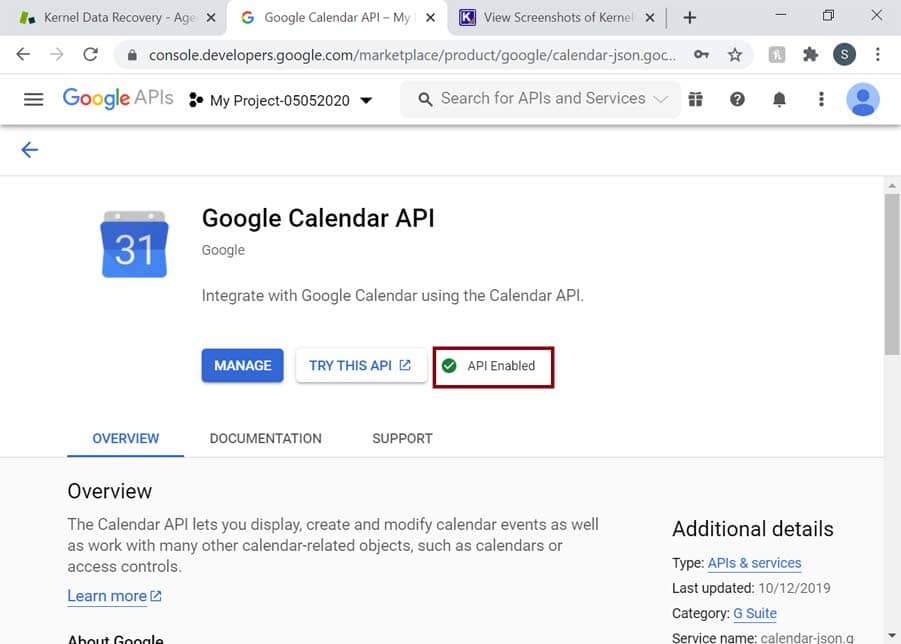
The tool can migrate Calendar/Appointments and Contacts only if the API is enabled for them. To enable API, follow these steps:
- Go to https://console.developers.google.com.
- Go to your domain and ensure that the new/existing project has the required API enabled.
