Organizations use Office 365 to store and protect their business data. It will help them to build a unique work culture, enhance productivity and utilize various components of Office 365. You can store any kind of data, including Word, Excel, presentations, sites, and emails on Office 365. It’s an advanced platform that can secure your data from any theft or unauthorized access.
However, taking regular backups gives extra protection so organizations can live stress-free. But while taking regular backups, organizations backups repeated items in their local folder. To avoid this, organizations need to perform selective data backup from Office 365. In this article, we have mentioned the manual method and professional software to take backup data selectively from Office 365.
How to take selective backup of Office 365 data?
If you have configured an Office 365 account with the Outlook application, you can use its built-in export method to save the folders selectively.
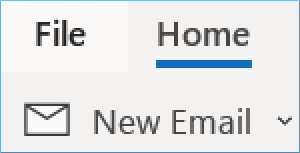
- Open Outlook and click on File.
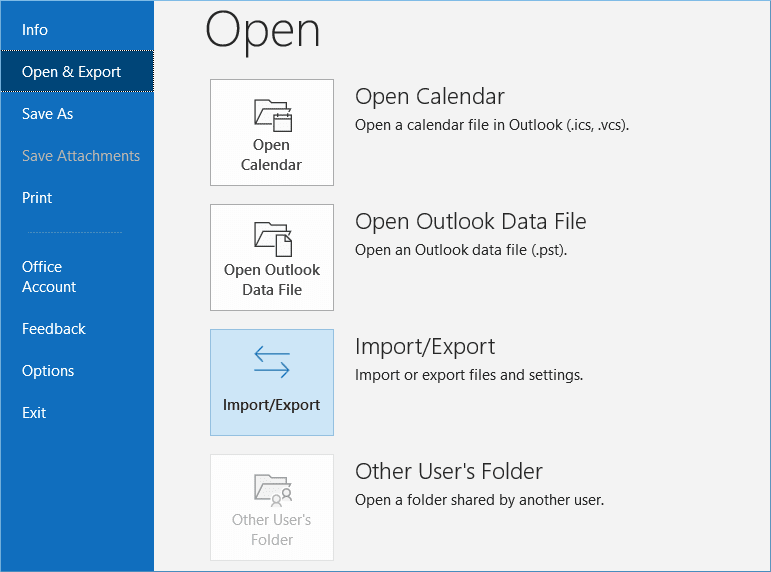
- Click on Open & Export section and go to the Import/Export wizard.
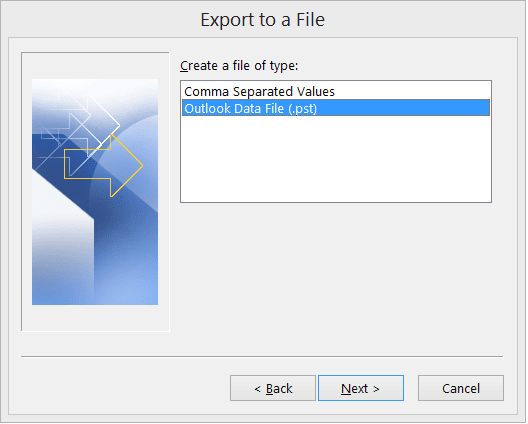
- Click the ‘Export to a file’ option.
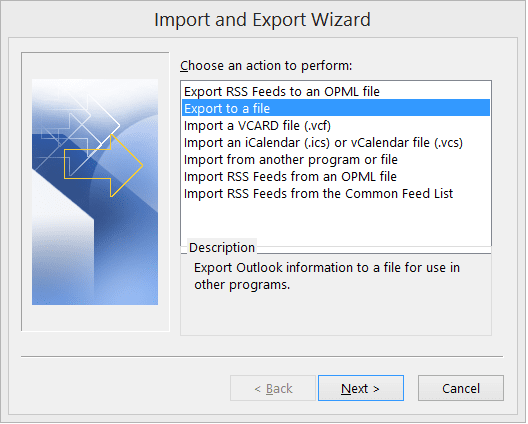
- Select Outlook Data File (.pst) and tap on Next.
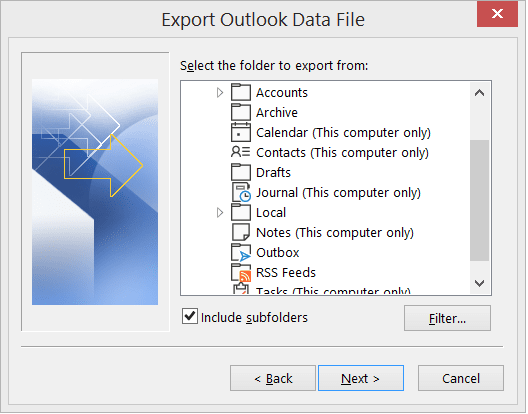
- The Export Outlook Data File will pop up, and you can select the folders whose data you want to back up. Use the checkbox to add subfolders to it. Also, utilize Filter option to get selective backup. After selecting the data, click Next.
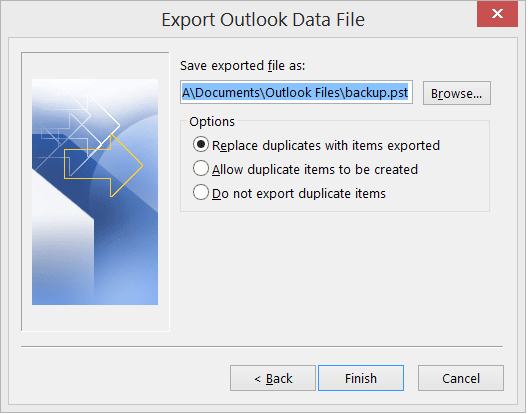
- Click on Browse to select destination folder where you will save your backed-up files, then hit Finish.


After taking a backup, you can go to the saved location to access the backed-up PST file. However, this method has many limitations because it cannot take the selective backup of personal folders, archive mailboxes, and shared mailboxes. If the number of folders and emails is higher, then the process may take a significant time. So, in that scenario, use professional Kernel Office 365 Backup software to export Office 365 data to PST on your own terms. The software can migrate an unlimited number of mailboxes from an Office 365 administrator account and save them in the desired backup file.
![]()
Look at the software process to backup data selectively from Office 365:
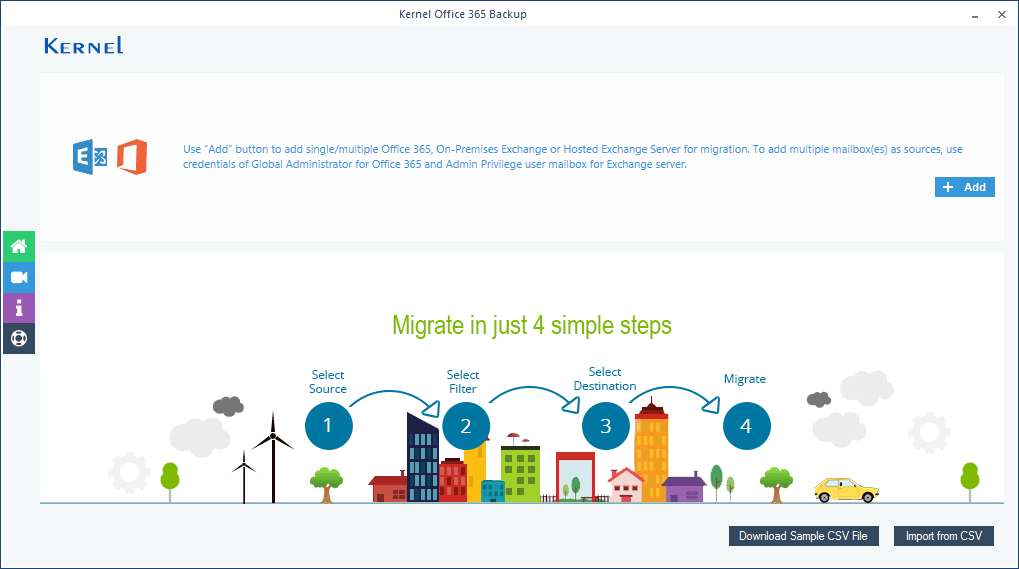
- Launch the software and click on the Add to pair Office 365 account.
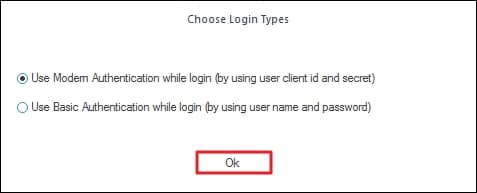
- Choose the login mode according to your preference, then click OK.
- In the Office 365/Exchange Login prompt, enter the Exchange Server Name, Mailbox login ID, and other necessary details. After that, click on Get User Mailbox(es).
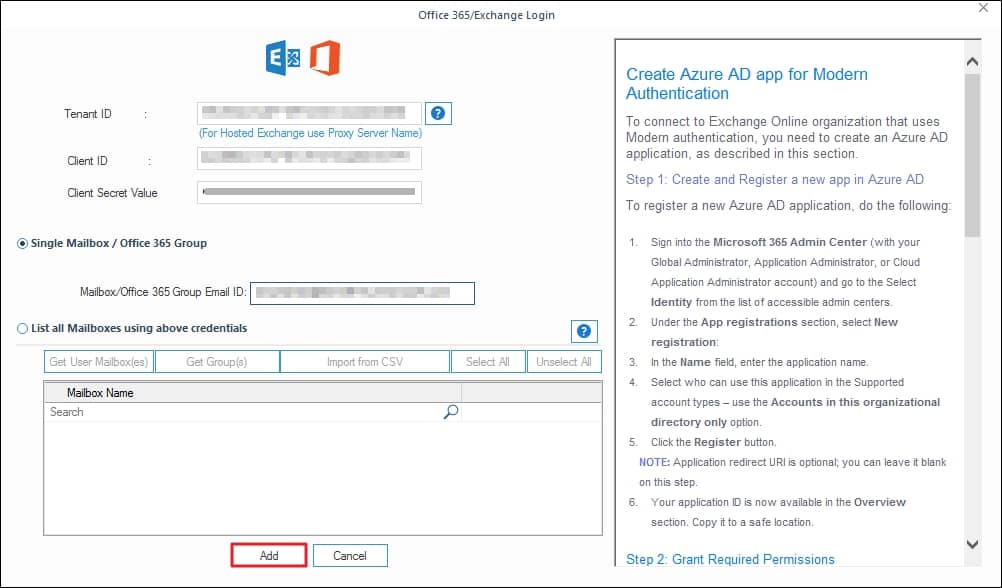
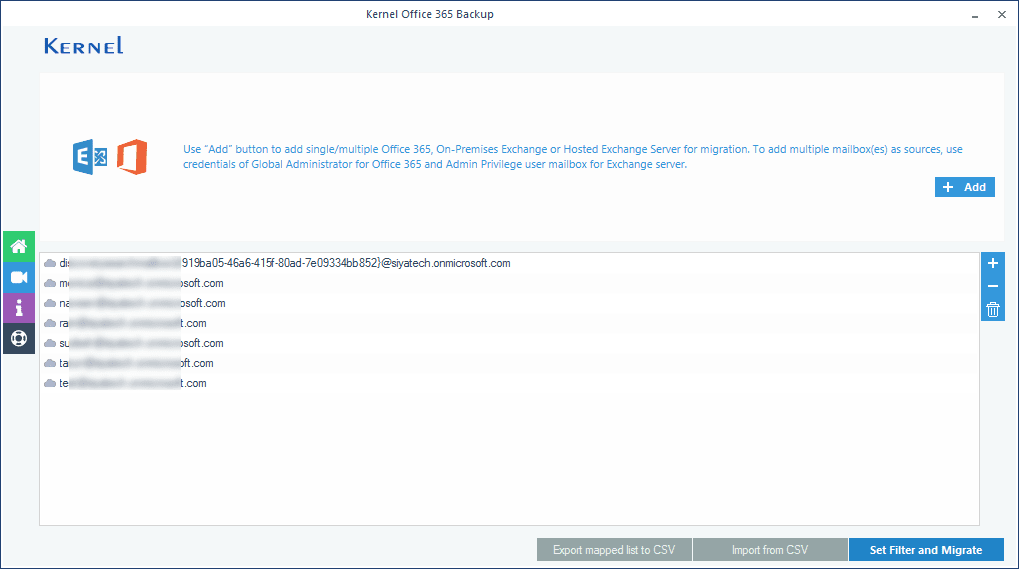
Note: Use the checkboxes to select the mailboxes accordingly and click Add. - The software will verify the mailboxes and enlist them for backup. Proceed to the Set Filter and Migrate option.
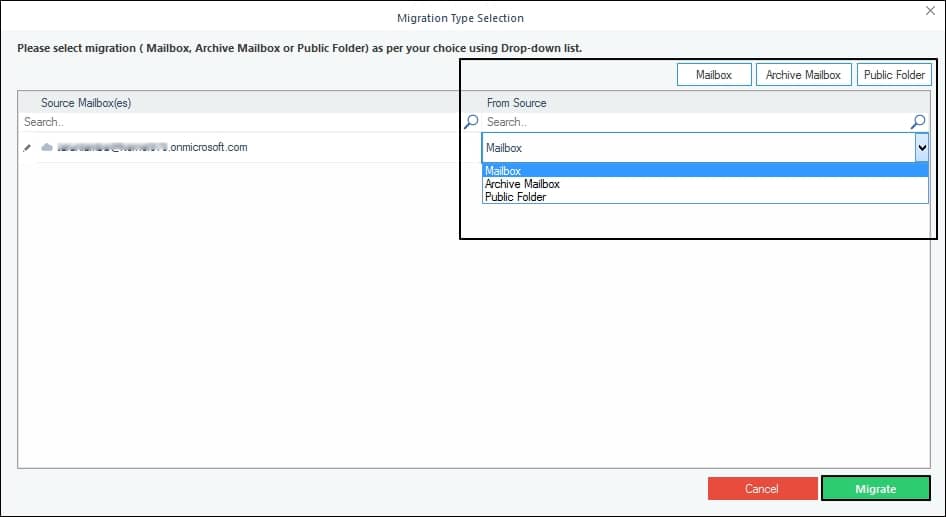
- Use the drop-down menu to select among Mailbox, Archive Mailbox, and Archive Folder on the Migrate Type Selection wizard, and click Migrate.
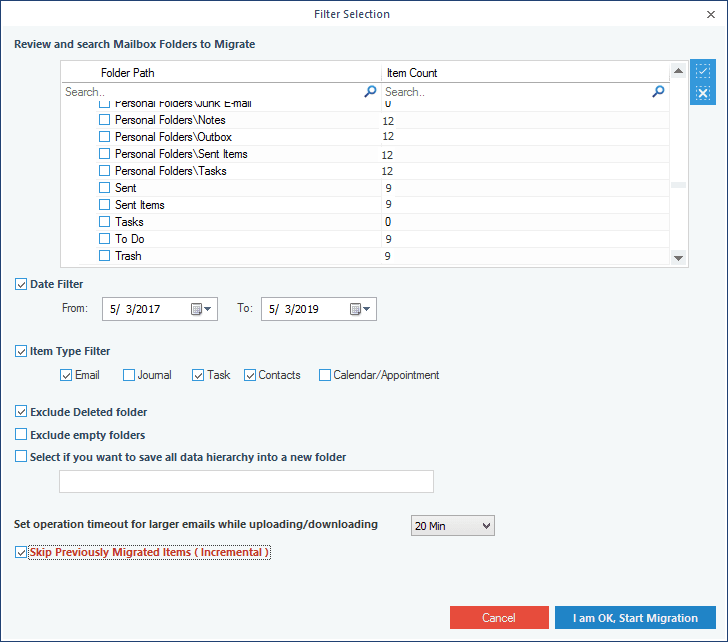
- In the Filter Selection wizard, select all the necessary filters, including Date Filter, Item Filter, Exclude Deleted Folder, Exclude empty folders, Select if you want to save all data hierarchy into a new folder, Set operation timeout for large email while uploading/downloading, Skip Previously Migrated Items (Incremental). Then click I am OK, Start Migration.
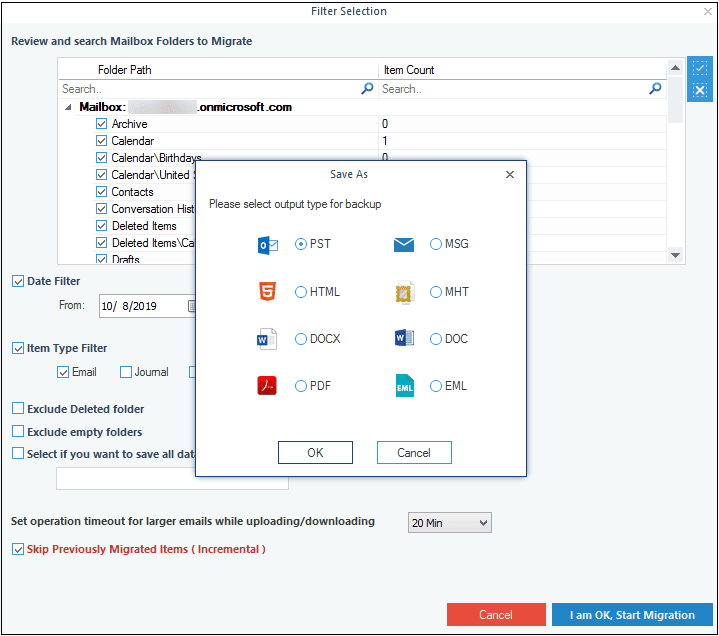
- The Save As wizard will pop up, select the PST file and hit OK.
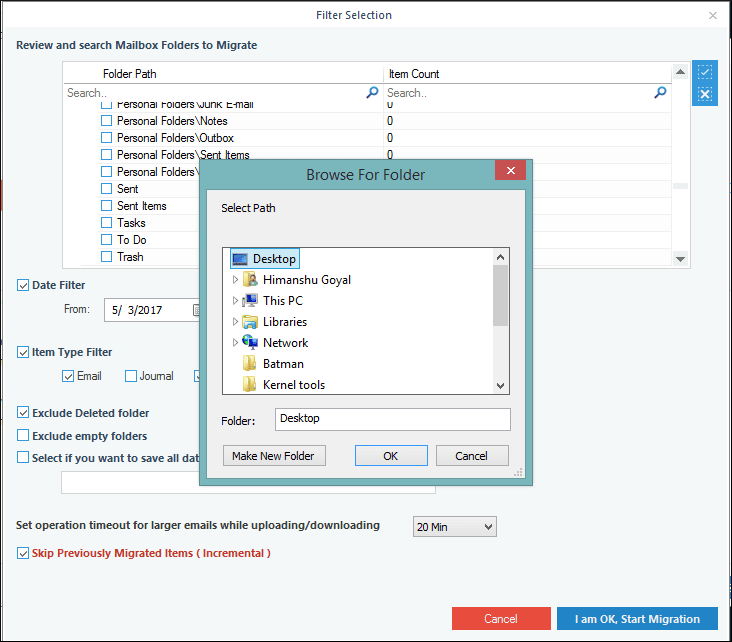
- Browse the destination folder to save backed-up files, then hit OK.
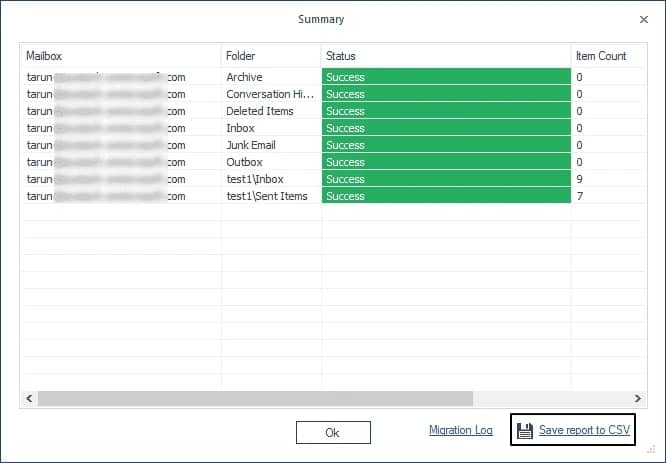
- Once the process is completed, software will pop up the Process completed. Please save the report to CSV and click on OK.
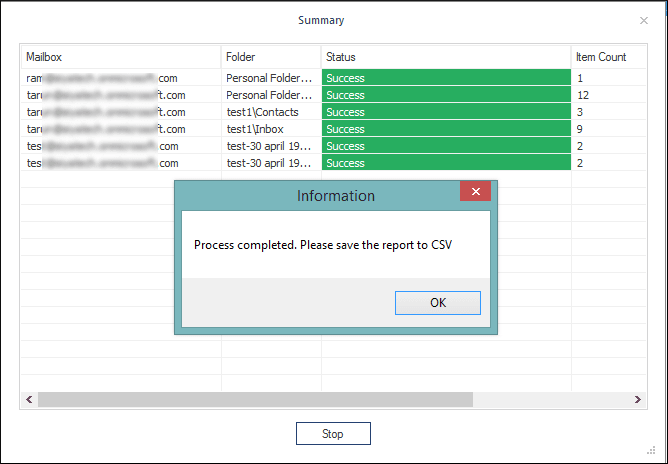
- Tap on Save a report to CSV to download a detailed report of backed-up files.


Conclusion
Office 365 mailboxes can support data up to 50 GB. The Public folder, archive mailbox, and shared mailbox can also contain data up to multiple GBs. So, if you are working with these types of folders on your Office 365 accounts, you cannot take a simple manual backup. So, you should use Kernel Office 365 Backup Software. It also supports backup Exchange Online mailbox to PST, and you can follow the same procedure to back up the mailboxes. The software is designed to handle large mailboxes.
![]()