The Exchange Server platform has been the backbone of IT industries for many years for data storage, exchange, and management. With the advent of the Microsoft 365 cloud platform for the same and more purposes, the competition has grown and many Exchange administrators seek migration to it due to the following factors.
- Anywhere accessibility with cloud
- No installation and maintenance charges
- Less expensive than overall costs of Exchange Server
- Low chances of data corruption stored online
- Advanced enterprise-grade security options
- Collaboration with advanced communication channels – Skype for Business, Teams
- Integrated Microsoft Office suite applications
- Web-based email client – Outlook on the Web and collaboration tools – SharePoint Online, OneDrive, and more
Due to business compliances and other requirements, some organizations do favor synchronization of both data management platforms to work on both at the same time and for that, they find apt solutions.
Do you know the advanced Kernel Migration for Exchange tool provides facility to manage the mailbox synchronization between the Exchange and Office 365 after migration? Yes, you can choose the synchronization direction using this tool. With proper synchronization, you will be able to update the source or destination to receive the emails that reach the other end after the migration.
The tool offers three types of synchronizations:
- Source to Target
- Target to Source
- Both ways
We are going to discuss here how Exchange Migration tool offers to configure the synchronization of mailbox data.
![]()
Read Also: Migrate Exchange 2010 to 2019
Migrating Exchange Mailboxes to Office 365 Ensuring Synchronization of Data
You need to have a trial or full version of Kernel Migration for Exchange installed on your system (before installing, please check the system requirements mentioned on the website). Follow the given steps:
- Open the Kernel Migration for Exchange application. On the opened Welcome screen, click Add project to add a name for the migration project. Add any name and click OK.
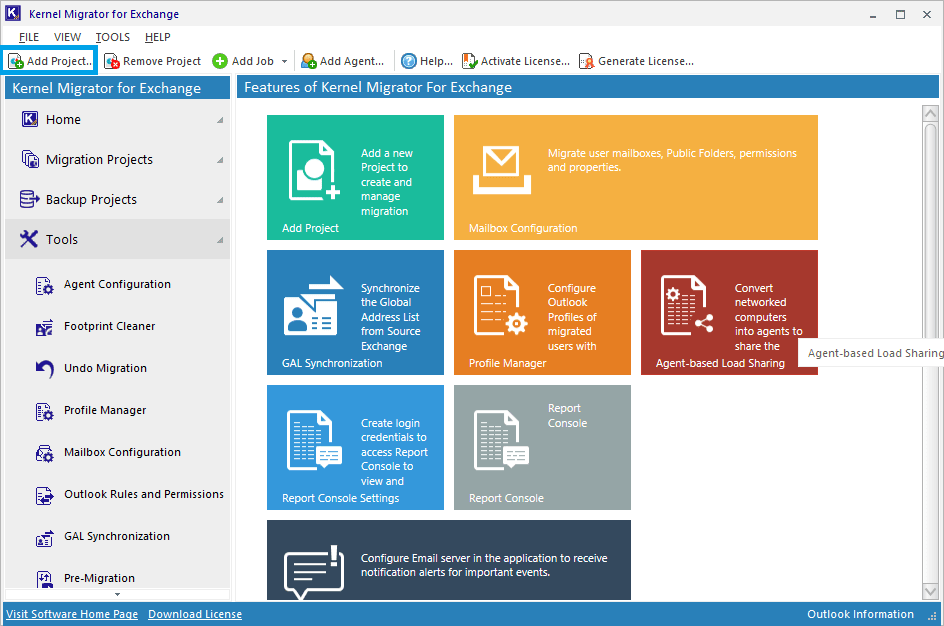
- Select the Add Job for Mailbox option to migrate Exchange mailboxes.
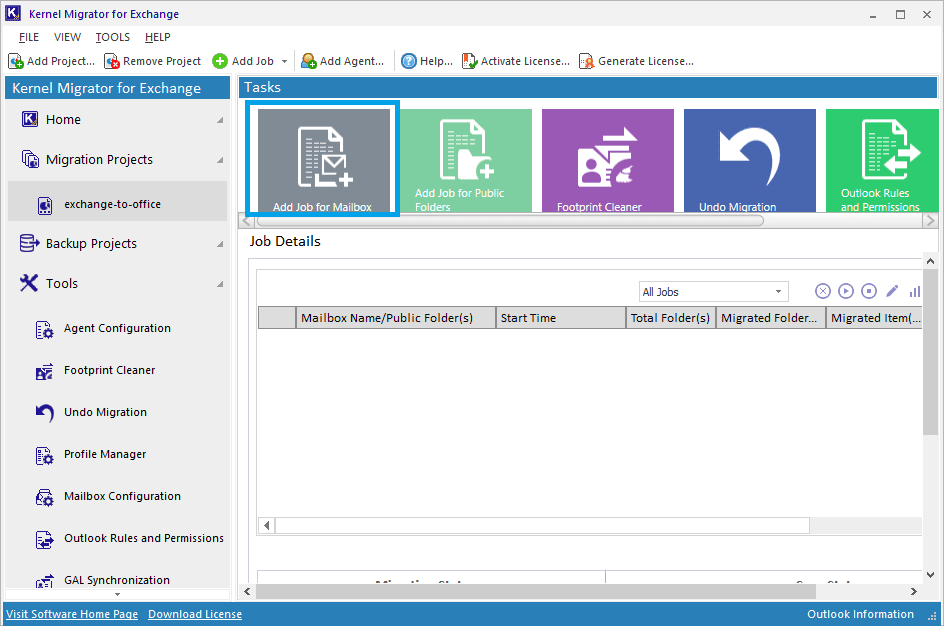
- Provide a name for the migration job under the project and click Next.
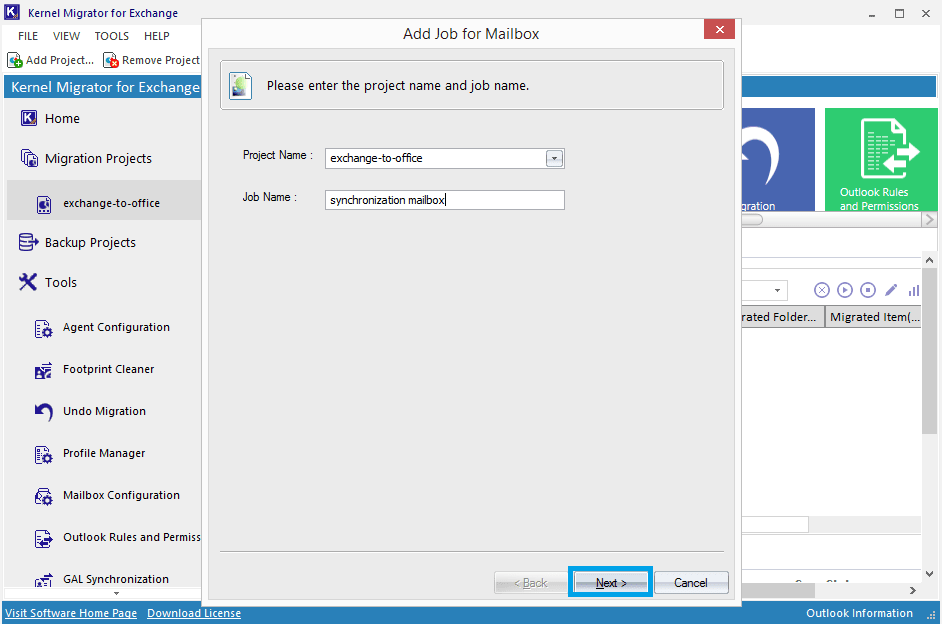
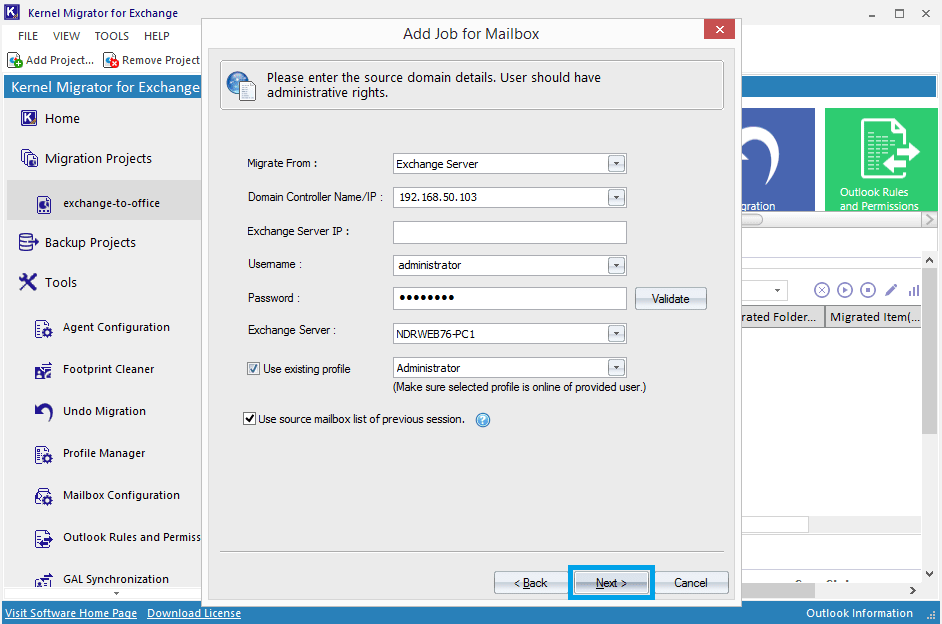
- Now enter your Exchange Server details like credentials and select the options if required. Click Next.
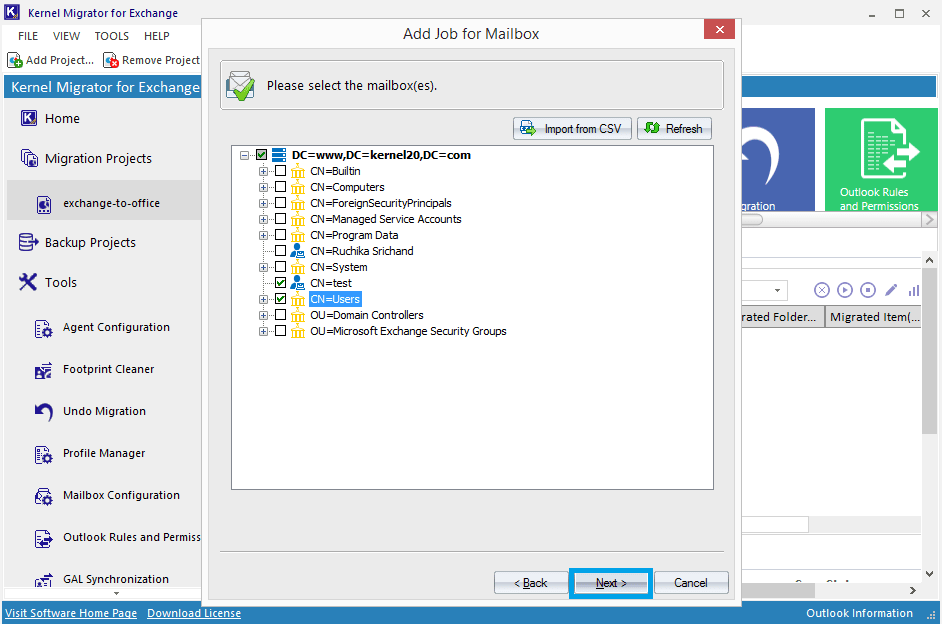
- Choose the mailboxes from the list of source Exchange mailboxes and click Next.
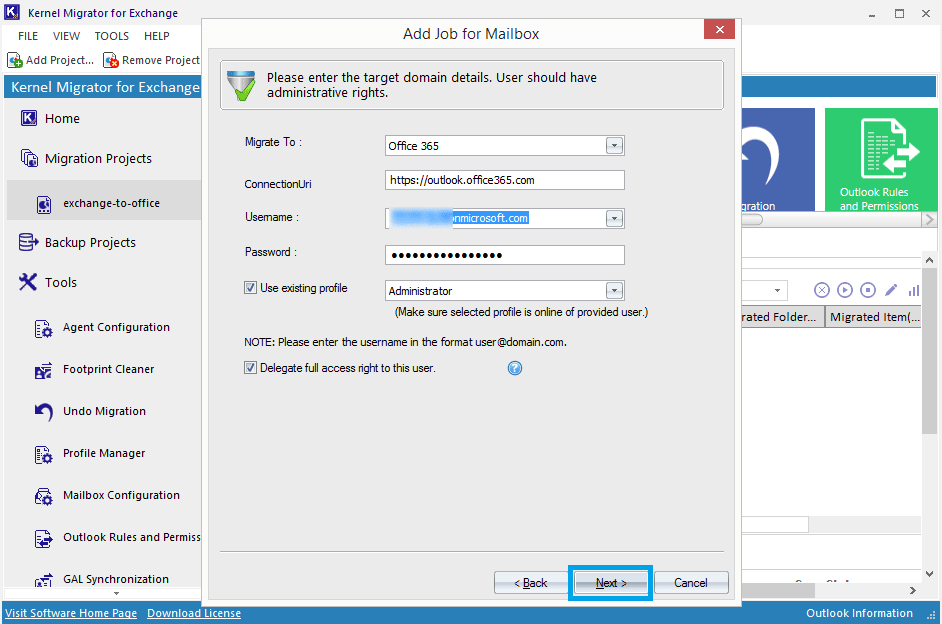
- Enter the destination Office 365 credentials and provide other details. Then click Next.
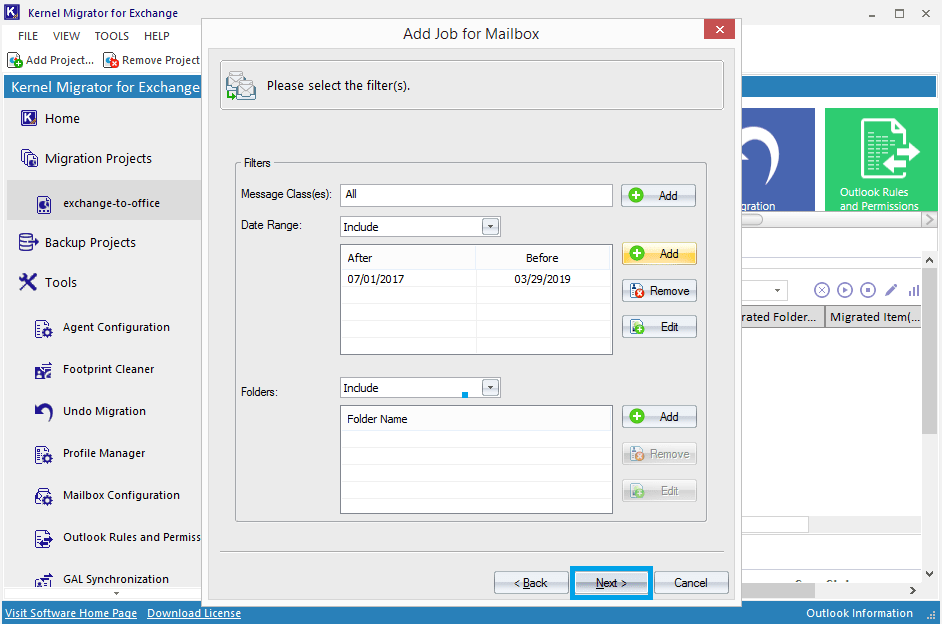
- Add the desired filters to move only required data to the and click Next.
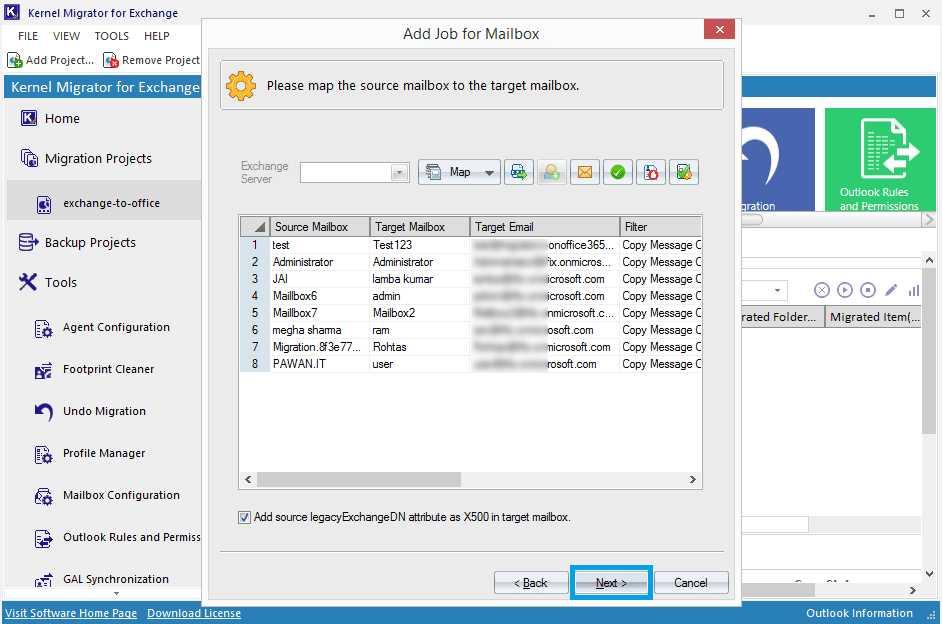
- Map the source mailboxes to target mailboxes and click Next.
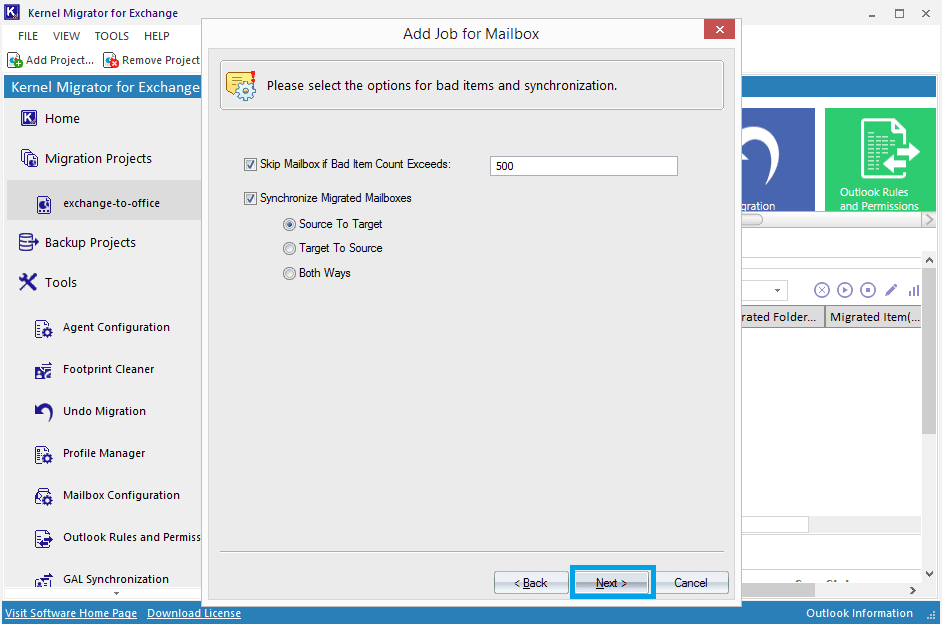
- Here is the option where you can manage items and perform synchronization between mailboxes. You have three options to synchronize source mailboxes with the target mailboxes–
Source to Target – To synchronize mailboxes in the source Exchange with those in the target Office 365 (Every new email in the source mailbox is delivered to the target mailbox)
Target to Source – To synchronize mailboxes in the target Office 365 with those in the source Exchange mailboxes (Every new email in the target mailbox is delivered to the source mailbox)
Both ways – To synchronize mailboxes in the source Exchange with the target Office 365 mailboxes and vice versa (Every new email in both the source and target mailboxes will be delivered to each other)
Choose your desired option for synchronizing the mailboxes and then click Next.
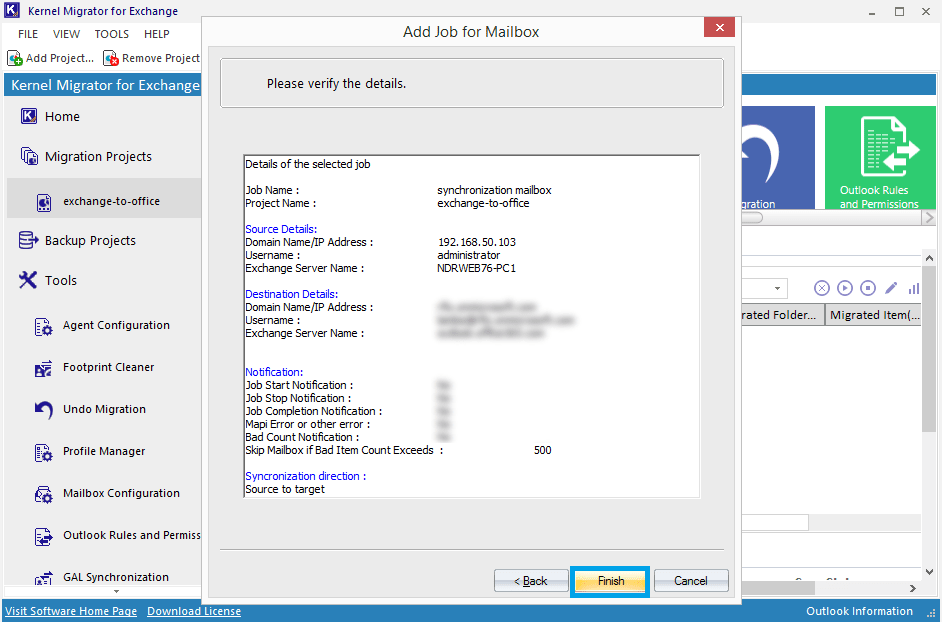
- Also, there are options like Notification Settings, Set migration period and time, Report console settings, etc. After that, you will receive the summary, confirm it and then click Finish to start the migration.


When the mailbox migration is complete, you will get the status as Completed against each selected mailbox for migration.
Concluding Lines
With Kernel Migration for Exchange, you can migrate hosted Exchange to Office 365, between any versions of Exchange, between Office 365 plans, Office to Exchange, etc. And also, it includes the option to synchronize Exchange and Office 365 mailboxes either in a single way - Source to Target or Target to Source or both the ways.
![]()