Kernel Migrator for Exchange facilitates migration from Microsoft 365 or to Microsoft 365. To perform Microsoft 365 migration, you need to add Microsoft 365 as the source or destination. This can be done after configuring Microsoft 365 account in Outlook. Here, we will discuss how to:
Create a Microsoft 365 mailbox profile in Outlook
To create a Microsoft 365 profile in Outlook,
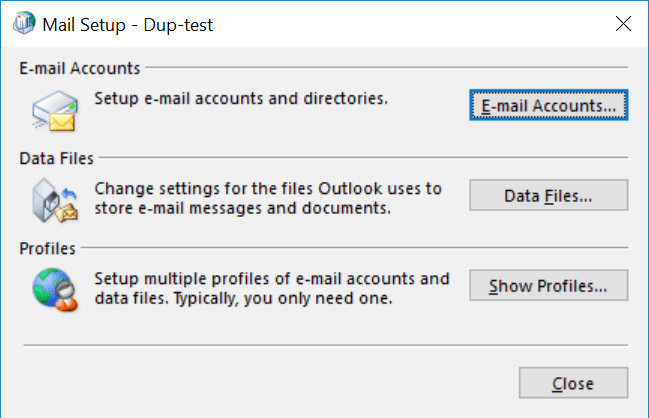
- Go to Control Panel and double-click Mail.
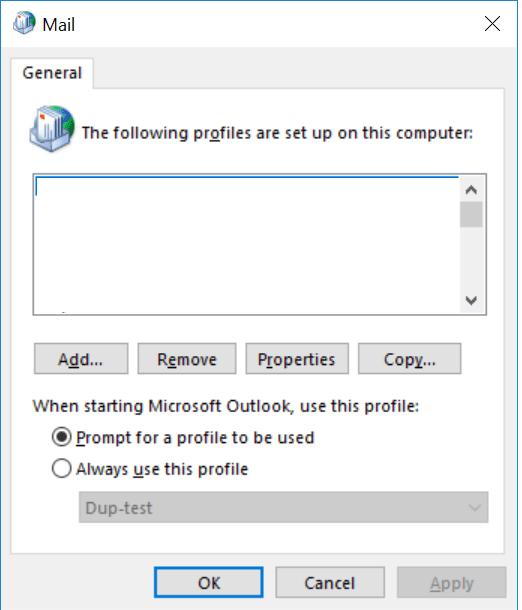
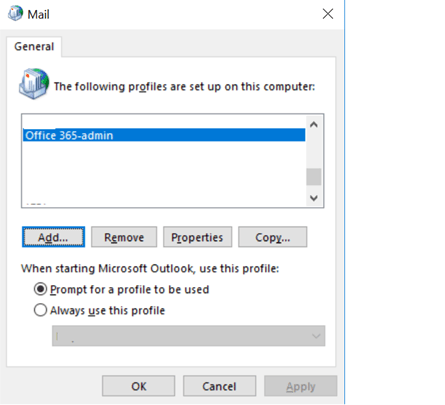
- In the Mail Setup dialog box, click Show Profiles.
- Click Add to add a new profile.
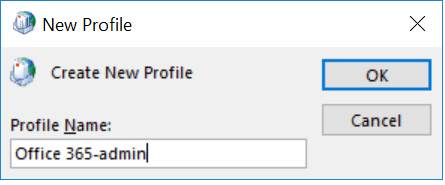
- Now, enter a new profile name and click OK.
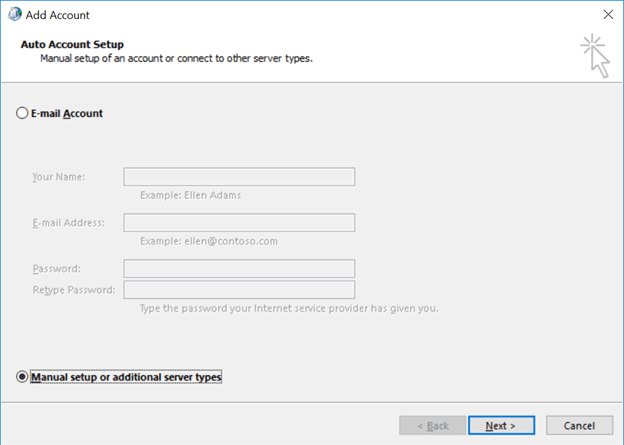
- Select Manual setup or additional server types option and click Next.
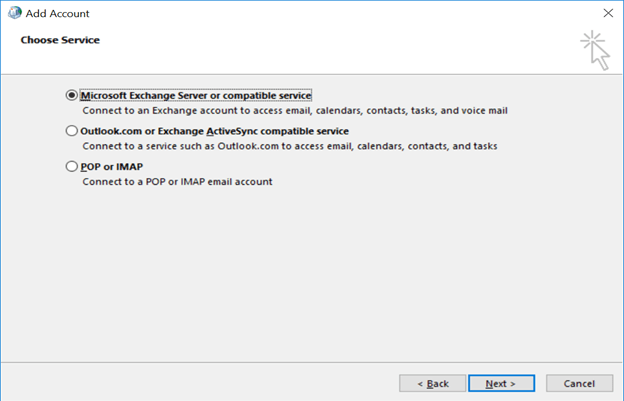
- Now select Microsoft Exchange Server or compatible service and click Next.
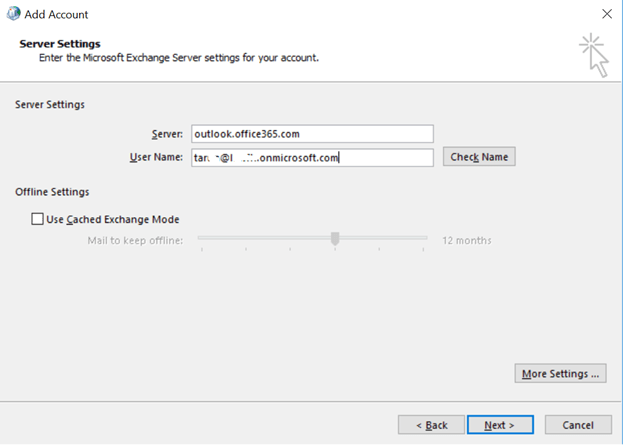
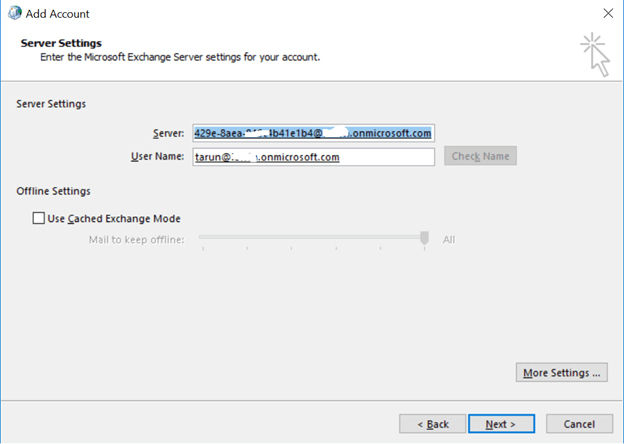
- Now, provide the following details:
• Server:- Outlook.Office365.com Note: Change this default server name according to your Microsoft 365 tenant location/Geo location or Data Center location. For example, outlook.office.de and partner.outlook.cn.
- Username: Provide a Microsoft 365 Global admin user mailbox name
- Offline Settings – Keep Use Cached Exchange Mode unchecked.
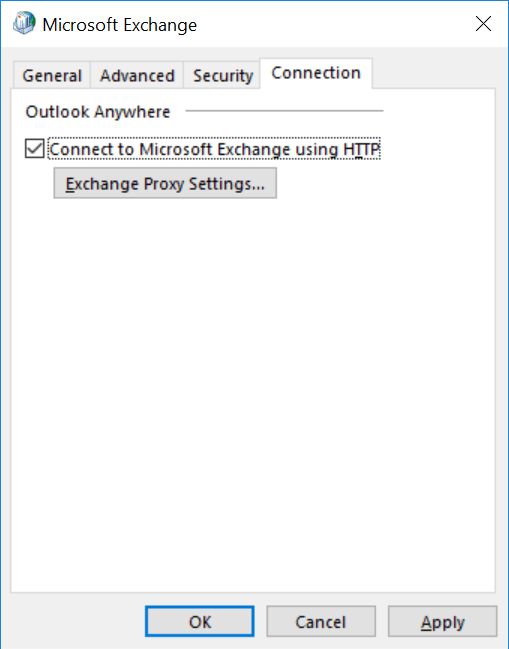
- In Microsoft Exchange, go to the Connection tab and choose the option Connect to Microsoft Exchange Using HTTP. Now, click Exchange Proxy Settings.
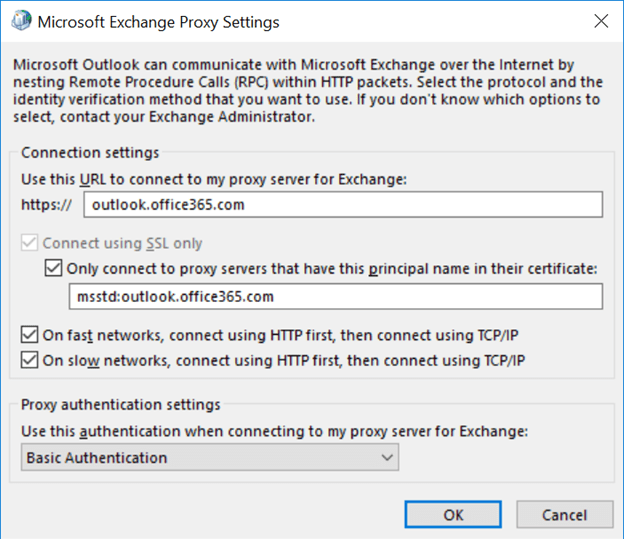
- Now, provide the following details:
- Connection Settings: Outlook.office365.com Note: Change this default server name according to your Microsoft 365 tenant location/Geo location or Data Center location. For example, outlook.office.de and partner.outlook.cn.
- Select Connect using SSL only and then select Only connnect to proxy servers that have this princiapl name in their certificate: and enter msstd:outlook.office365.com. Note: Change this default server name according to your Microsoft 365 tenant location/Geo location or Data Center location. For example, outlook.office.de and partner.outlook.cn.
- Select Proxy authentication settings as Basic Authentication
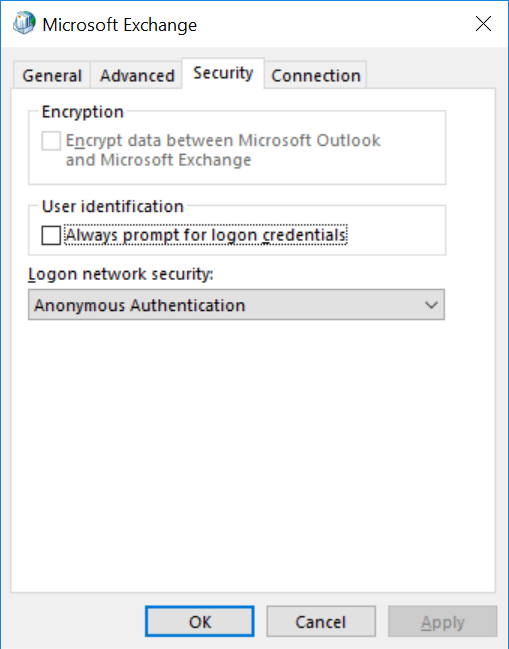
- In Microsoft Exchange, go to Security tab and select Anonymous Authentication under Logon network security. Click Apply. Click OK.
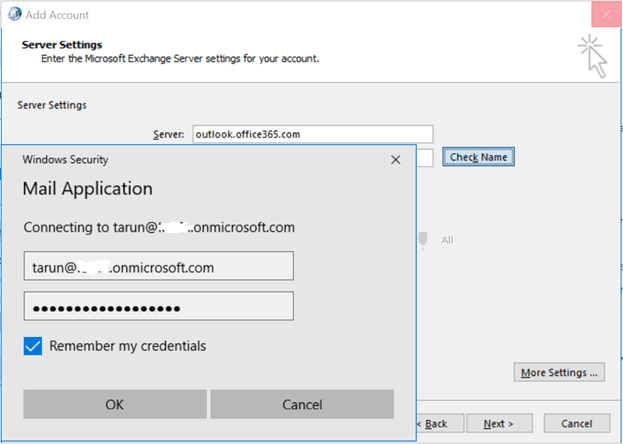
- Click on Check Name. In the Windows Security dialogue box, • enter the same Microsoft 365 global admin credentials • Check Remember my credentials Click OK.
- Click Next.
- Click Finish.
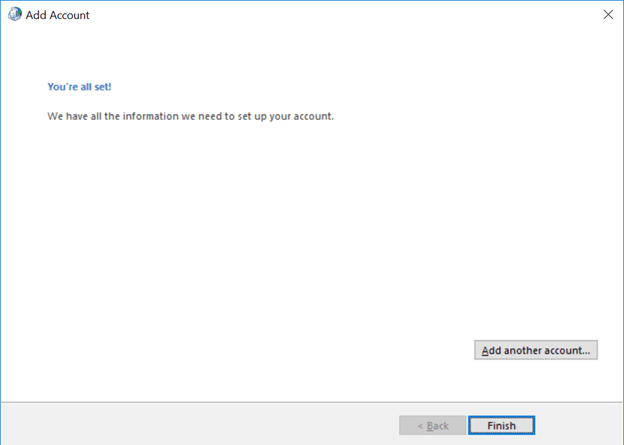
- Now you have successfully created a Microsoft 365 profile.


Now you can use this profile in Kernel tool for adding Microsoft 365 as a source or as a destination.
Add Microsoft 365 in KME as a source/destination
Using the tool, you can migrate mailboxes from Office 365 or migrate mailboxes to Office 365. According to your migration type, you need to add Office 365 either as a source or as a destination, while creating a mailbox migration job in KME. Using this Exchange Server Migration tool, you can also perform Office 365 tenant to tenant migrations.
![]()
You can add Office 365 as a source or destination using an existing Outlook profile as shown below.

Note: In a similar way, you can add Office 365 as a destination using an existing Outlook profile.