Kernel Migrator for Exchange is beneficial to Exchange administrators when they decide to upgrade the Exchange version or moving from Exchange to Office 365. If you had downloaded the trial version of Exchange Migration tool and used it, then you must be aware of its features and working. But to perform a complete migration, you need to activate the trial version to a full version.
Here is the full step-by-step procedure which you need to follow for the activation of Kernel Migrator for Exchange trial version by first generating a license file for selected user mailboxes, contacting the Sales/support team for the purchase of the license, and the related activation file to further activate the product to the full version.
![]()
Steps to Activate Kernel Migrator for Exchange Trial Version
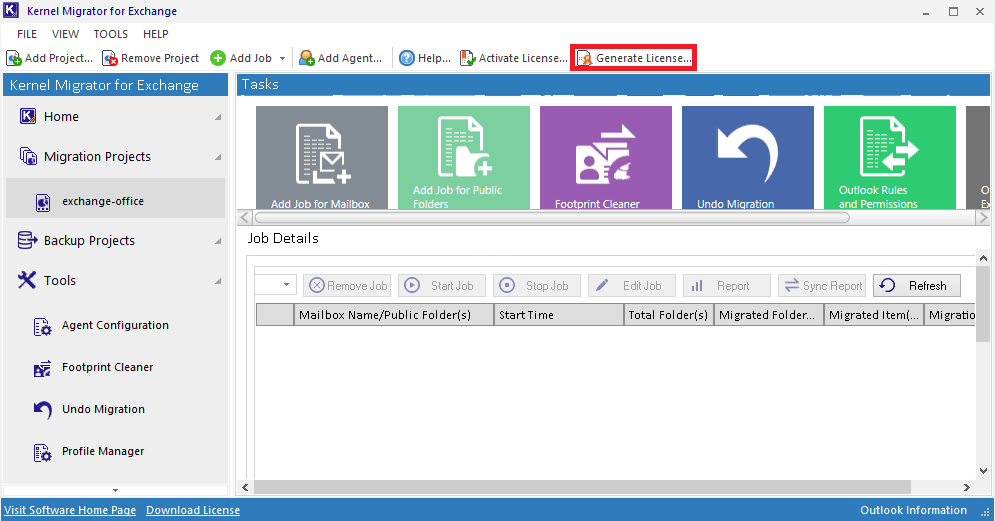
- On the Welcome Screen of the tool, click Generate License option as shown.
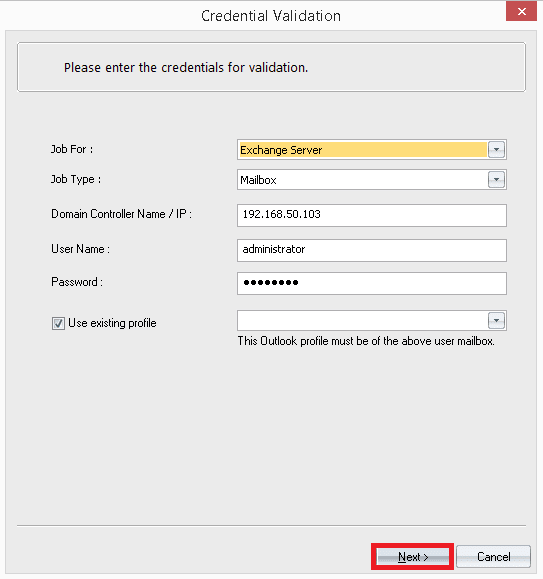
- Next, add the Exchange Server credentials like Domain controller name or IP address, username, password, profile, etc., and click Next for credentials validation.
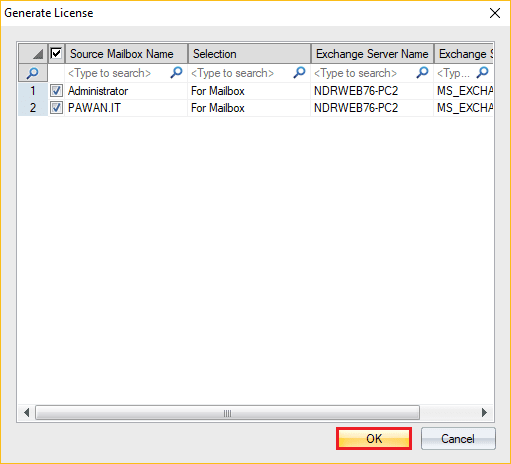
- Next, from the list of the retrieved Exchange Server mailboxes, make the selection and click Generate option.
- The user mailboxes will be selected, click OK to progress.
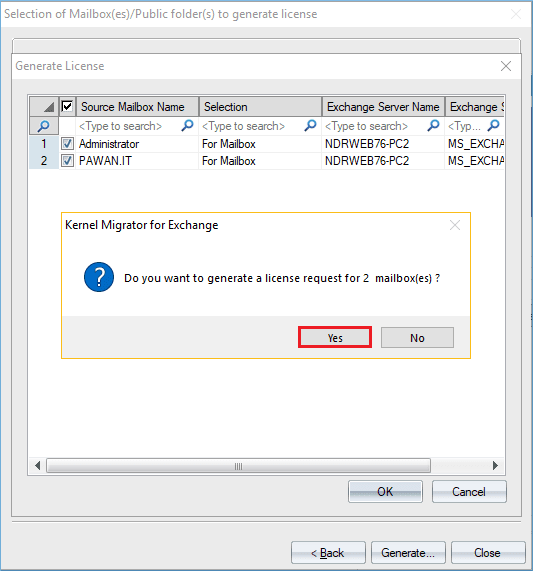
- Confirm the number of the mailbox(es) and click Yes.
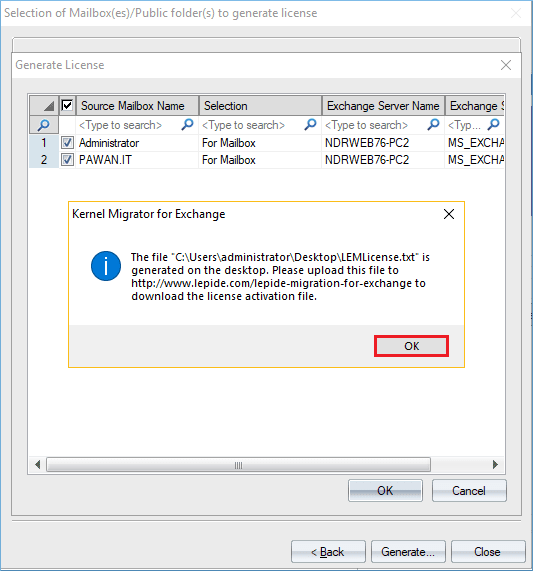
- The tool saves the license request file in a text format. Click OK.
- Now, contact our Sales Team at sales@nucleustechnologies.com along with the type of license you need. They will provide you the login credentials to access our online portal.
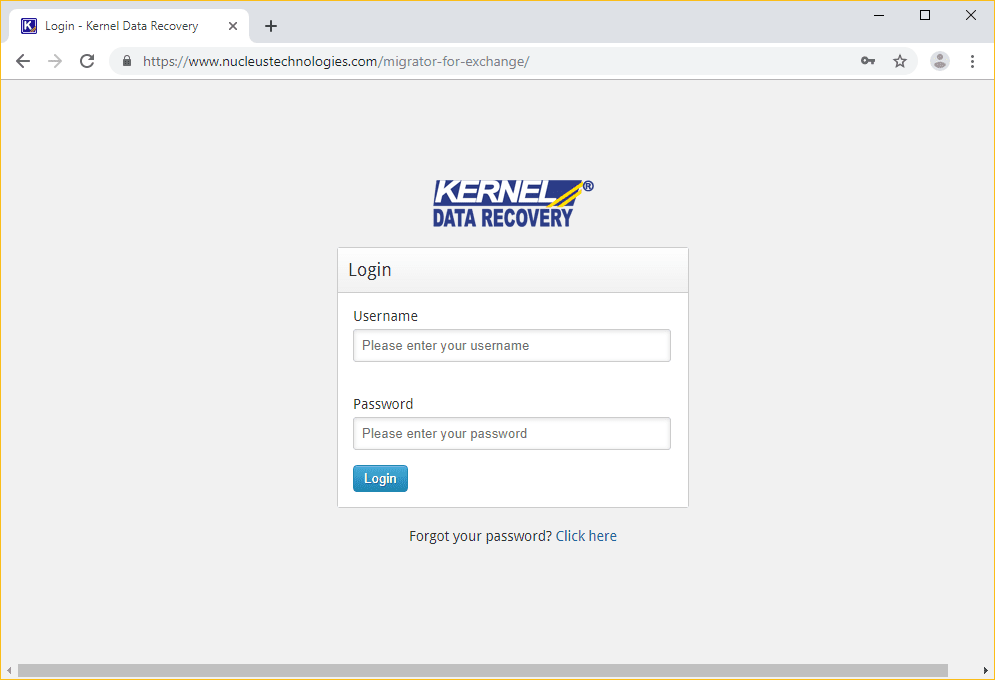
- Access https://www.nucleustechnologies.com/migrator-for-exchange/ in a Web browser and input the login credentials which you get from the support team.
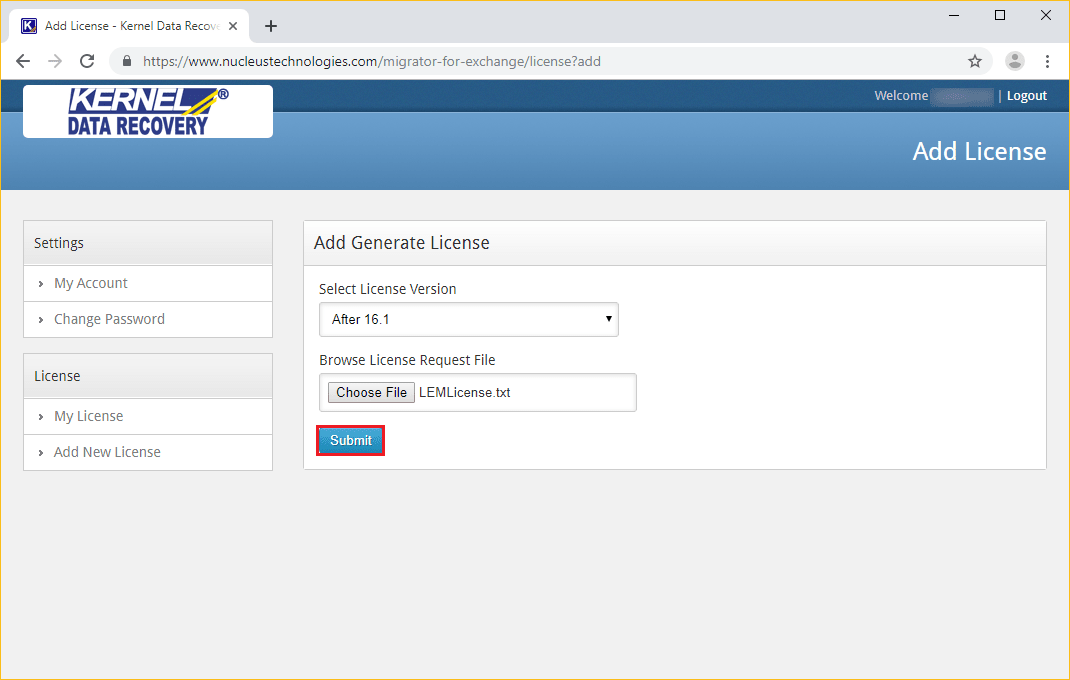
- The home page of an online portal appears on the screen. Go to the Add New License tab and click the ‘Choose file’ button to select the license request file.
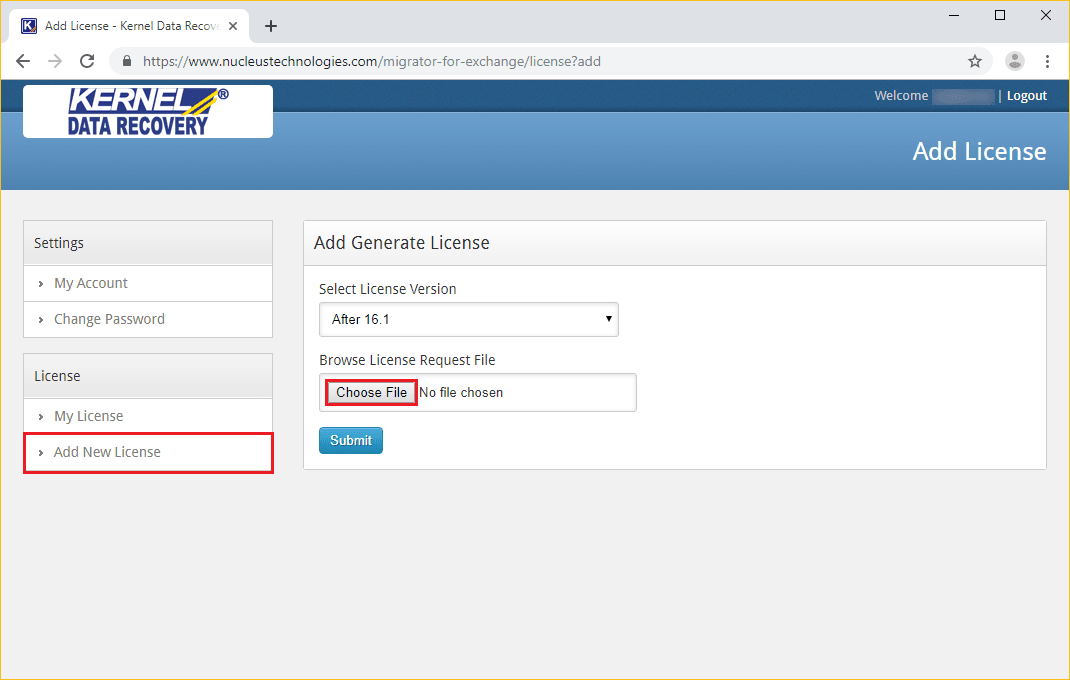
- After selecting the license request file from its saving location, click the Submit button.
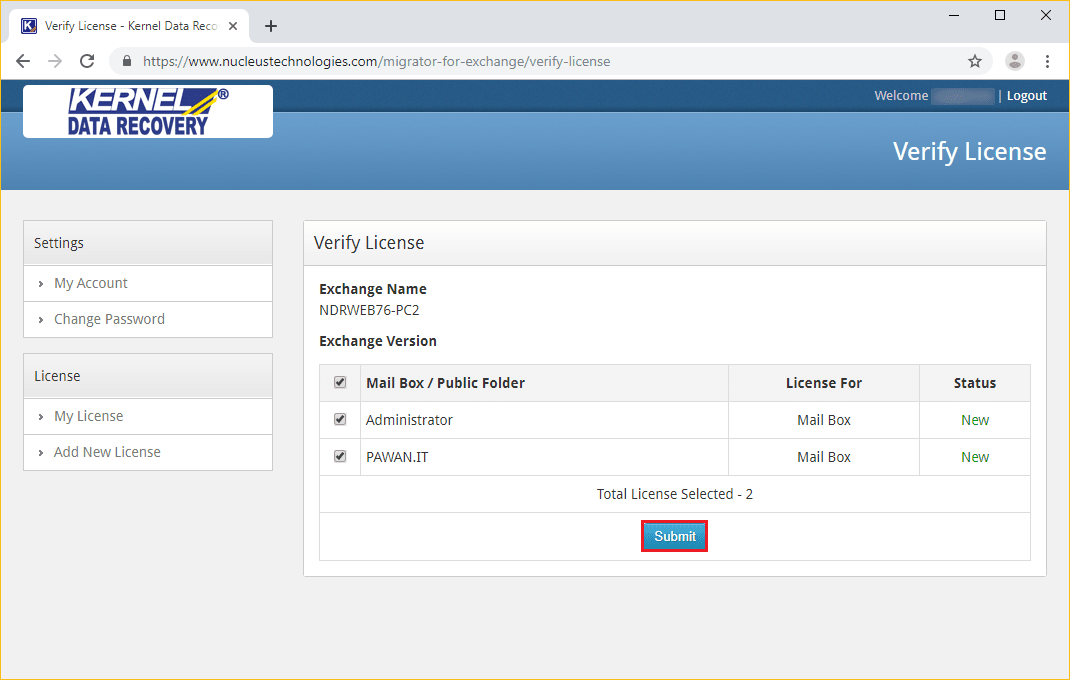
- All the mailboxes will get enlisted, and you can use the checkbox to further select/deselect the mailbox(es). Then click the Submit button.
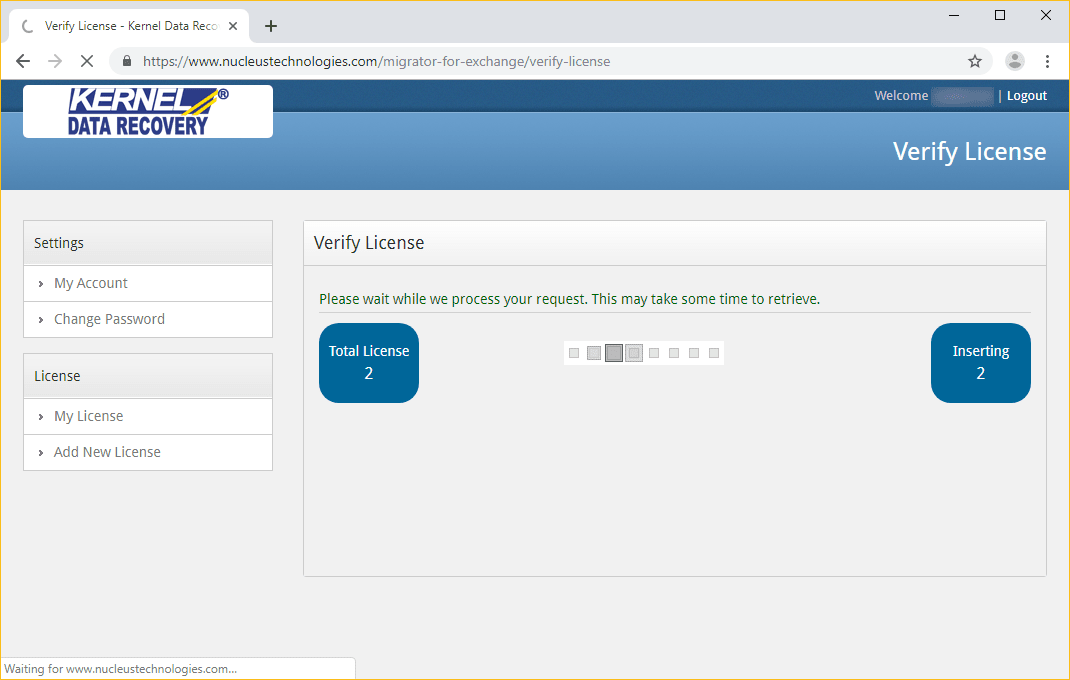
- A license file is being created. Please wait for a while.
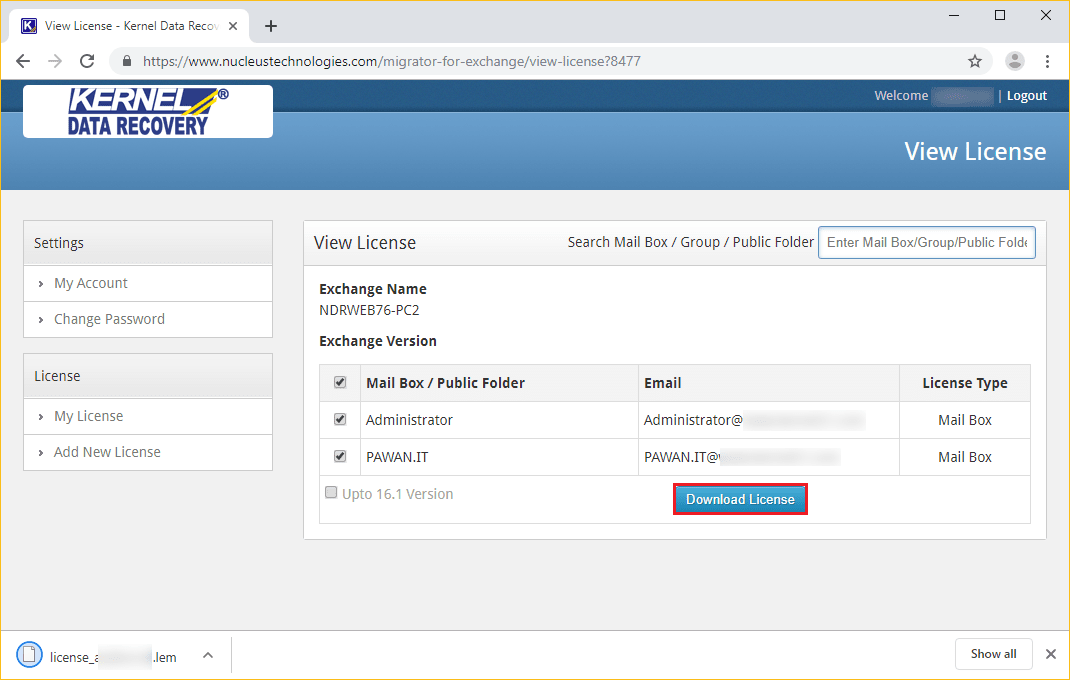
- Click the Download License button. The license file will get downloaded at the Downloads folder.
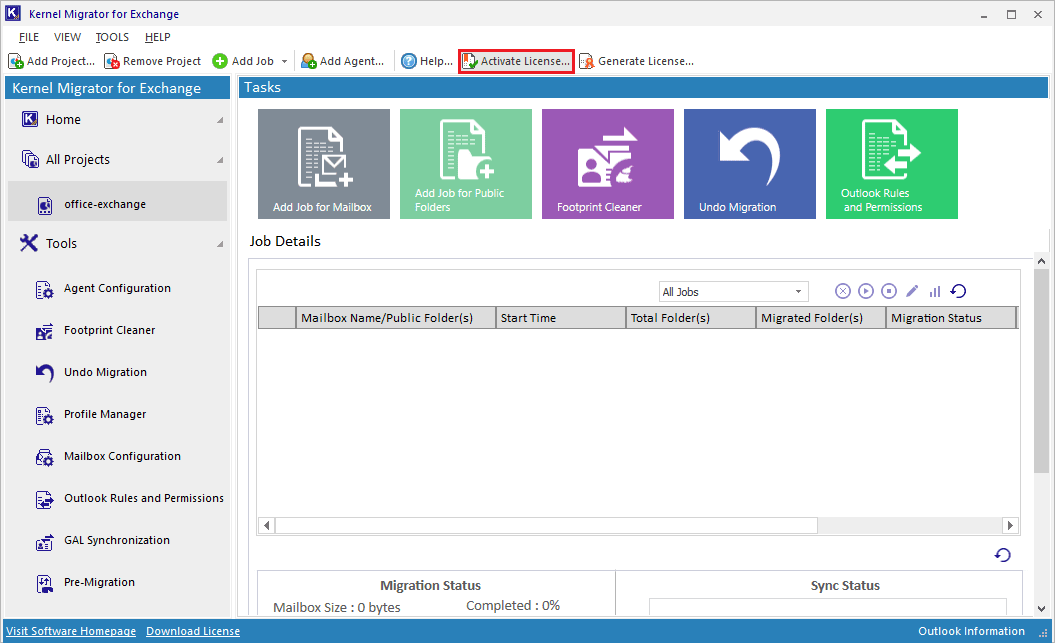
- Now go back to the software and click Activate License option on the toolbar.
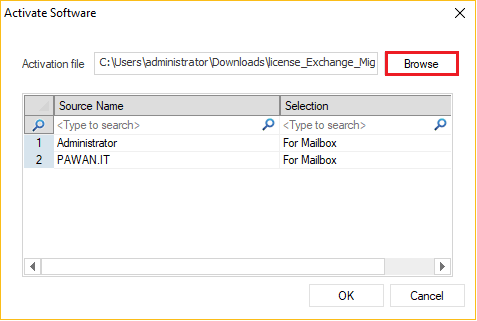
- Click the Browse button and select the license file from its location. After checking the list of mailboxes(es), click OK.
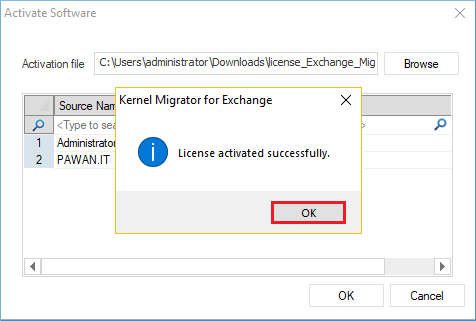
- A message will appear that ‘License Activated successfully.’ Click OK.


Now you can use the Kernel Migrator for Exchange to migrate the mailboxes specified in the license file.
![]()