Kernel Microsoft Teams Migration tool completes the migration process by showing a report window that you can save in CSV format. It lets you check the status of each migrated item in a team. Our tool moves a complete team to another team with its chats, channel, conversations, files, and other shareable information. And the migration report shows what is migrated from the source to its destination team.
Let's go through the entire Teams migration process quickly and discuss the migration report in detail later.
![]()
![]()
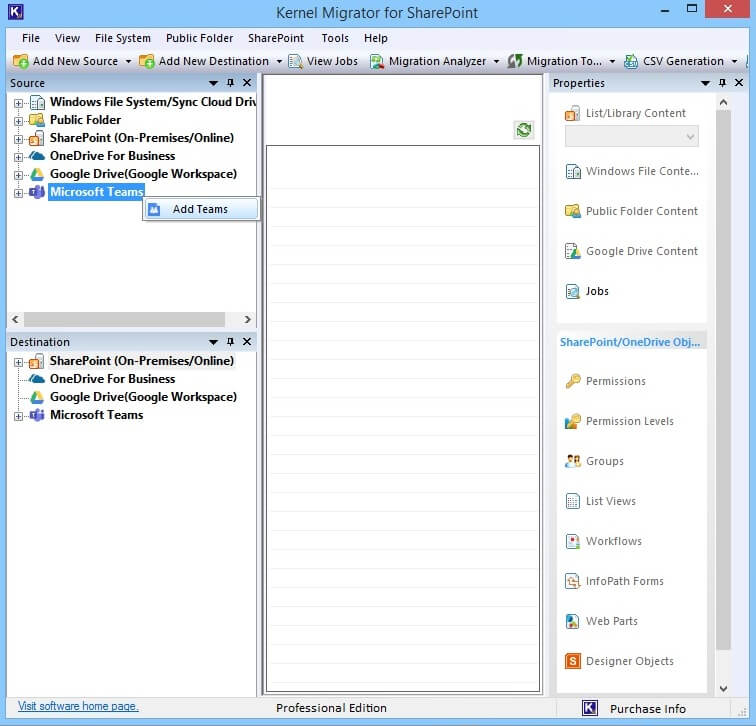
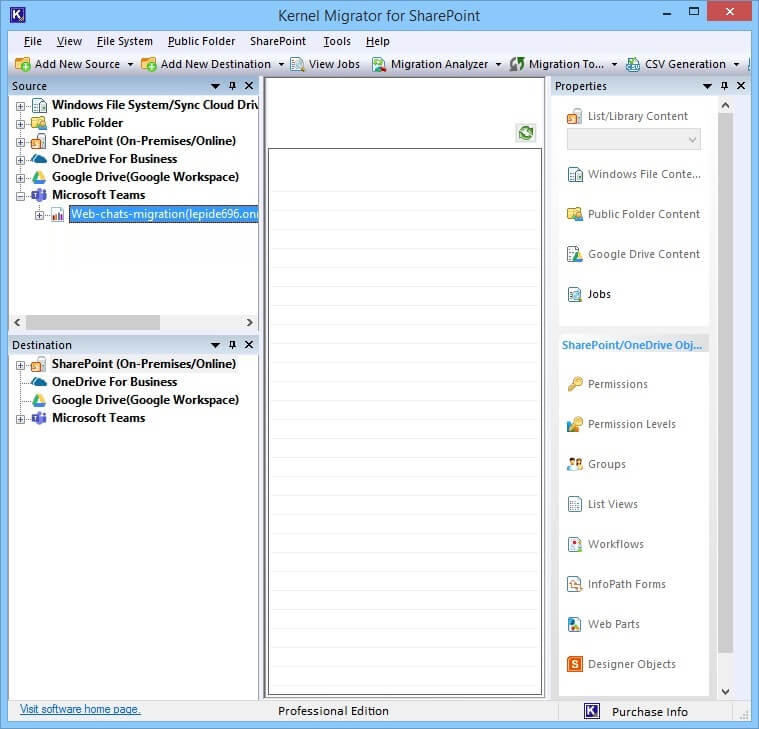
- Open the software and go to the Source pane. Choose Microsoft Teams, right-click, and click Add Teams.
- Input a project name and connect it to the account using either Basic Authentication or Modern Authentication. Then, click Register and Connect.
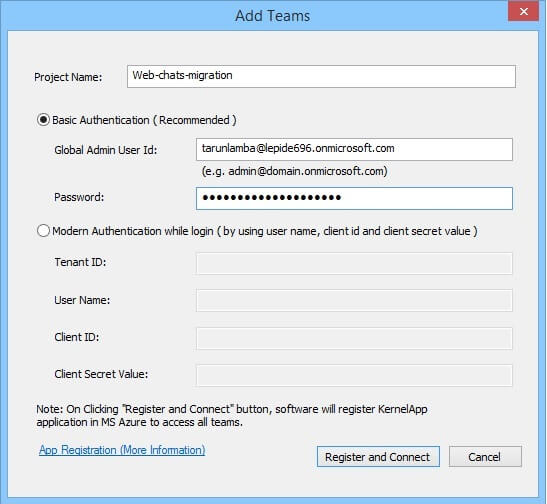
- If you choose Basic Authentication in the previous step, then you will be asked to choose the login type. Choose between Modern Authentication or Basic Authentication. Click OK.
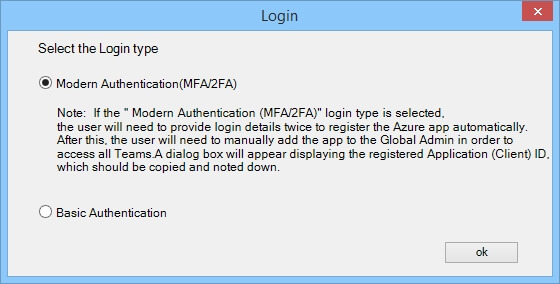
- If you choose Modern Authentication, then you are required complete a authorization process to register the application at Microsoft Azure Active Directory to access all Microsoft Teams. Copy the URL provided and follow the instructions mentioned below the URL to get Auth URL. Paste in the obtained URL in the respective field and click OK.
_1720616415.jpg)
- This opens the Application Role Assignment window, from here, copy the client ID and follow the given instructions.
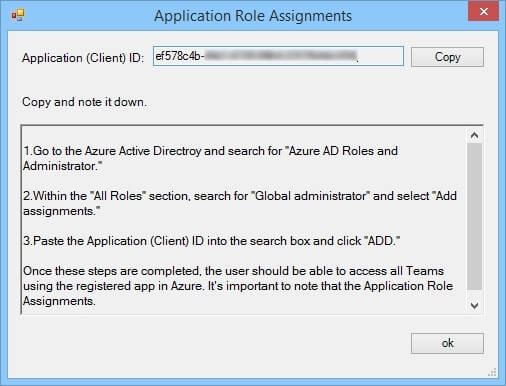
- When you click OK, the tool will ask if you have completed the Role assignment process. Click Yes if you have registered the app in Azure directory.

- If you choose Modern Authentication, then you are required complete a authorization process to register the application at Microsoft Azure Active Directory to access all Microsoft Teams. Copy the URL provided and follow the instructions mentioned below the URL to get Auth URL. Paste in the obtained URL in the respective field and click OK.
- The Project has been connected.
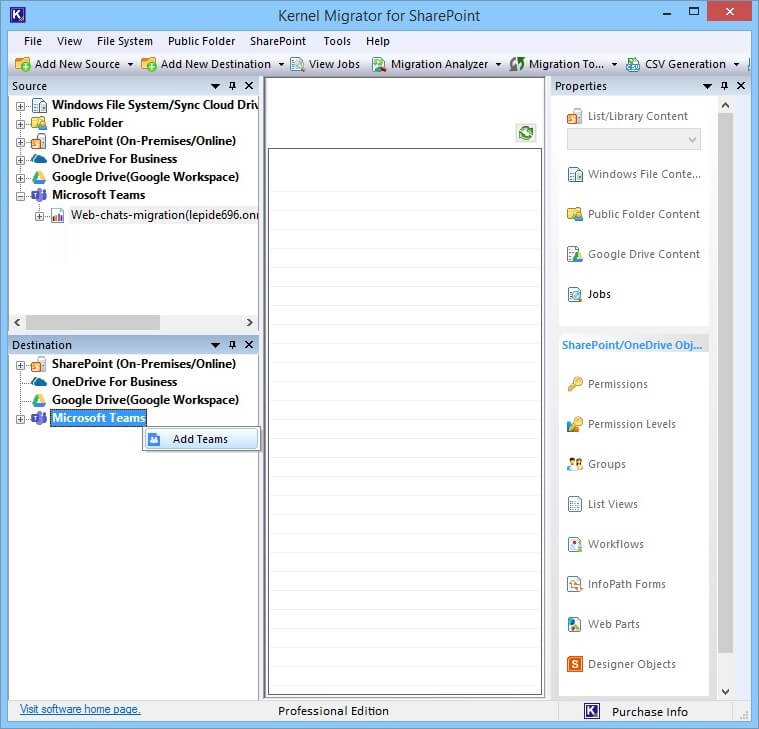
- Now, go to the Destination pane, right-click Microsoft Teams, and choose the option to Add Teams.
- By using the same login method as above, you can connect with the destination team account.

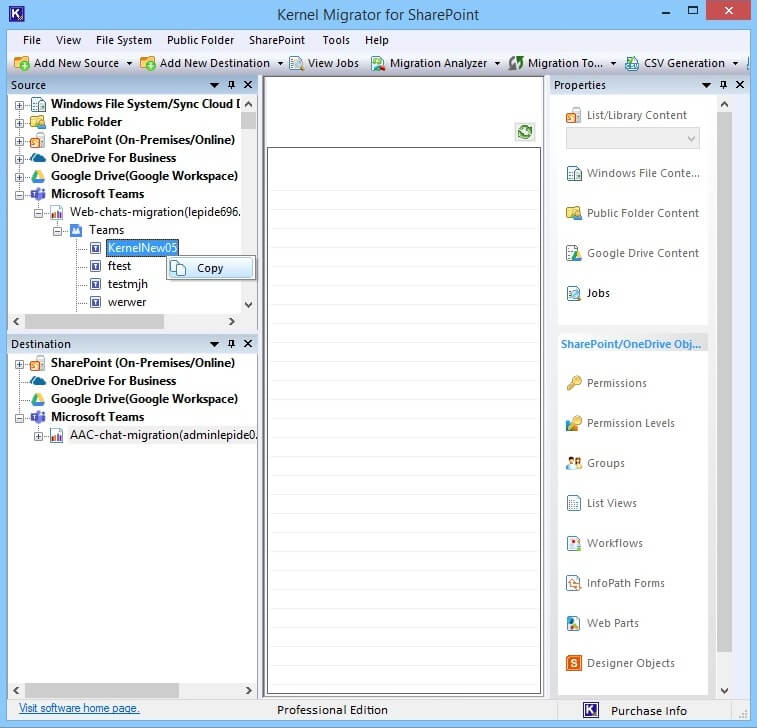
- When both projects are connected, you must choose a Team from the Source pane, right-click, and choose Copy.
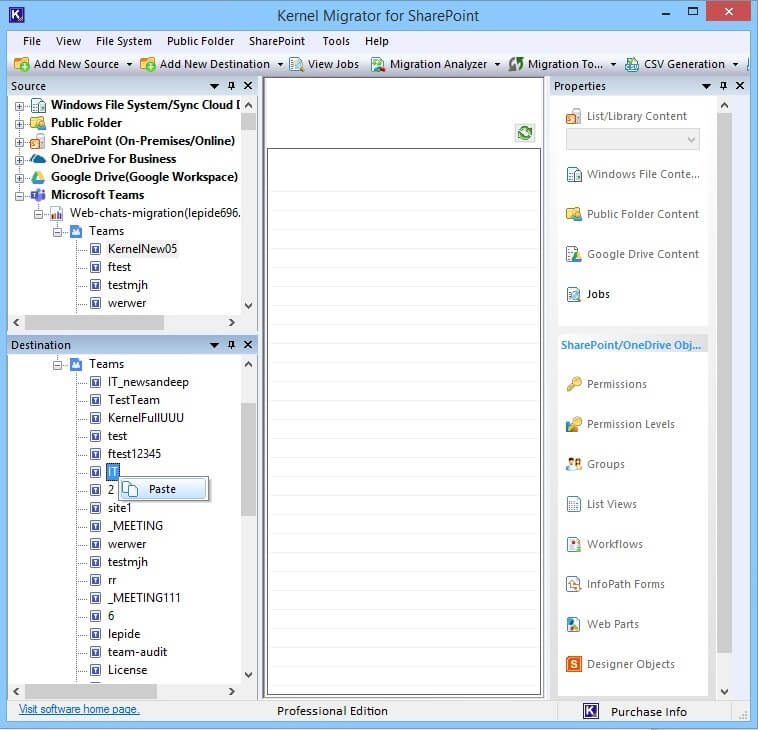
- Go to the Destination pane, choose a team, right-click, and select Paste.
- The migration wizard will show various options where you can map Teams effectively and apply filters (chats, channels, conversations). Later, click Start Migration.
_1720616476.jpg)
- The migration depends on the number of selected teams and the data inside. Wait till the migration is completed and shows the 'Migration completed successfully' message. Click OK.
_1720616349.jpg)
- After the migration, the tool will generate a Microsoft Teams migration report called Migration Summary. The report displays the status of moved items along with several other parameters to read and check. You can save the report as a CSV file, too.
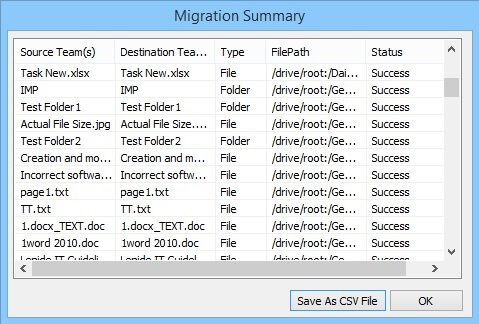
- Open CSV file in MS Excel to find migration-related report with minute details.
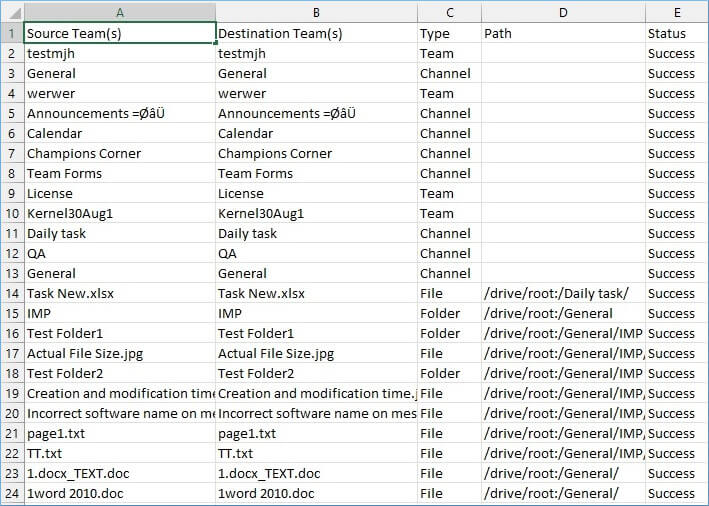


The first row of CSV contains the column name as given below:
Source Teams(s) – The column presents the name of the source teams that the user has migrated to the new destination.
Destination Teams(s) – It may be a new or existing team in which the data is moved. When the team does not exist in the destination account, the software creates it.
Type – The type of data moved.
Path – The path of shared files and folders in chat conversations or sent separately.
Status – The status may be success or failure based on the result of the migration.
Conclusion
There is no manual method or technique that will move multiple Team’s data to another Team. And in source and destination have different domain, it becomes more challenging to migrate the Teams data. Therefore, you must use the Kernel Teams migration tool to migrate your Microsoft Teams data efficiently. Once the migration is complete, save the Microsoft Teams migration report generated by the tool to understand the transfer process better.
![]()