

Read time: 11 minutes
“I migrated my on-premises mailbox data to Microsoft 365 using the hybrid method. In Exchange Online, I created a shared mailbox and gave full permission to my account. But I cannot see this shared mailbox in Outlook on my PC.”- An Exchange Online User.
In recent years, the migration from the on-premises Exchange environment to Office 365 or cloud environment has become a trend, and many organizations are migrating their data completely to the Cloud. Generally, the transfer is quite smooth, and no significant hurdles interrupt the process and stop it. After the post-migration tasks, Office 365 data will be accessible in MS Outlook. But sometimes, it happens that the end-user cannot view the data in the local Outlook application.
Shared mailbox is not visible in Outlook
Shared Mailboxes are a great way to give multiple users access to the same mailbox. However, sometimes Shared Mailboxes are not visible in Outlook. This can be caused by several different factors. One possibility is that the Shared Mailbox has not been properly configured. Another possibility is that the user does not have sufficient permissions to access the Shared Mailbox. If you are facing difficulty accessing a Shared Mailbox, contact your administrator to ensure that the Shared Mailbox is properly configured, and the user has the correct permissions. With minimum troubleshooting, you can view your Shared Mailbox in Outlook.
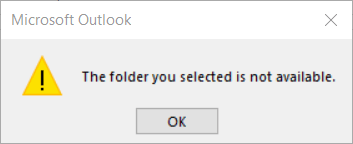
Usually, the Shared mailbox should come up instantly in the user’s Outlook profile. But if it is not showing, user may get an error message – ‘The folder you selected is not available.’

In such a case, you can manually add the mailbox to the account. To perform the same, you must follow the below steps –
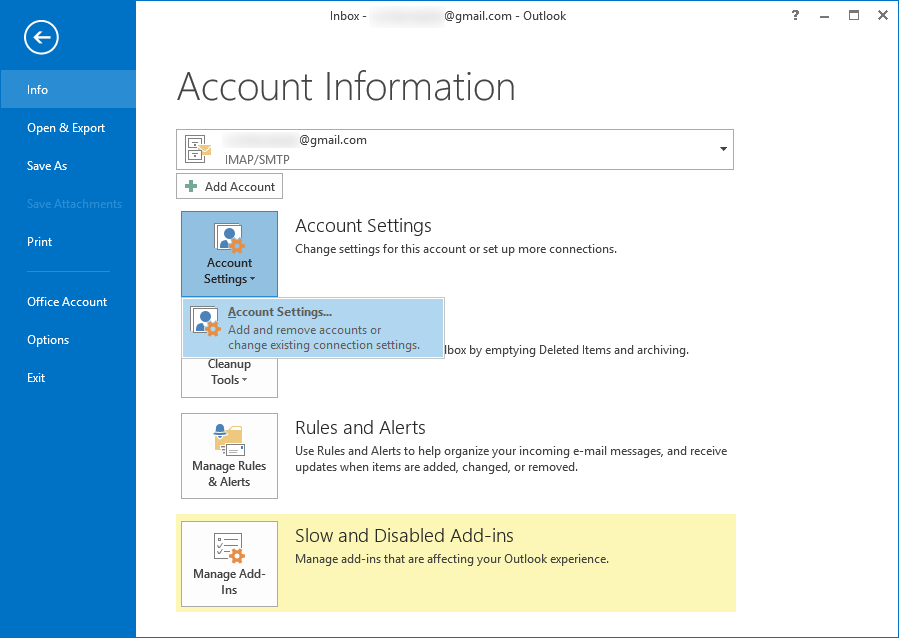
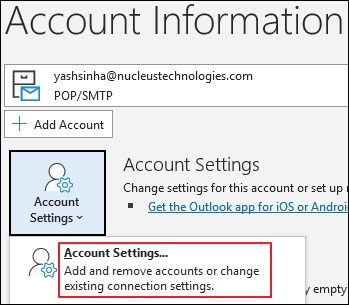
- Start Outlook and click the File menu. Then select Account Settings >> Account Settings.
- Select the account (with the shared mailbox). Then, click Change.
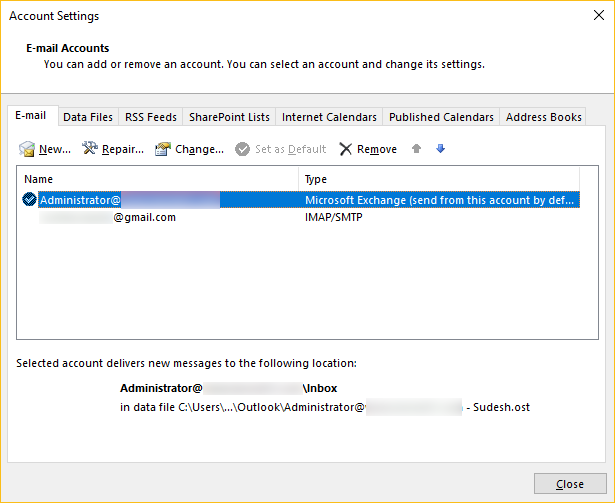
- Click More Settings.

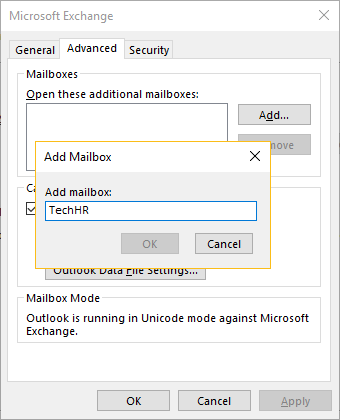
- In the Advanced tab, click the Add button.

- Provide a new name to the mailbox. Then click OK and Apply.


After completing the process, you will be able to see the Shared mailbox in your Outlook profile.
If the profile does not show even after manually adding it, then you should go for troubleshooting the Outlook and see its results.
You can resolve the specific issue if you generate and analyze Outlook logs by following the below steps:
- Open Outlook and click on File from the top menu.

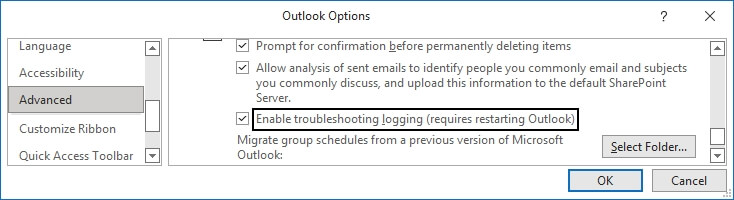
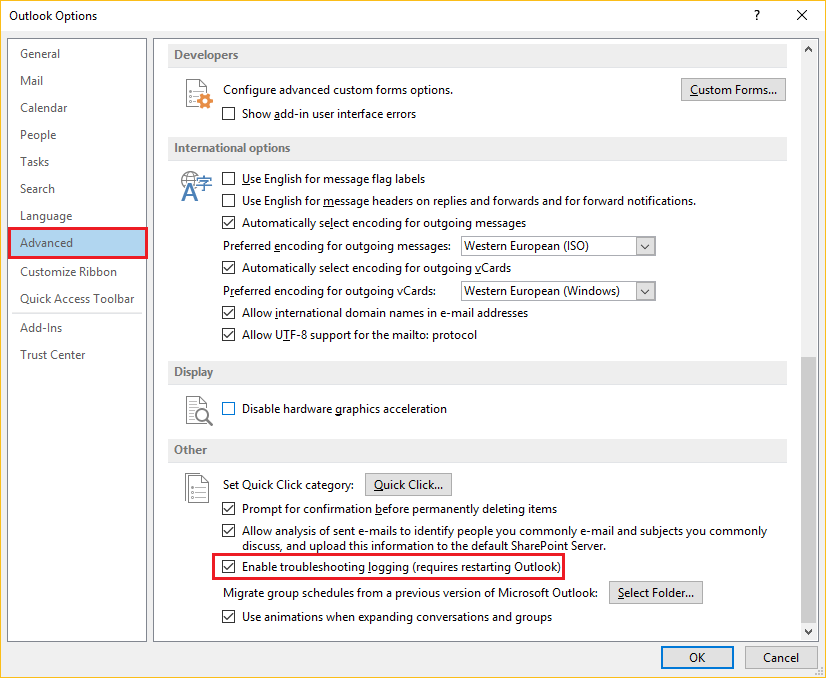
- Go to Options -> Advanced.
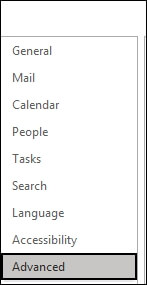
- Select the checkbox next to Enable troubleshooting logging (requires restarting Outlook) under the Other section on the Advanced page. Next, click OK.
- To reflect the changes, you need to restart your Outlook application. After this, check the log files in your system by locating the address:
C:/Users/UserName/AppData/Temp


Now, you can find and resolve the specific error by analyzing the logs, which helps you access shared mailboxes.
If the above methods don’t work, MS Outlook allows users to add the shared mailbox manually. To perform this, you must follow the below steps:
- Open Outlook and click on File from the top menu.
- Go to Account settings -> Account settings.
- Click More settings and enable Download shared folders option under the Advanced tab.
- Finally, restart your Outlook application to reflect the changes and check whether the issue has been resolved.

The corrupt or damaged email profile may also be the reason behind the interrupted access to shared mailboxes. You can recreate a new outlook profile to resolve the specific issue in this situation. To perform the same, you must follow the below steps:
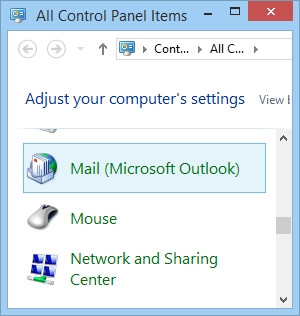
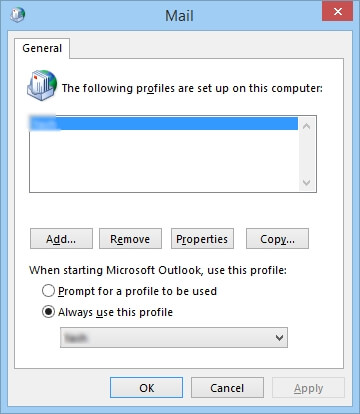
- Open the Control Panel and click on the Mail option.
- Click show profiles -> Add.
- You need to enter the profile name and click OK in the opened window.
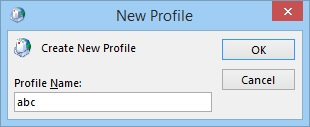
- After clicking, a setup window will appear where you must enter your Microsoft 365 credentials to create a new profile.

- Once you have done all the above steps, close the control panel and open your Outlook application.
- Now, change your current profile name with the new one from Profile Name drop-down. Next, click OK.
- The above steps result in opening Outlook with your newly configured profile. You have to wait for a while until synchronization is finished.
- Finally, you will see that the specific issue has now been resolved.


If the issue still exists, you must contact the administrator to fix the issue properly.
- Click File and then select Options.

- Go to the Advanced tab and check the option Enable Troubleshooting logging.
- Restart Outlook and go to the temporary folder (%temp%). Here, check the recent logs, which may show possible errors related to the shared mailbox. Then, take the necessary action according to the given error.

Automapping is a feature in Office 365 that automatically maps the shared mailbox to your Outlook account. But Outlook stores all the data in the OST file. Therefore, the data from the shared mailbox increases the data and can grow more than the optimal size of 50 GB. If the OST file size increases, it may start giving problems and stop taking data from the shared mailbox. Hence, it is better to disable automapping and add the shared mailbox as a separate profile.
Here is the complete process to disable the automapping in Office 365.
- Connect with PowerShell
- Open Windows PowerShell and run the command:
$Credential = Get-Credential
It will ask you to input your Office 365 credentials. Input them and click OK.
- Run the command to connect with Exchange Online (Office 365);
$ExchangeSession = New-PSSession -ConfigurationName Microsoft.Exchange -ConnectionUri “https://outlook.office365.com/powershell-liveid” -Credential $credential -Authentication “Basic” -AllowRedirection
- Import the Exchange Online session:
Import-PSSession $ExchangeSession
- Open Windows PowerShell and run the command:
- Remove permission for the shared mailbox.
Run the command:Remove-MailboxPermission -Identity information@xyz.com -User michael@microsoft.com -AccessRights FullAccessThe command will remove the access rights of the information shared mailbox to the user Michael.
- Delete the shared mailbox.
- Follow File >> Account Settings >> Account Settings.
- Select the account, and click the Change option.
- Click the button More Settings and go to the Advanced tab.
- Select the shared mailbox and click Remove.
- Reinstate the full access permission.
Run the following command –Add-MailboxPermission -Identity information@xyz.com -User michael@xyz.com -AccessRights FullAccess -AutoMapping:$falseThe AutoMapping parameter will disable the automatic mapping.
- Add the Shared Mailbox as a new mailbox.
Add the shared mailbox as a regular account in Outlook, and Outlook will create a new data file (OST) for it.
Simple manual approaches to fix the issue exist, but not everyone can perform them. In addition, these methods also have some limitations. These limitations are outlined below.
- Due to cloud storage’s inherent vulnerability, there is always a high risk of data theft.
- They can fix the Office 365 shared mailbox disappearing from Outlook, but these solutions do not prevent unauthorized access to your valuable data.
- There is no guarantee that these methods will be effective every time. They might not work in some cases.
- Not everyone can use them. They are complicated for some users.
After using all these methods, you should be able to see your shared mailbox content in Outlook. Once you can see your shared mailbox in Outlook, you can access and use it to send and receive messages. But, if you do not see the shared mailbox, it is possible that the shared mailbox migration failed for some reason. Then you should use a professional migrator tool to complete the migration process efficiently.
This tool is an efficient and reliable software to migrate from on-premises Exchange, PST, and public folder servers to Office 365. The tool has various features which make it an attractive choice for migrating to Office 365.
- It can migrate emails, contacts, calendars, tasks, and notes from on-premises Exchange Server to Office 365.
- The tool can also migrate public folders to Office 365.
- The tool supports incremental as well as batch migration, meaning that users can migrate a small number of mailboxes first and then migrate the remaining mailboxes in batches.
Consequently, this utility is feature-rich software, making it a good choice for migrating to Office 365.
Conclusion
Are you having difficulty locating your Office 365 Shared Mailbox in Outlook? It can be a common issue for users who have transitioned to the new Office 365 platform. This article provides some troubleshooting steps to help you locate and access your Shared Mailbox. Finally, if all else fails, you can try the above-mentioned tool.
Kernel Office 365 Migration is a unique migrator tool that specializes in the migration between Exchange and Office 365 or vice-e-versa. It provides an option to migrate Office 365 shared mailbox to Office 365 group. You can also apply appropriate filters to the shared mailbox to migrate its content selectively to Office 365.