

Read time 6 minutes
A SharePoint server administrator would want to keep data secure while allowing access to site visitors, users, and owners for effective collaboration and data sharing. Based on the priorities and needs, he can assign roles or permissions like Full Control, Read, Design, Edit, Contribute, etc. These permissions work as their name suggests. So, let us understand the concept first and then head on to the method to customize, change, and set permissions in SharePoint.
About Default SharePoint Permissions
- A SharePoint site inherits permissions from the Site Collection’s root site.
- A subsite inherits permissions from its parent site.
- Documents, folders, and lists inherit permissions from their site.
This permission inheritance breaks automatically when an individual item, like a document, is shared. Although if you break the inheritance and change the permissions in SharePoint, then the shared item will not have those permissions from the parent item. In the coming sections, we will understand how to break the permission inheritance, assign unique permissions, and edit the permissions.
If you want to change permissions in SharePoint or assign customized or unique permissions to either list library or survey, first, you need to break the permission inheritance. To remove permission inheritance in SharePoint, perform the steps below:
- Open your SharePoint Online and then select any item from the Document category.
- Now go to the Settings icon from the right-most pane and select the Library Settings option.
- Then, under the Permissions and Management section, select the Permissions for this document library option.
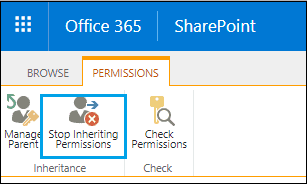
- Now, within the PERMISSIONS tab, click the Stop Inheriting Permissions option.
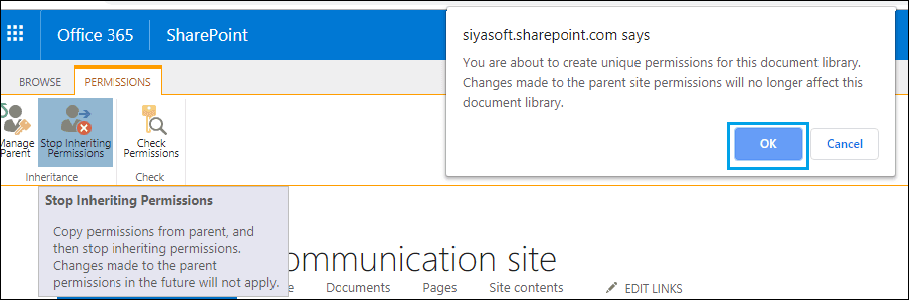
- A message will inform that creating unique permissions will not affect this documents library. Click OK to continue.
- So, in this way, you can remove the permission inheritance. Now, you can create unique permissions for this document library.


As you have broken the permission inheritance in the previous section, it’s time to assign or grant unique permissions to the users. Let’s understand the steps to do so:
- Perform similar steps as shown in the above section from step 1 to step 3 to reach the PERMISSIONS tab.
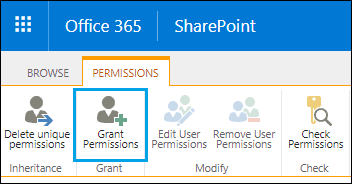
- Now, click the option Grant Permissions under it.
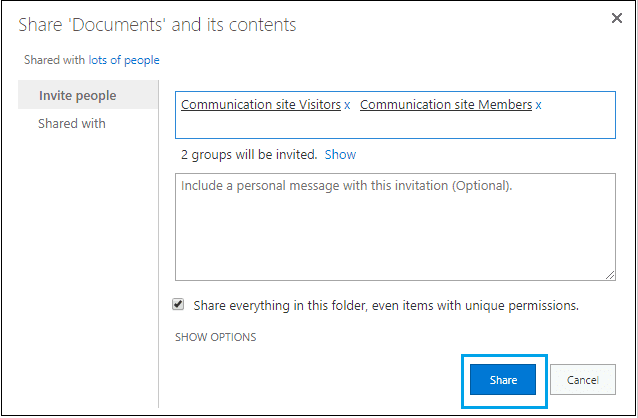
- A dialogue box named Share ‘Documents’ and its contents will get open. Here add desired members or groups to the Invite people section. Add a personal message if needed and select the checkbox if you want to share everything in the folder, including items with unique permissions. Then click the Share option.
- You will get a notification as:
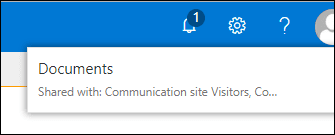
- In this way, you can assign unique permissions to the desired users or groups. Next, we will learn how to edit or change permissions in SharePoint.


To edit the permission levels, inheritance must be broken, and that we have learned already. So, to edit permission levels, perform the steps below in sequence:
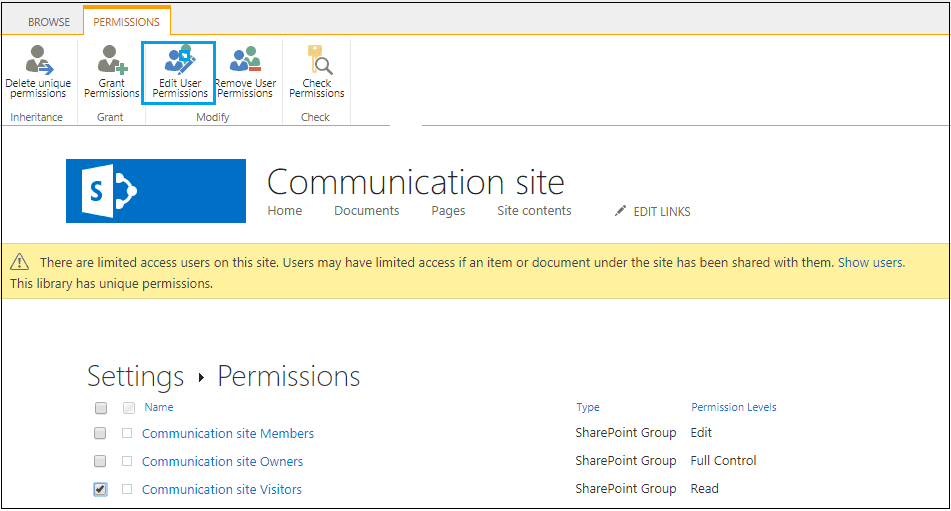
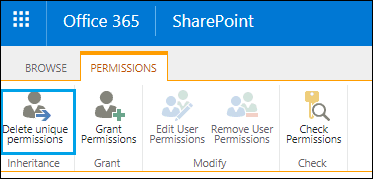
- Again, repeat the steps from Step 1 to Step 3 in the first section to reach the PERMISSIONS tab.
- Select any user or group and click Edit User Permissions.
- Now, under the Permissions section, select the permissions you want to assign and click OK.
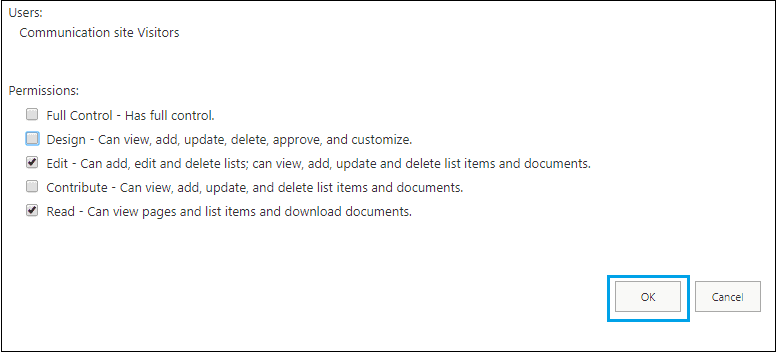
- Hence, you have changed the permissions for the selected user.


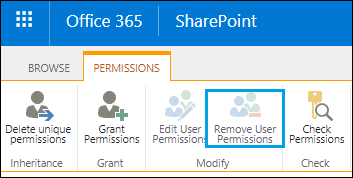
Note: It’s also easy to remove the assigned user permissions in SharePoint. Select the user and click the Remove User Permissions option under the PERMISSIONS tab.
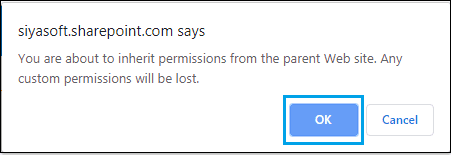
Note – To remove the custom permissions set by you and restore the inheritance, just click the Delete unique permissions option under the PERMISSIONS tab.
Finally, a dialogue box will pop up asking you for confirmation. Click OK to confirm, and the broken inheritance is restored again.
Hence, the above-discussed are some major tasks to handle the permissions in SharePoint. Being a smart and secure way of storing large data online, SharePoint attracts a lot of users. Sometimes, users have to migrate from an old version of SharePoint (2010, 2013, 2016, 2019 SharePoint Online (Office 365)) to a new version of SharePoint (2010, 2013, 2016, 2019 SharePoint Online (Office 365)). For such users, we have the expert SharePoint Migration tool that offers various migration options to move to SharePoint.


Kernel Migrator for SharePoint is a tool that offers smooth migration from one SharePoint version to another, from the File system to SharePoint, OneDrive or Google Drive, and Exchange/Office 365 public folders to SharePoint. Users can even migrate SharePoint permissions using this tool. Its simple user interface allows a hassle-free data migration with complete data integrity. It also migrates the versioning of the SharePoint Server documents. Download its free demo version to get complete details about this software.
Final Words
SharePoint Server offers many amenities. Here, we have discussed how to change permissions in SharePoint and the feature for assigning unique permissions to items. Besides that, we also introduced a reliable SharePoint migration tool for the users’ migration needs. The tool allows you to migrate data in bulk to SharePoint.