
Read time: 6 minutes
Introduction
SharePoint on-premises is the solution for many document management requirements of a business. It addresses the workspace demands for better and more seamless communication. In a large organization, the team members may feel that they do not have the proper tools to store, share, verify, and collaborate. SharePoint reduces such limitations and provides a significant number of benefits. Some prominent benefits are shown below here-
- Simplest document management.
In SharePoint, the admins and users can create various lists and libraries in which there can be an unlimited number of documents stored. Your manager may verify a document and share it with others quickly. The documents are searchable, where all authorized users can check the information. There is version controlling in which you can monitor who opened the documents and edited them. - Alleviate collaboration.
Due to the centralization of information in a single place, SharePoint makes a great place to share ideas, make connections, and ensure a better quality of communication. - Effective workflows.
In SharePoint, you can easily create workflows to manage day-to-day tasks and check their progress. It makes the work assignment quicker and more straightforward than any other platform. - An electronic work processes.
SharePoint has eliminated the need for physical paper to its minimum level. Now, all work assignments, workflows, and documentation are easily manageable using different features of SharePoint easily.
SharePoint Online offers all such benefits at a lesser price and better collaboration aspects with other Microsoft products like MS Office Suite, OneDrive cloud storage, Exchange Online, MS Teams, etc. You can purchase a license for Microsoft 365 plan that includes SharePoint Online as an integral part and migrate from on-premises SharePoint to Online using the SPMT SharePoint Migration Tool.
Microsoft provides a free utility software – the SharePoint Migration Tool, to migrate sites from SharePoint on-premises to SharePoint Online. Additionally, the tool can migrate data to OneDrive and MS Teams too. It can be termed as a suitable assistant to move subsites to another site in SharePoint.
It can run SharePoint migration services from different versions of SharePoint Server-
- SharePoint Server 2010.
- SharePoint Server 2013.
- SharePoint Server 2016.
- Local Files/accessible network files.
Download the file from its URL-
https://spmt.sharepointonline.com/install/default.htm
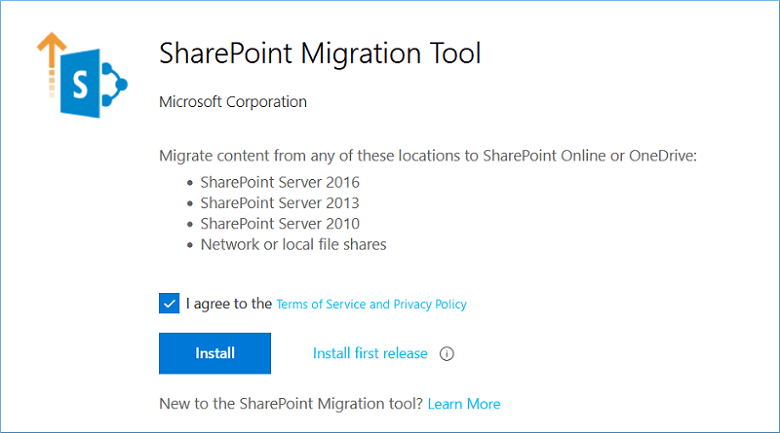
Click the Install button, and the downloader file will download the complete setup that you can execute to complete the installation.

However, before starting the migration process, you should be clear about two things:
Source – You must have read access to the SharePoint information you plan to migrate. So, you should run a check for SharePoint site access permissions to users and groups.
Destination – You should be the global administrator for the SharePoint account.
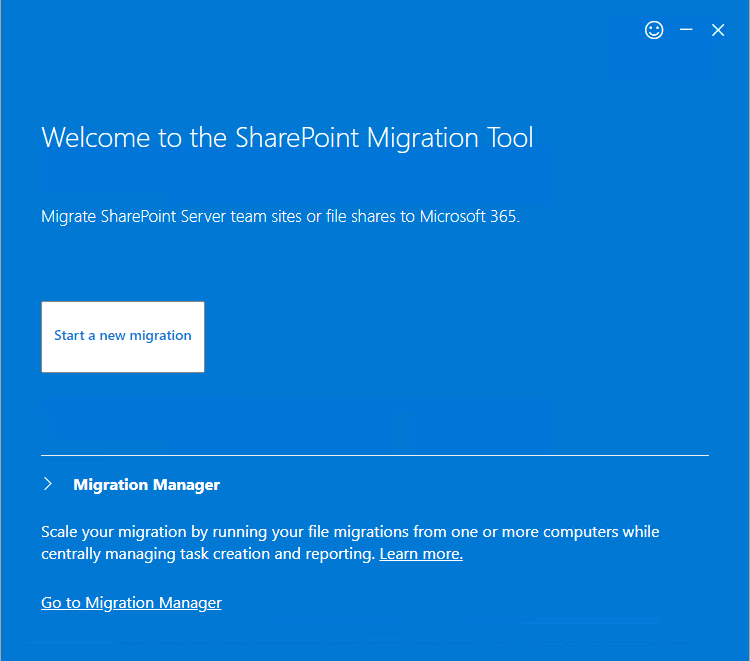
After the quick installation of the SPMT SharePoint migration tool, its home screen will open, and before starting the migration process, you require to input the credentials of your Microsoft 365 account credentials.
- After inputting your Microsoft 365 account details, click Start a new migration option.
- Select SharePoint Server as the source from where you require to copy the content.
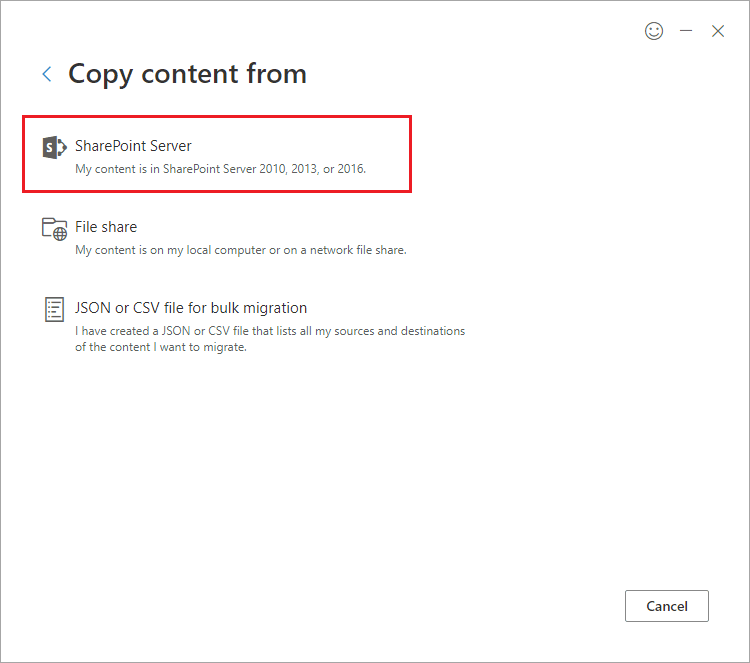
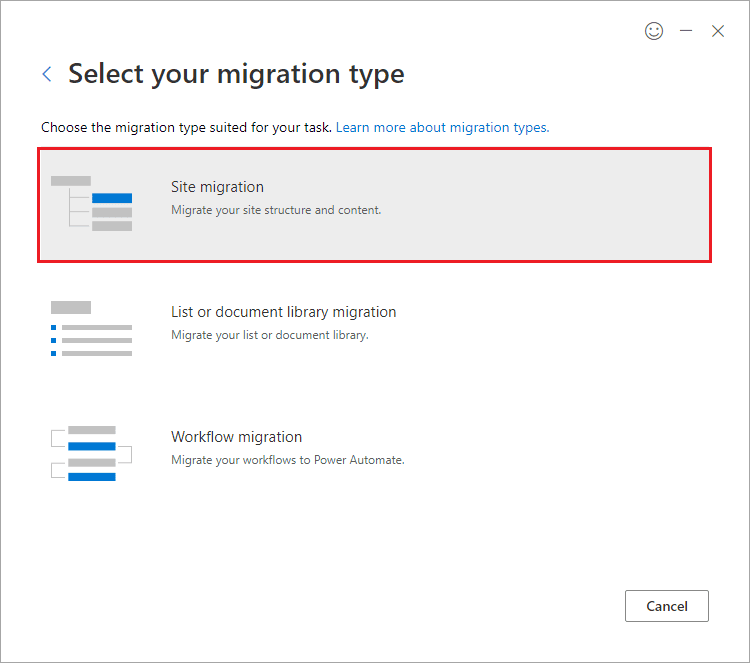
- There are three options – Site Migration, List or document Library migration, and workflow migration. We chose site migration to show the primary migration as an example for necessary SharePoint Migration service.
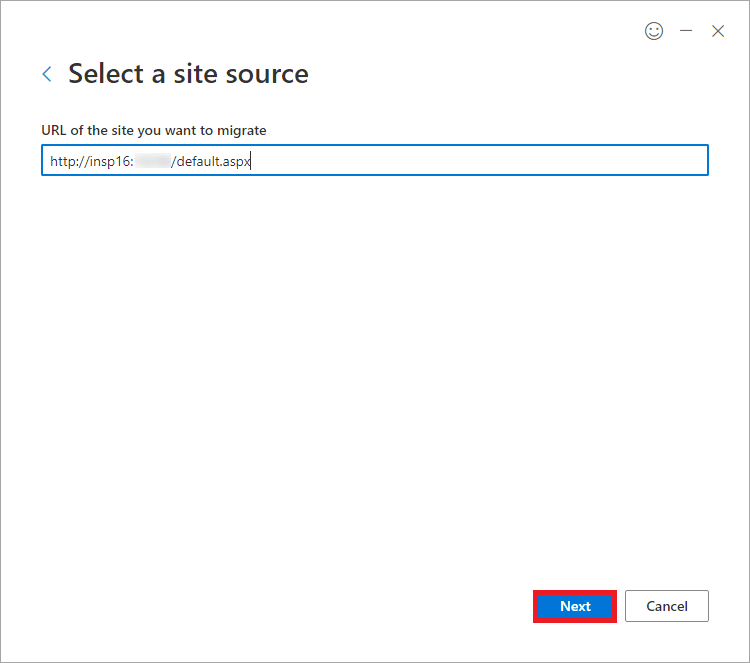
- Input the site URL of the source account. Click Next.
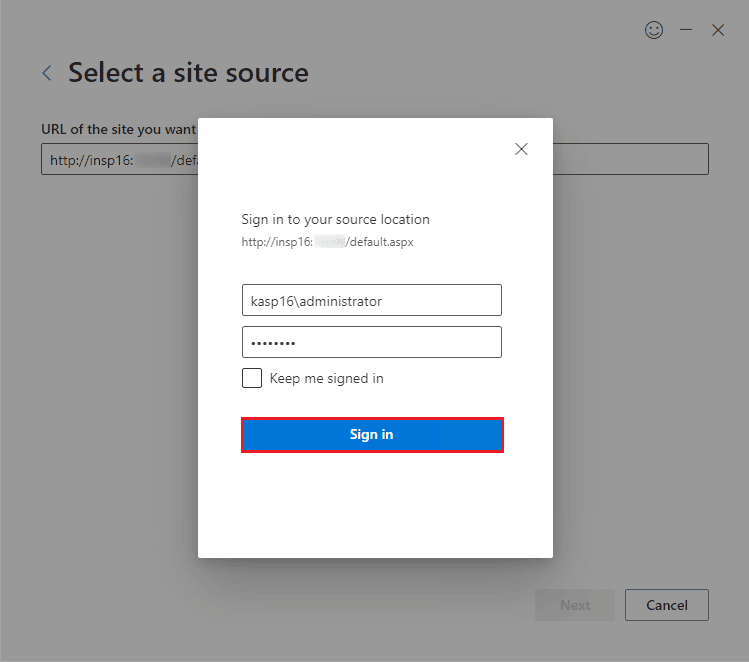
- sign in to your source SharePoint account by inputting the username and password. Click the sign-in option.
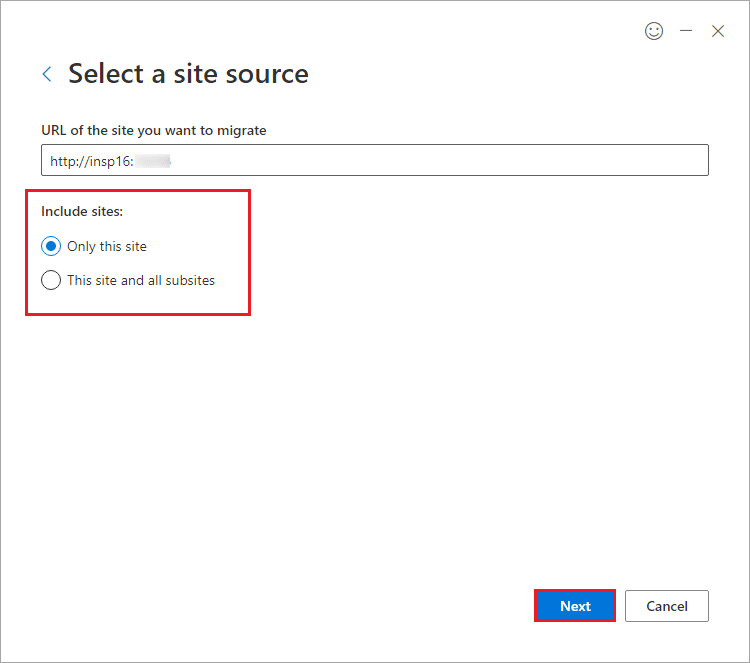
- Choose the option if you want to move the current sit or all the subsites. Click Next.Click Next.
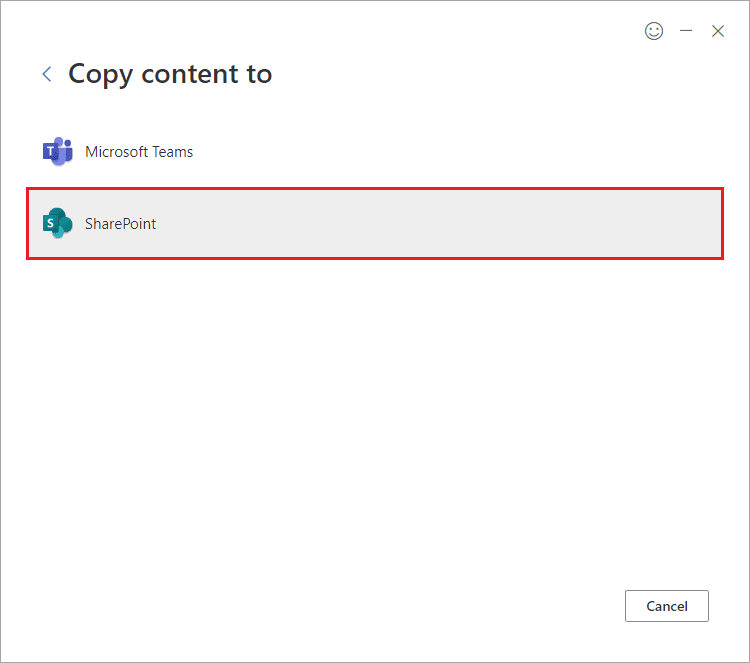
- Select SharePoint as the destination option.
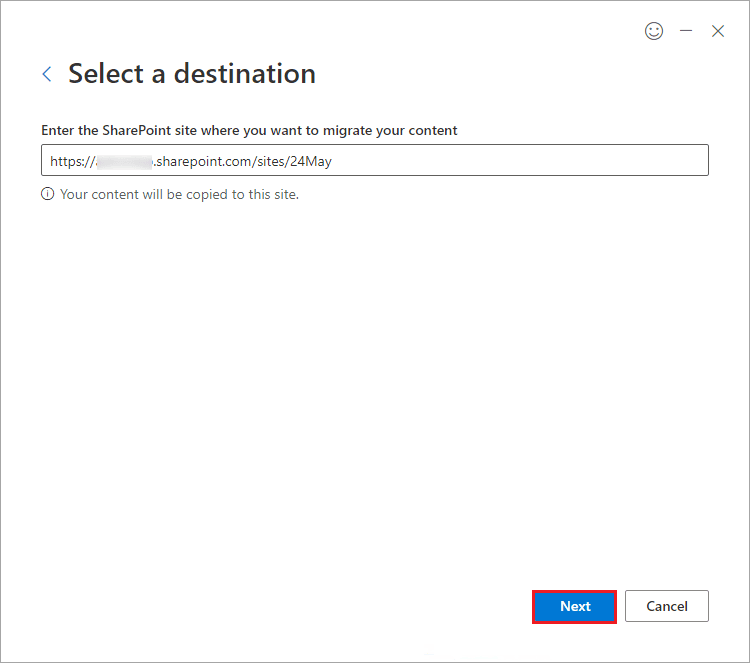
- Input the site URL of the destination SharePoint Online account. Click Next.
- . While reviewing migration, provide a name to the migration batch and check the source and destination site names. It will also show the migration type indicating that the site will migrate. Click Next.

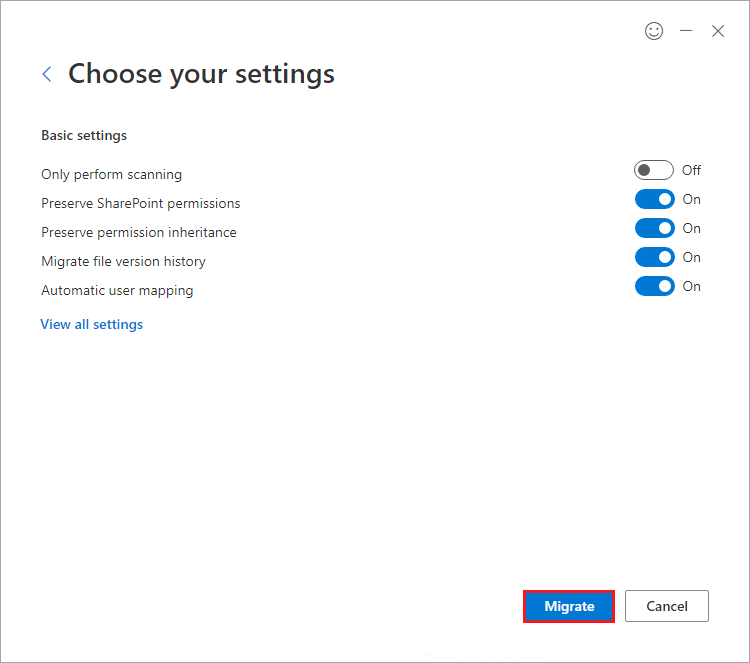
- The basic settings show various options that you can control before starting the migration. Click on View All Settings option to see more settings.
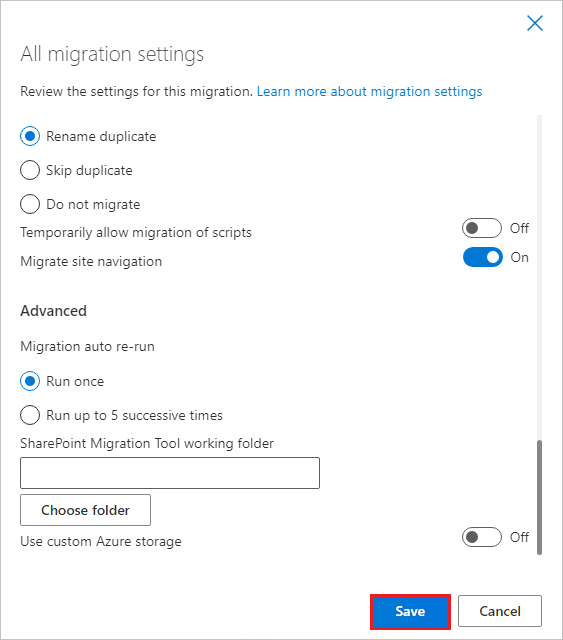
- All migration settings provide multiple settings to control migration data from the SharePoint source better. Click Save.
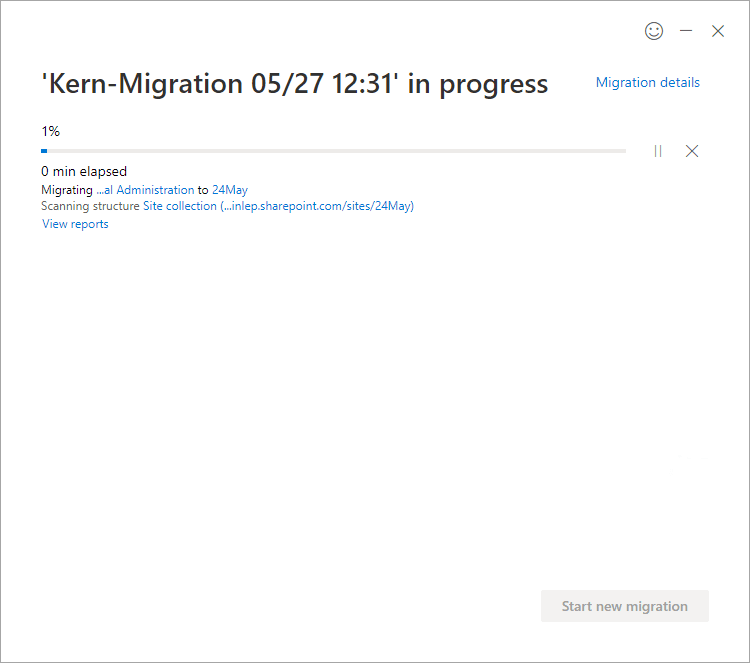
- The migration batch will start and show the progress while moving each object from the source site.


Thus you have successfully done a migration from SharePoint on-premises to SharePoint Online.
Conclusion
Apart from SharePoint on-premises, SPMT SharePoint tool cannot select any other platform as a source. If you want to migrate data between two online SharePoint accounts, this tool will not be helpful. For more all-around SharePoint migration services, you should use Kernel Migration for SharePoint, which does not limit the migration to some versions but supports all plans of Microsoft 365 and all versions of the SharePoint Server.
The tool can migrate an unlimited number of sites, lists & libraries, versions, and metadata of each item between various SharePoint accounts.