

Read time 7 minutes
Migration of mailboxes between Exchange Server is a challenging job for the Exchange Administrator as it requires moving large mailboxes between databases. To reduce the burden, Exchange Admin Center helps to create migration batches that run separately with each other. For an effective batch creation, the Administrator can use comma-separated value (CSV) file that will contain the necessary details of each mailbox and create new batch conveniently.
The following migration scenarios also get benefitted from using a CSV file for creating a batch-
- IMAP Migration
- Staged Migration
- Offboarding remote move migration
- Onboarding remote move migration
Batch Migration of Mailboxes – Using Exchange Admin Center
Here, we are providing the procedure of batch migration in Exchange Server 2013.
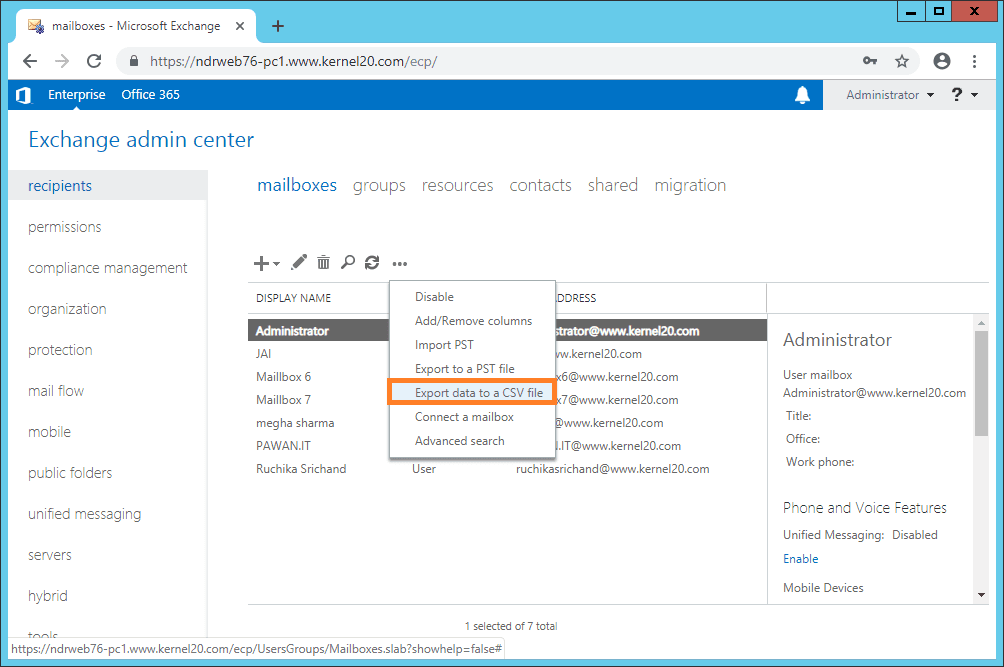
- Open Exchange admin center (EAC). Navigate to recipients > mailboxes, click more (…) and select Export data to a CSV file.
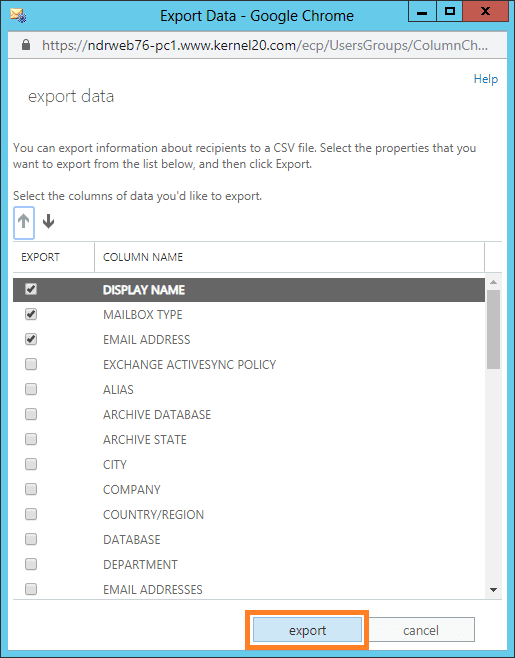
- Select the data (given as column names) for the export and click export to continue.
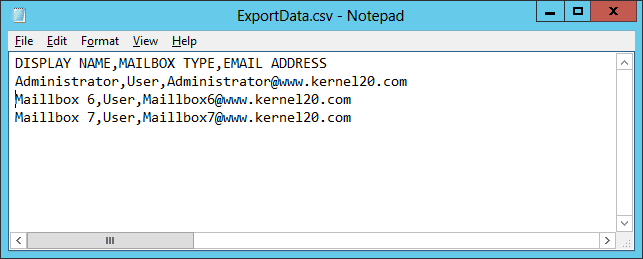
- A CSV file with all the mailboxes details is created and is saved in the Downloads location of the system. You can add or remove any mailbox from the list. The CSV file in notepad will be seen like this.
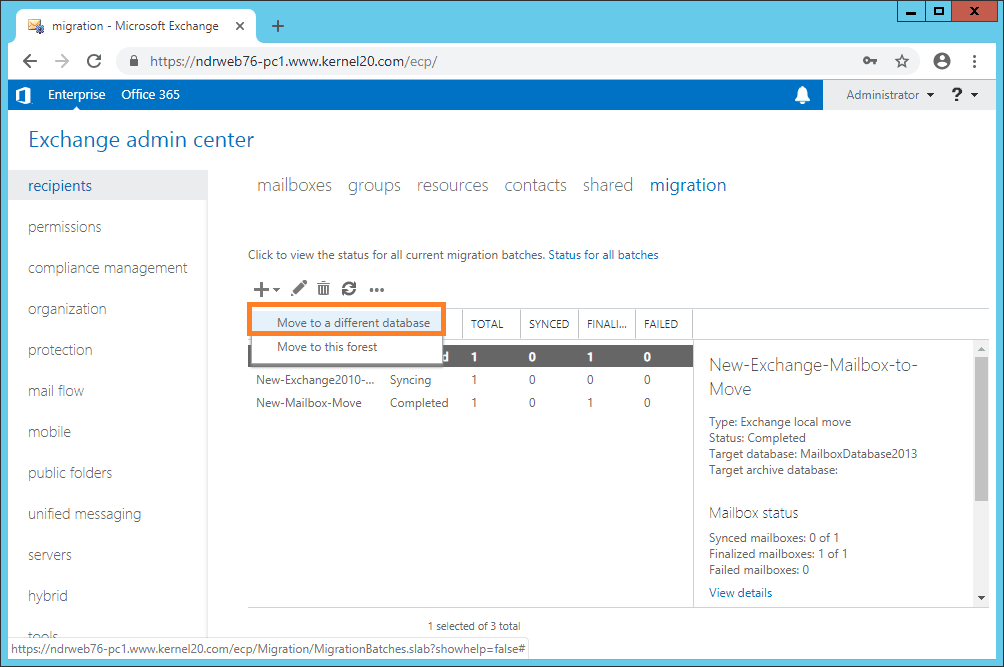
- Now, go to the migration tab, click + and select Move to a different database.
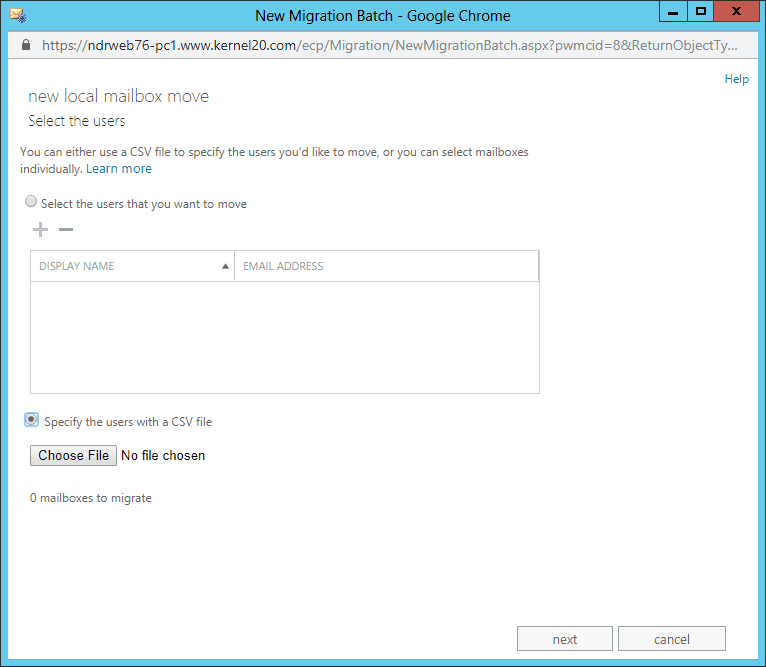
- In the new local mailbox move page, select Specify the users with a CSV file radio button. Click Choose File to add the CSV file.
Note: If you come across an error asking to add email address column, modify the CSV file as shown and try adding it again.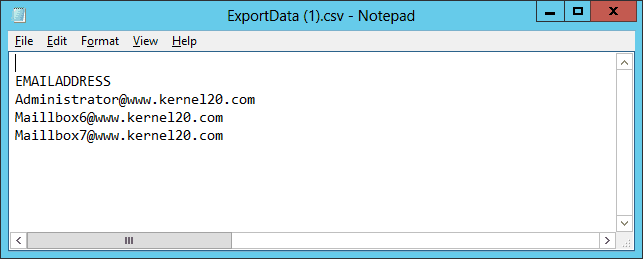
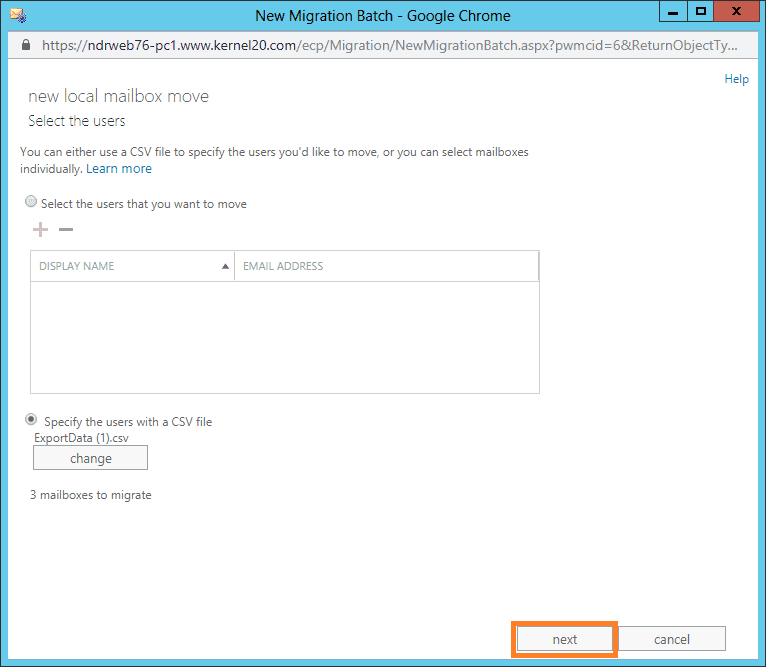
- Now, the CSV file is added, click on Next to progress.
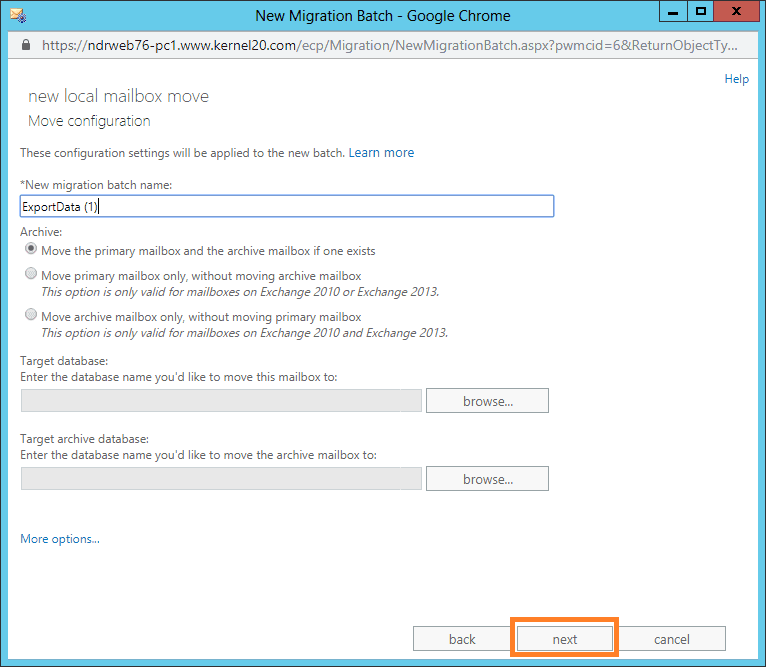
- Enter New migration batch name, select the required options, add the Target database and click Next.
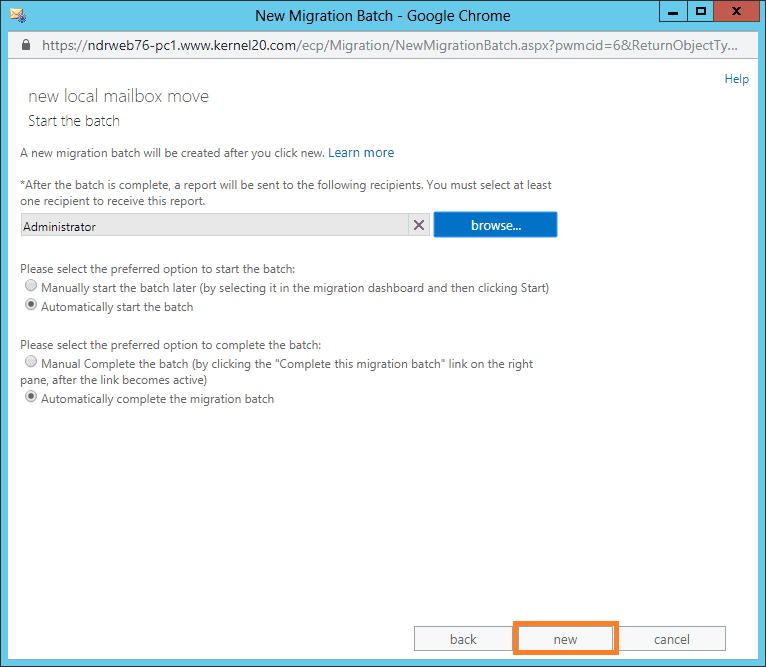
- In Start the batch page, select the mailbox for receiving the migration report. Select the migration options and click new.
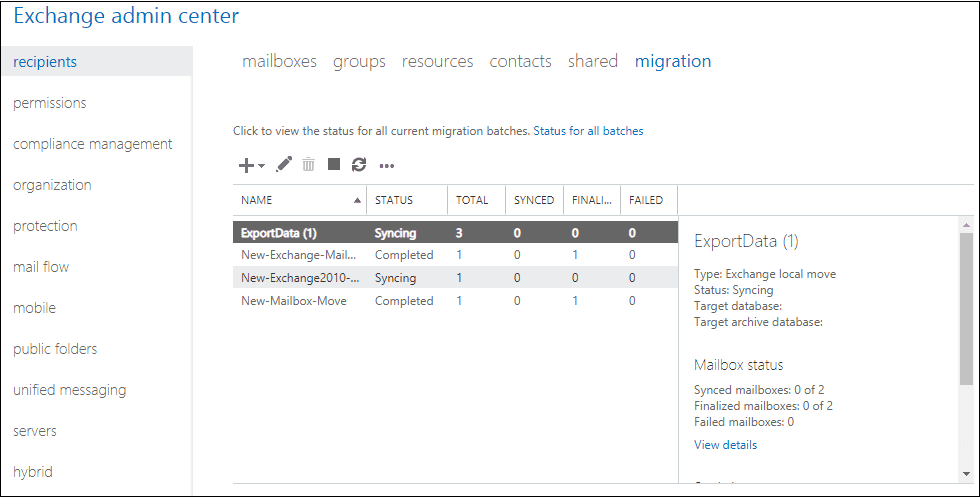
- The mailbox synchronization gets started. After some time, the migration gets completed displaying the Completed status.


This manual way to migrate data from one database to another database is feasible but takes too much time; also, it and does not use any filters for selective migration. Risk of data loss is always there during the migration. Also, you cannot perform migration to other destinations like Office 365. That is why professional Exchange migration tools like Kernel Migration for Exchange are preferred for bulk mailbox migration to Office 365.
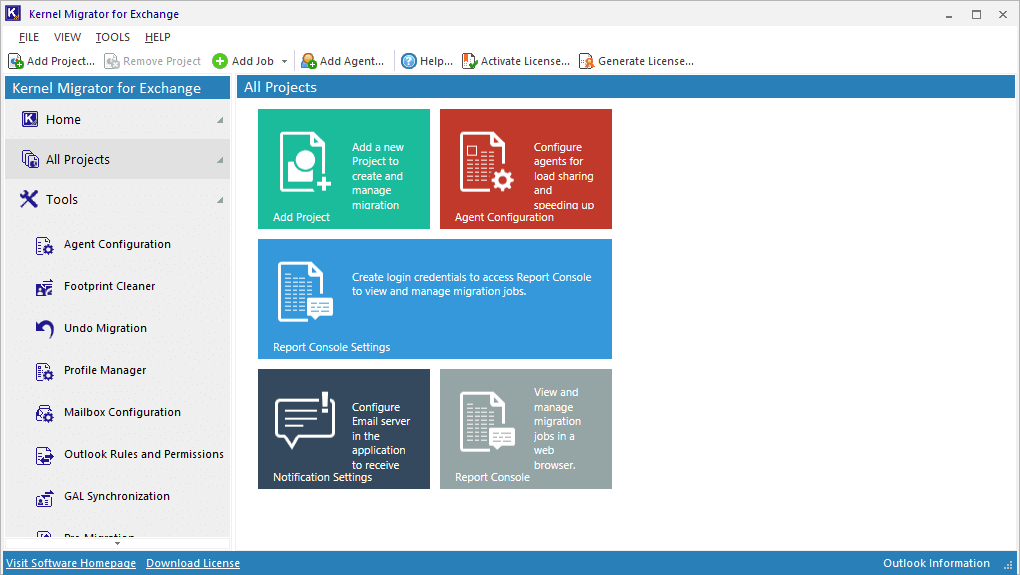

- With Kernel Migration for Exchange (KME), batch migration is easier. In KME, you need to create a migration project and then a migration job, which involves the addition of a source and subsequent selection of mailboxes as shown below.

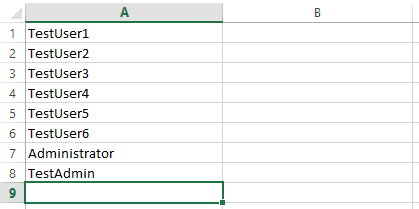
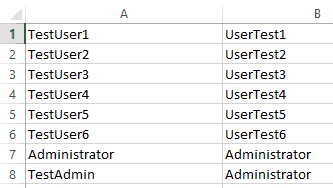
- Instead of proceeding with the manual selection of mailboxes, you can use the Import from CSV option of the tool to add mailboxes. This is the sample CSV file which you have to create. With such a CSV file, the addition of mailboxes is easier.
- Once you add the destination for migration, you can map the source mailboxes with the destination mailboxes as shown below:

- The Map button of the dialogue box provides multiple options to map the mailboxes.
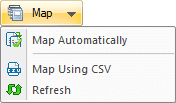
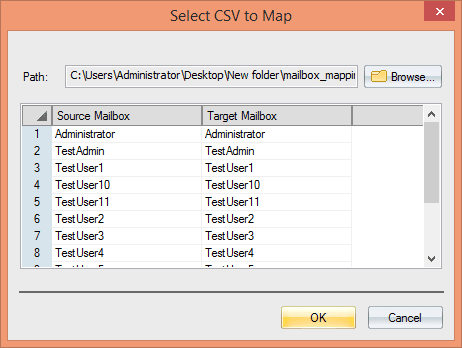
- When you click the Map using CSV option in the software, the Select CSV to Map wizard gets opened. Browse and select the mapping CSV file. Finally, click OK.


Conclusion
In the article, we presented you both inbuilt and automated method to migrate the Exchange mailboxes between the databases. Both methods are secure, but Kernel Migration for Exchange reduced the number of steps required for migration and create a secure job that you can schedule at a future time. It will provide a detailed report too.