

Read time 6 minutes
Nowadays, Microsoft Teams has gained tremendous trust among business organizations to handle all their internal communication. The user can even upload shareable files with other users, and the Team Admin can create various channels to discuss specific topics.
Due to the pandemic, most businesses have a distributed workforce and require a dependable platform for real-time collaboration, chats, video calls, and data sharing. Organizations work with scattered workforces, so there can be multiple Teams to meet different requirements.
To put all these issues at rest, Microsoft Teams has subscription plans for Business and Enterprise versions, including various features. So, it becomes easier for the administrator to facilitate chats, file sharing from different sources, and various applications in Teams. As we mentioned earlier, businesses work with scattered workforces, and so there can be multiple Teams to meet different requirements.
If you have many such teams with important chats and files and want to access them simultaneously, try a Teams migration, where you can easily migrate Teams from one tenant to another, including its content.
Why do businesses need to migrate Microsoft Teams from one tenant to another?
Some common reasons behind companies wanting to migrate Teams from one tenant to another are as follows-
- If the current Team requires an important piece of information present in an earlier Team, you can migrate Teams from one tenant to another.
- When the subscription of an older Office 365 account is expiring, and you want to protect the data, you can migrate the Teams data to another account.
- If the domain is expiring, then you can migrate the Teams to a new domain.
- When important files are in an existing Team, you can migrate them to a new Team.
There is no direct manual solution to migrate Teams from one tenant to another, but you can use Kernel Microsoft Teams migration software if you want to use professional software. It recognizes the nuances of a Microsoft Team environment and migrates the data completely. Here is the process to migrate Teams using our software-
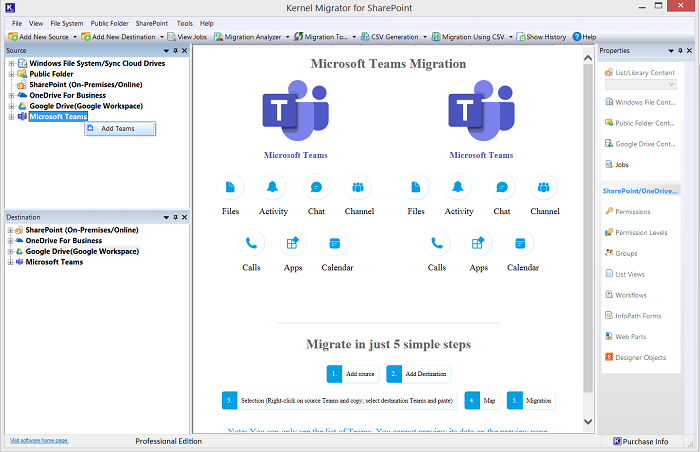
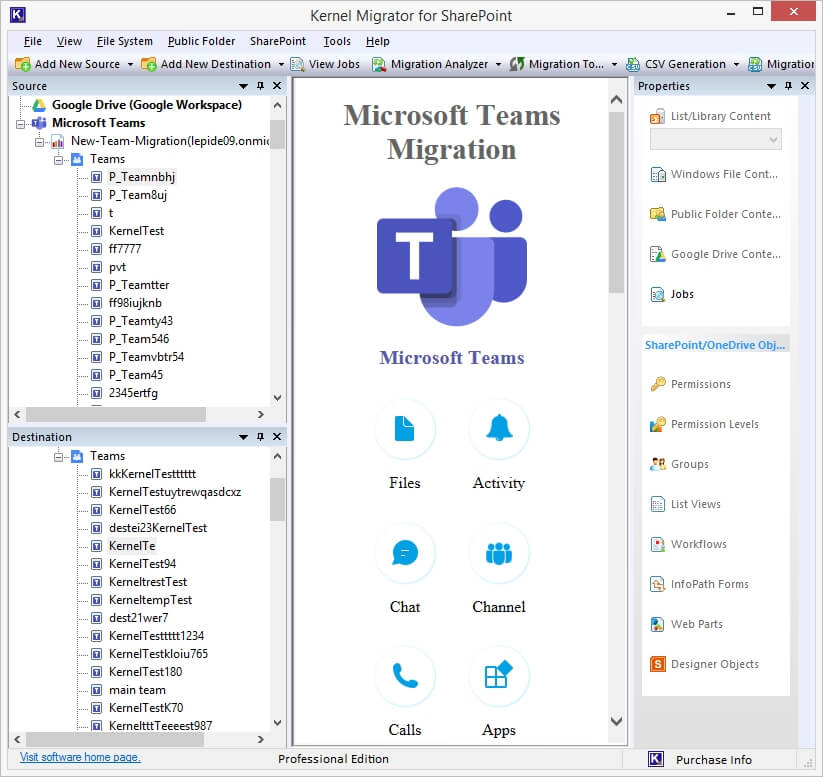
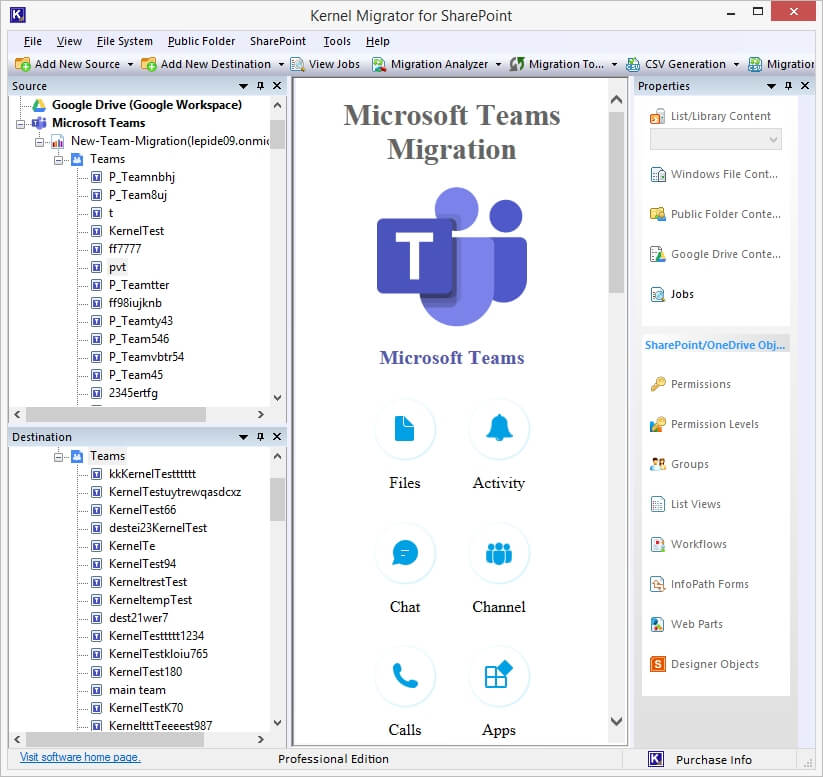
- Start the software and go to Microsoft Teams at the Source section.
- Right-click the Microsoft Teams option and choose Add Teams.
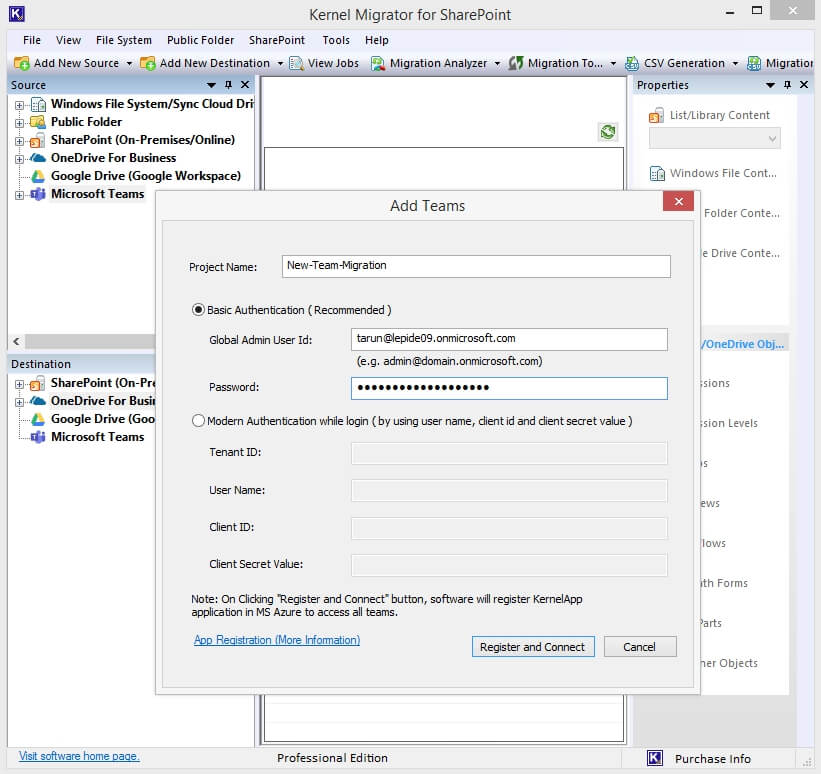
- In the Add Teams wizard, you need to input a project name and details like Tenant ID, Username, Client ID, and Client Secret. All these details are accessible from the active directory in the Azure Portal. Use the below link-
https://www.nucleustechnologies.com/userguide/app-registration-in-azure.html
- After inputting all these details, you need to click Register and Connect button.
- An additional Login wizard will open where you must select between modern authentication and basic authentication. If you choose modern authentication, then you must input the account credentials twice. Click OK.
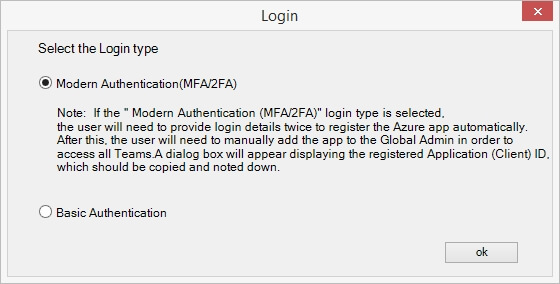
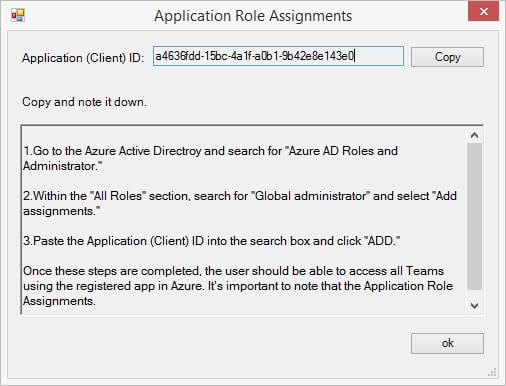
- Copy the Application ID and use all the following instructions to register the app in the azure active directory. Click OK.
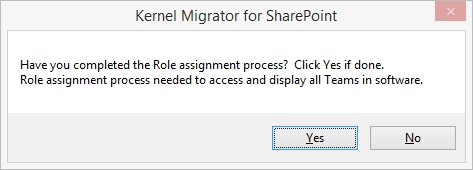
- If you have completed the app registration process, then you must click Yes to go ahead.
- An additional Login wizard will open where you must select between modern authentication and basic authentication. If you choose modern authentication, then you must input the account credentials twice. Click OK.
- A Team has connected to the software.
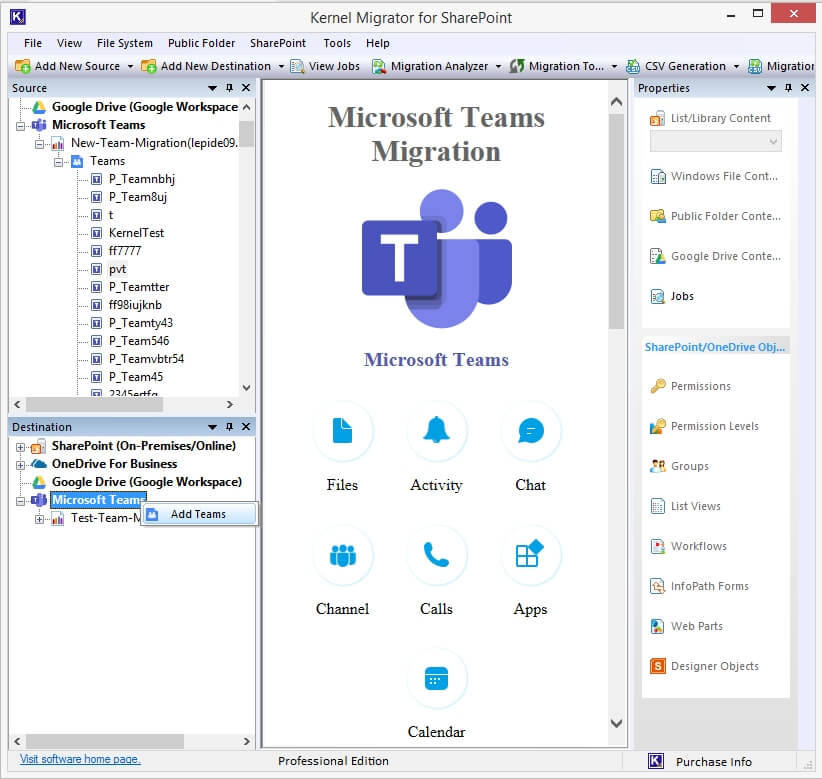
- Now, right-click in the destination section of Microsoft Teams and choose Add Teams.
- Use the same method to retrieve information from Azure Portal and click Register and Connect.

- The software has connected to the destination Office 365 tenant also.
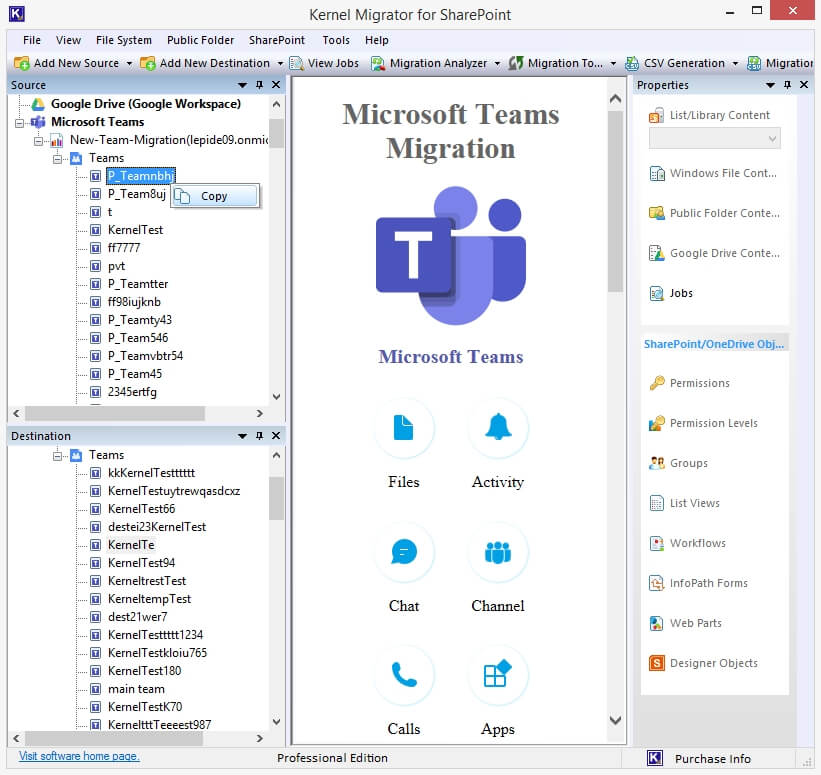
- Go to the source section and copy the Team that you want to migrate.
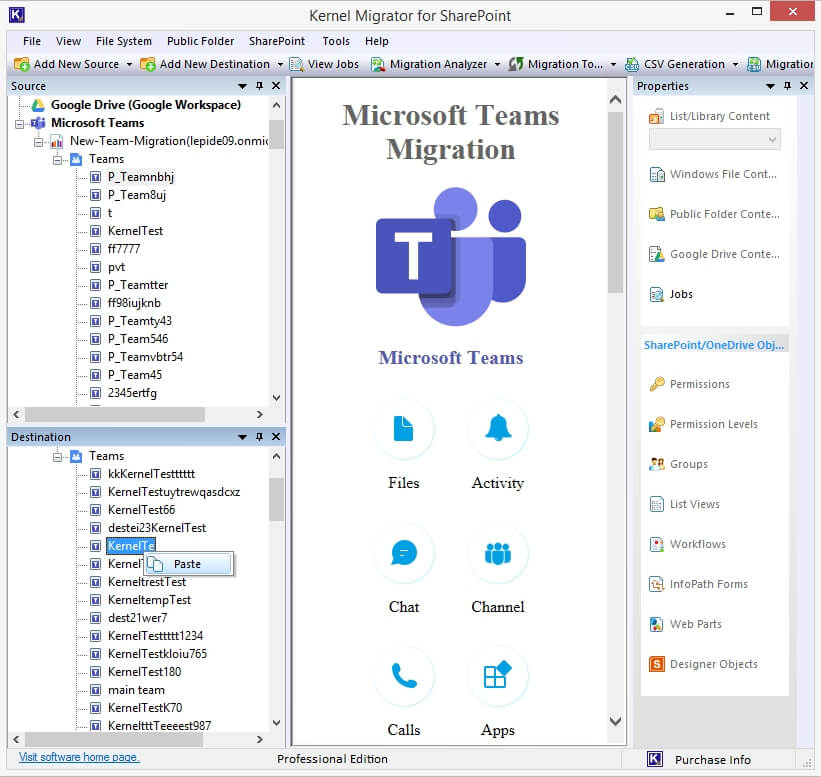
- Go to the destination section and paste the Team there.
- The migration wizard shows you a mapped screen where the same Teams are mapped with the destination Teams. If the Team is not present at the destination, then the color will be red. You can also provide a new Team at the destination. Click, Start Migration.
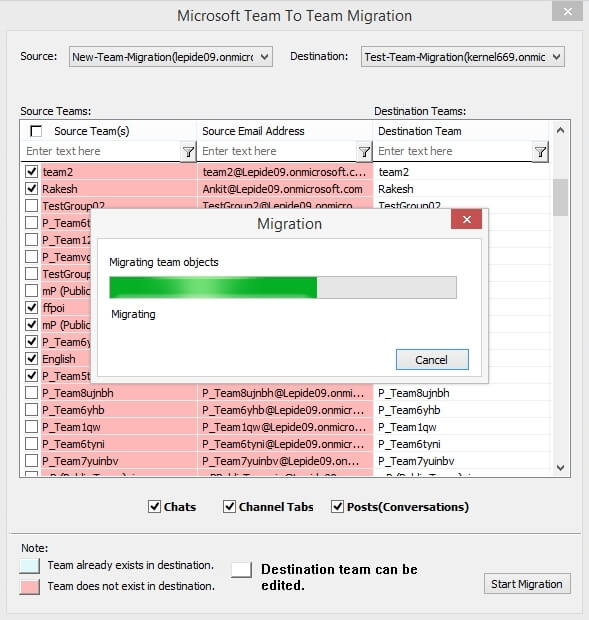
- The migration starts.
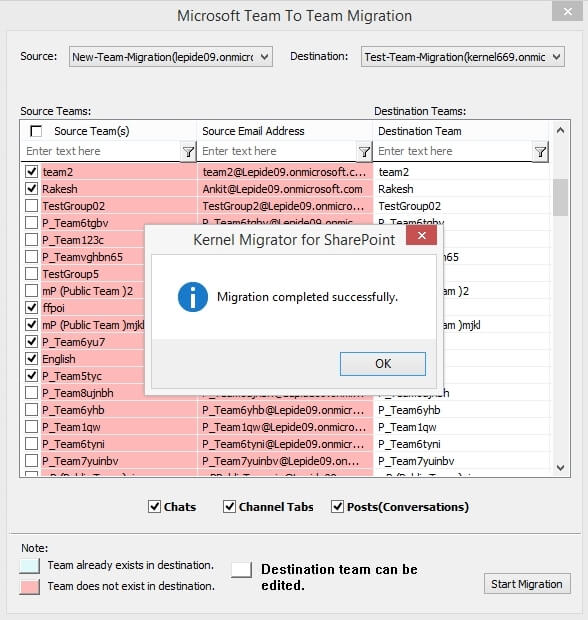
- The Migration has completed successfully. Click OK.
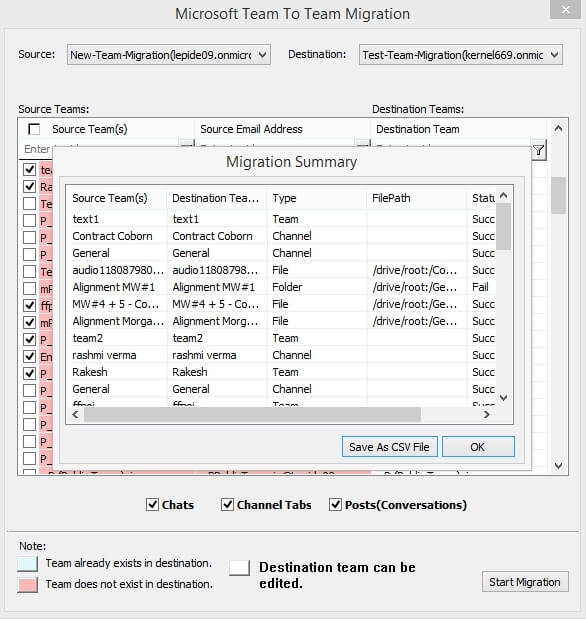
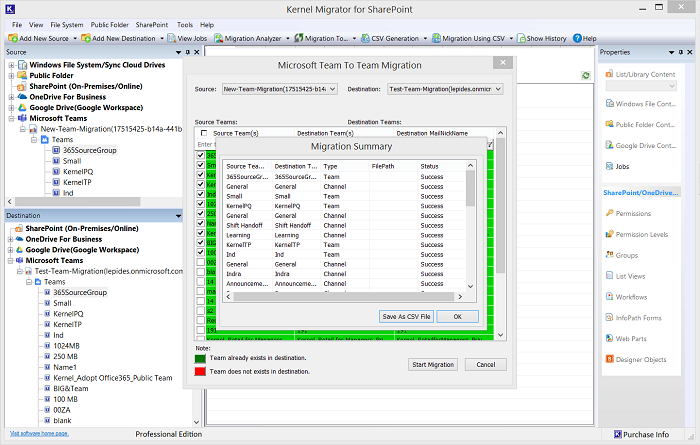
- The Migration Summary shows the migration status of each Team. You can save the report in CSV format also.


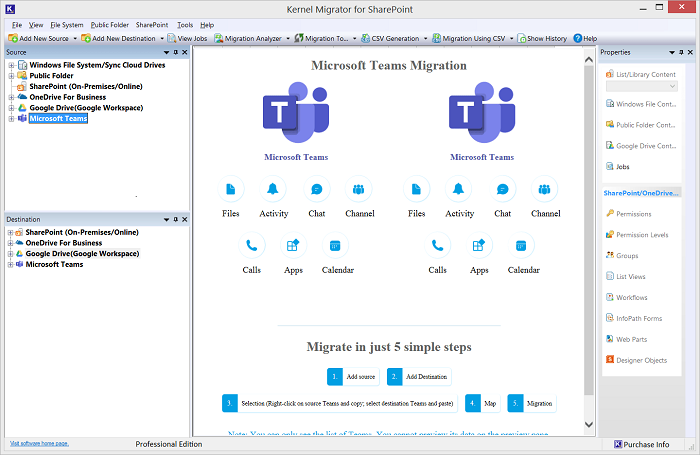
The software migrates the Team along with the content that is present in it.
- Conversation History: The basic job of the Team is to add multiple users at the same place so that they can chat. Our software migrates threaded chat messages, replies, mentions, links, etc., along with timestamps and their features.
- Channels: Channels are topic-based conversations that admin can create and add members to it. The software migrates the entire channel and the committed chats in it.
- Files: If you uploaded the documents in the files section, you would find them at the destination Team because the software will migrate them.
- Calls: All the details of previously committed calls will be migrated.
- Apps: If you add third-party applications, the software will migrate them too.
- Calendar: The calendar entries will be migrated securely.
Conclusion
Microsoft Teams have earned millions of users in the past two years as most employees work from their homes. When the business wants to unify data present at different destinations by migrating Microsoft Teams from one tenant to another, Kernel Microsoft Teams Migration software will make such tasks more manageable.
The software lets you select multiple Teams and migrate them completely, including their content like chats, files, links, attachments, features, permissions, calls, activities, calendar, and all data in each Team. The user can access the Teams data instantly after the migration.