

Read time 6 minutes
Image files are of great importance in all of our lives – they can be important documents or our past moments and memories. But these files do get corrupted, damaged, or broken sometimes. One can assume multiple reasons such as power outages, virus intrusions, bad external drives, bad sectors, corrupted device drivers, etc., as responsible for such issues.
“Unreadable” Images
As the name itself suggests, these image files cannot be read, opened, or viewed by the users. These image files are not lost but available in the corrupted form and have become inaccessible or unreadable now.
To access or open these ‘Unreadable’ images again, you need to repair them if a backup is not available to restore the images.
Ways to Fix the “Unreadable Images” Issue
Mainly, there are two ways to fix the “Unreadable Images” issue:
- Through native approach (includes the use of manual solutions and practices)
- Through professional approach (includes the use of professional software to fix image file related issues)
We are proposing some native solutions to fix “Unreadable images” and make it viewable again.
- Update or Downgrade the Photo Viewer Application
The photo viewer application that you are currently using can be the reason behind the issue. It is suggested to upgrade the photo viewer application or choose a different one. But when the ‘Unreadable Images’ issue has occurred just after you have changed the photo viewer application, you should downgrade the photo viewer application to the previous version and access the images. - Scan with Sfc/scannow
It is a simple manual approach to repair corrupt or unreadable image files on the Windows system. First, as an administrator, run the Command Prompt and then follow the below-given procedure.- Execute the following command to run the Inbox Deployment Image Servicing and Management tool.
DISM.exe /Online /Cleanup-image /Restorehealth - Now, run the scan over the system using this command.
sfc /scannow - Wait now for the completion of the scan, and after that, check for the integrity of the image files.
- Execute the following command to run the Inbox Deployment Image Servicing and Management tool.
- Run CHKDSK command
Sometimes disk errors or damages cause corruption in the image files. There is a manual way to check the disk integrity, repair bad sectors, and fix disk errors – this is done using the CHKDSK command in the Command Prompt (run as administrator). The command is as follows.
Chkdsk /f
Here f is the disk volume. - Convert the file format
There is another way to fix the issue, i.e., by converting the current file format to another format manually. Still, it does not provide accurate results rather than cause further corruption in the file. - Use a Professional Photo Repair Tool
Though we have multiple manual solutions available to repair “Unreadable” images, none of these are reliable. So, a complete solution is a dire need here.
Kernel Photo Repair is a professional utility developed to fix all sorts of image file errors and corruptions. It works to resolve file corruptions and even fix faded photos easily.
Some advantages of this repair utility are:
- File size and number are not barriers
- All image file formats are supported
- Save repaired files at any desired location
- Fixes all the issues, errors, and corruptions
- Interactive Graphic User Interface
As mentioned, the repair tool fixes all kinds of image-related issues; it can also sort out “Unreadable” images issue instantly. Let us see how.
Download and install the free trial version of the software first to analyze its working on ‘Unreadable Images.’
How to Download and Install Kernel Photo Repair?
Visit the official website of the Kernel Photo Repair software, click on the Download Free link, and then double-click the downloaded exe file. Now, follow the installation process as prompted.
Procedure to Repair Unreadable Images
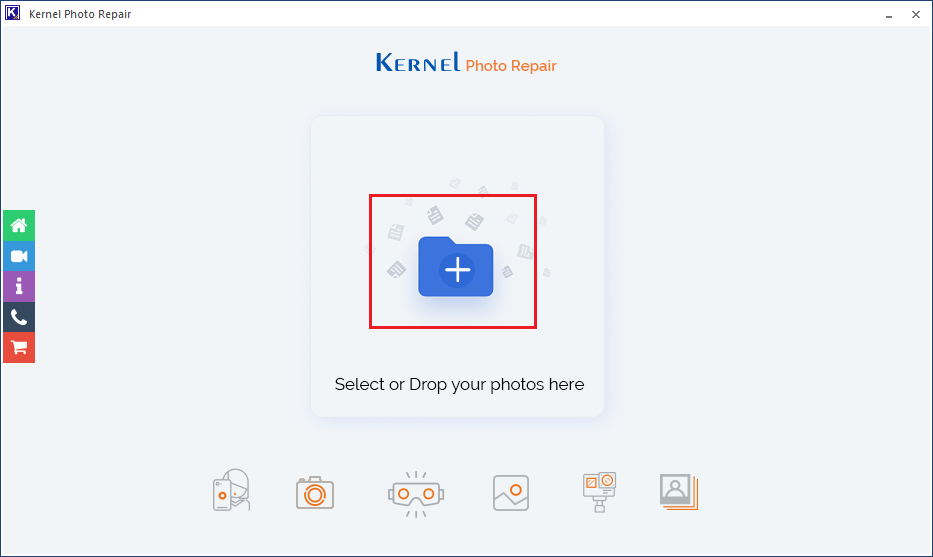
- Launch the Kernel Photo Repair tool on your system by clicking the application icon.
- On the Welcome Screen, click on the plus icon to add the affected image files from your system or external drive. You have another option to simply drag the location and drop it to the displayed icon.
- Choose the files from the system or external drive and click on Open to add it.
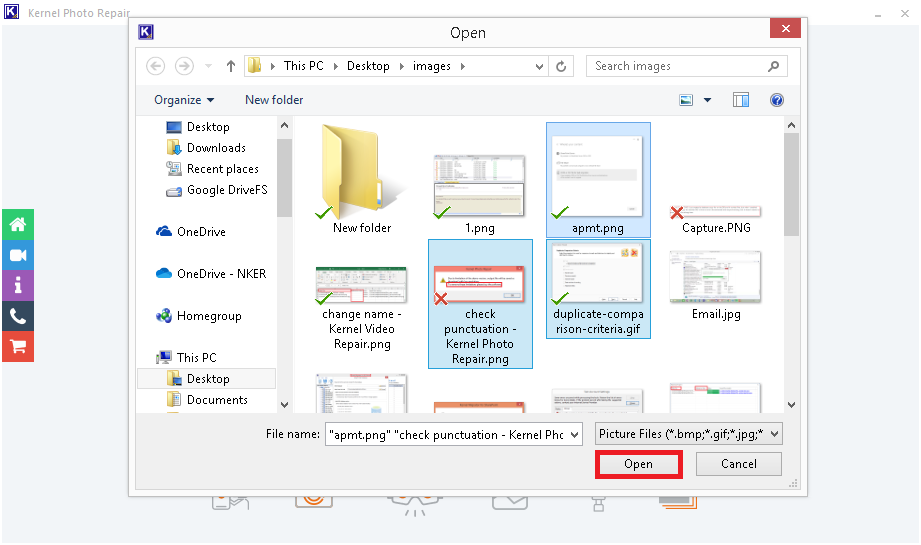
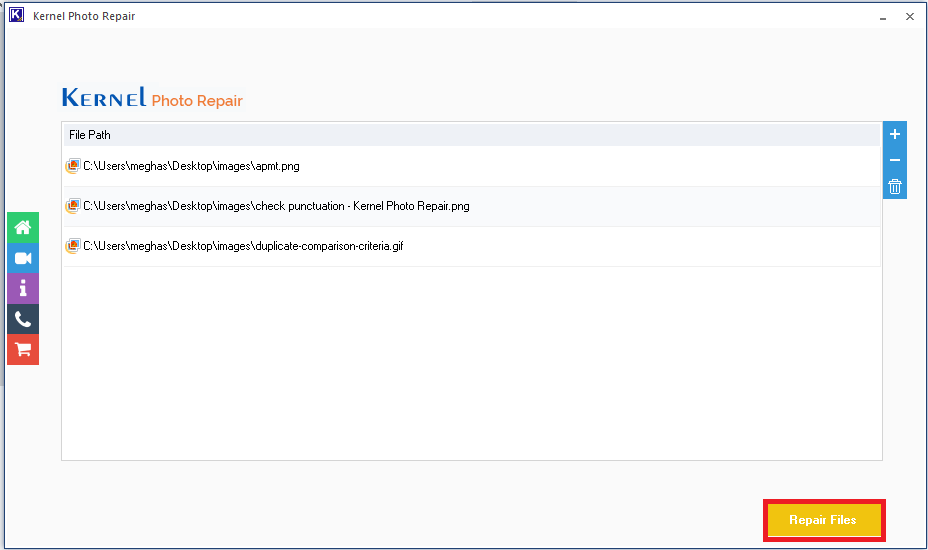
Note: The tool supports all image file formats; so, you can add different types of formats together for repair. - The selected files will get added and displayed like this. Click Repair Files.
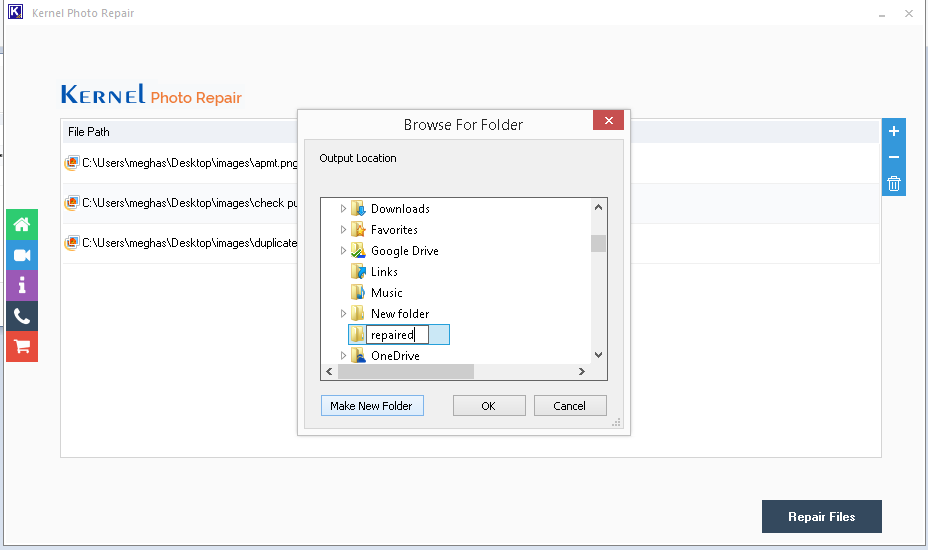
- Next, a prompt dialogue box would appear to provide the saving location for the repaired image files. Click OK after selecting the location.
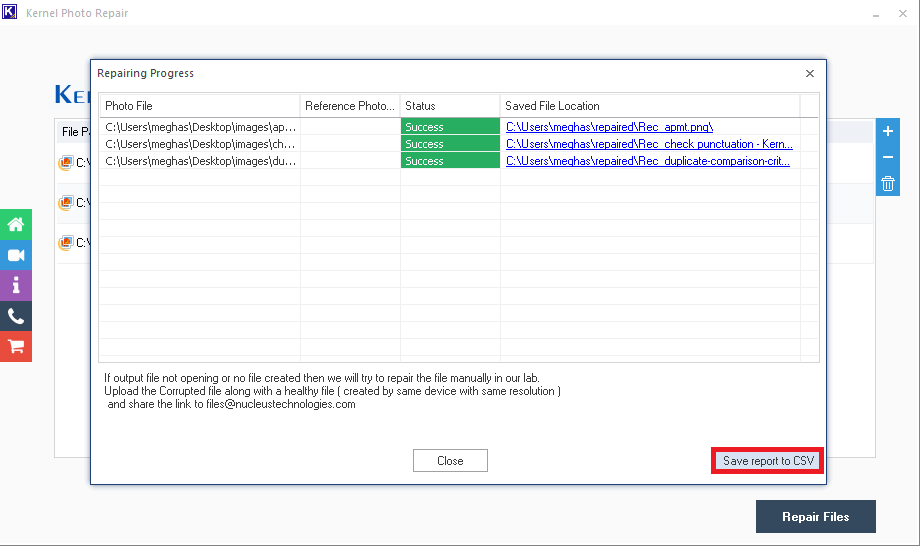
- The repair on the image files will start, and the live progress can be seen. Once the image files are repaired, you can click on the Save report to CSV option to save the repair report at the desired location.
- Finally, click Close to exit the application. Move to the specified location to find the repaired image files.
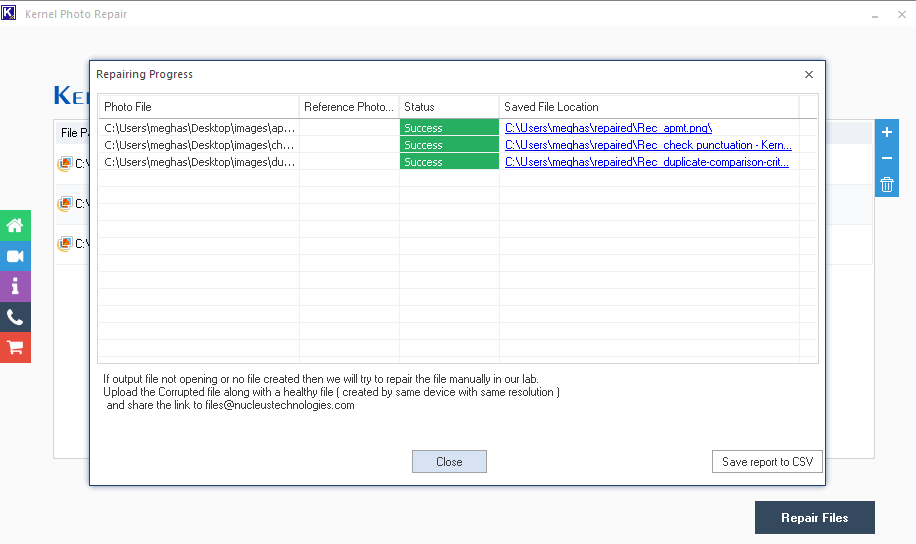


Image files are now readable and can be viewed properly. The software is proficient enough to fix all kinds of issues related to image files, as explained above. So, forget all worries related to image errors and corruption.
Try yourself by downloading the free version.
Final Words
Unreadable images are definitely a headache for all. To make them accessible again, there are different manual solutions, but considering the unreliability of such methods, a trust-worthy photo repair tool is recommended here.