

Read time 5 minutes
Learn to use Office 365 shared mailboxes in MS Outlook 2016
In Office 365, a shared mailbox is a group mailbox, granting members full access rights. This streamlined approach allows groups to easily manage emails from a shared address.
No extra licenses are required for shared mailboxes in Office 365 and thus is cost-effective. Also, shared mailboxes offer full accessibility on portable devices such as mobiles and laptops.
To access an Office 365 shared mailbox within Outlook 2013 and Outlook 2016, one must simply become a member (a task easily delegated to the Office 365 admin). Get all the details here and join us as we give a step wise guide on adding shared mailboxes in Outlook.
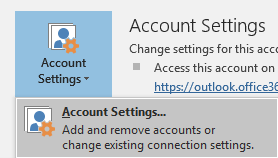
- First, open your MS Outlook app and then go to File>>Account Settings>Account Settings.
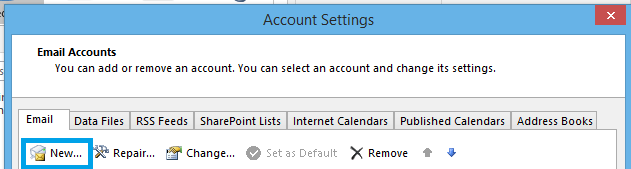
- In the Email Accounts page, navigate to Email, and click New.
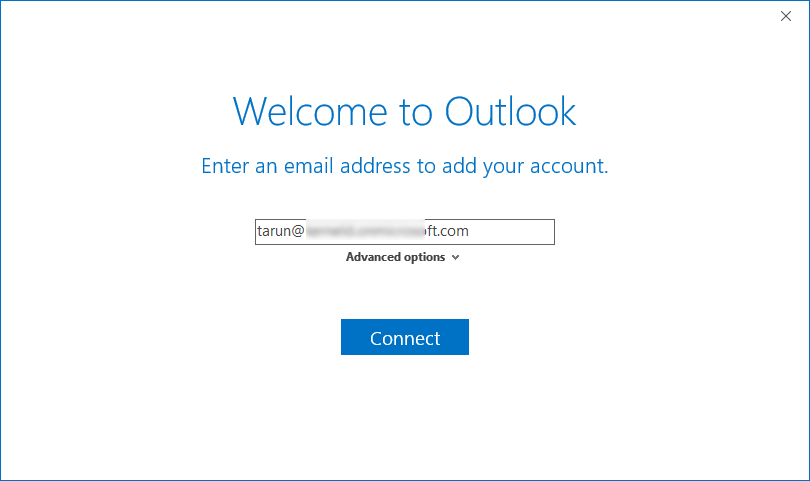
- Now add your Office 365 global admin account address and click Connect.
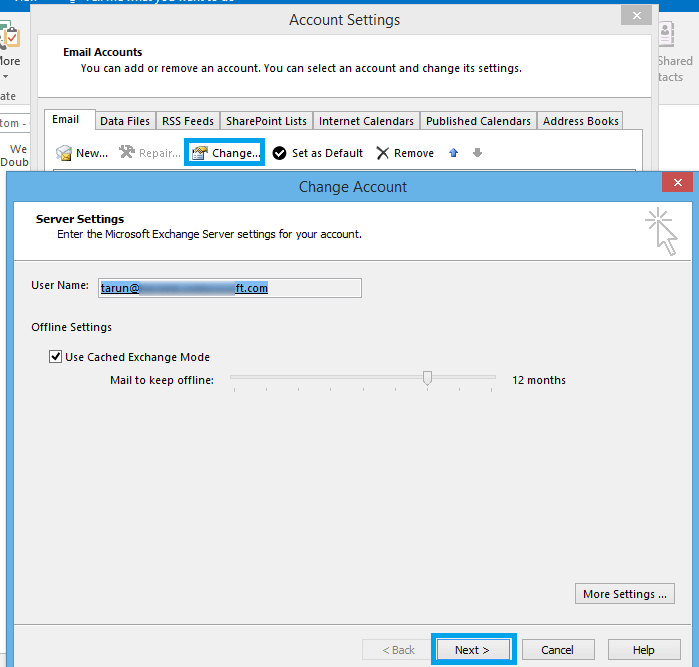
- Now go to Account Settings as done in the beginning. Select the default account and click Change. Then, select the added new account and click Next.
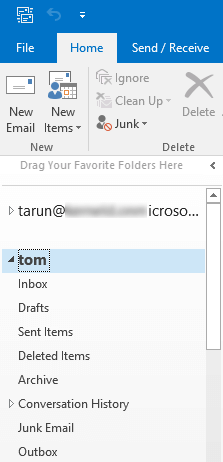
- Now, your account is successfully added, and your shared mailbox is also displayed (though it may take some time).


You can also try this below method to add a mailbox easily. Follow the steps with us.
- Go to the File menu. Navigate to Account Settings > Account Settings.
- Double tap on your account and click on More Settings.
- Under the Advanced tab, add the shared mailbox and tap on Add.
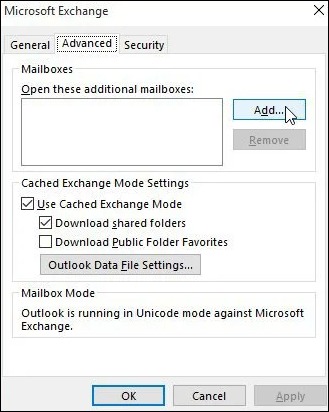
- Click on Apply and OK.

Once the shared mailbox is added to Outlook 2016, you can perform the following:
- Send mail from a shared mailbox
- Reply to emails
- Use a shared calendar
- Use a shared contact list
- Use a shared mailbox on mobile devices
Send mail from a shared mailbox
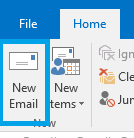
- Open your Outlook application. Click New Email.
- At the top of your message, click From and select your email address from the drop down. If not found, click Other Email Address from the drop-down list and enter your Office shared mailbox address.
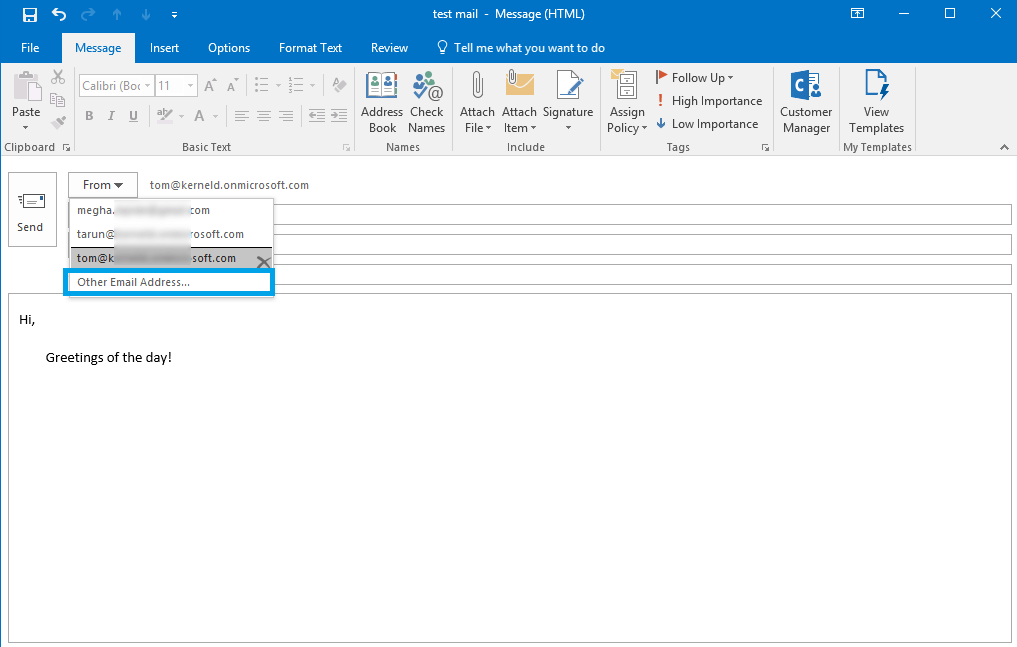
- Now, click Send to send the email with required content and recipient (To) email address.
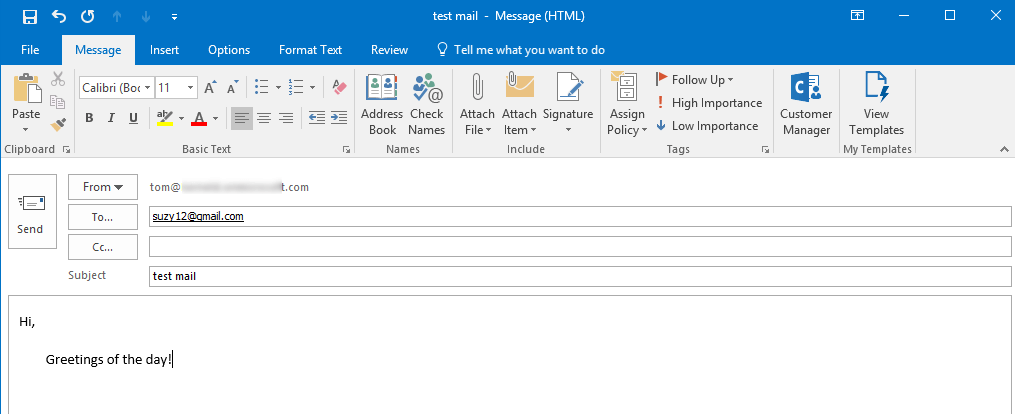


Your email will be sent by the specified shared mailbox address.
Open your Outlook application. Click the email you want to reply to. Click Reply. Select your Shared mailbox address from the From drop-down list. Type the message and then finally, click Send.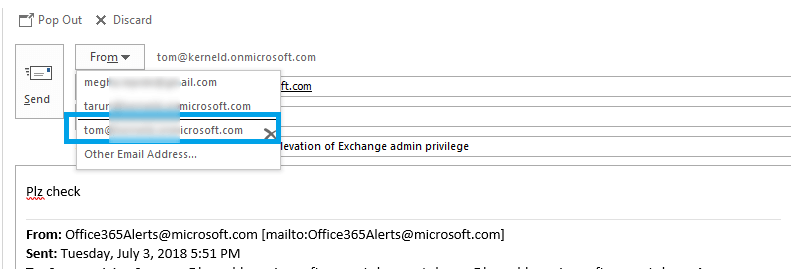

Open your Outlook application, then go to the Calendar view at the bottom-left of the page. Select your shared mailbox. Make entries or edits in your shared mailbox calendar as per your need.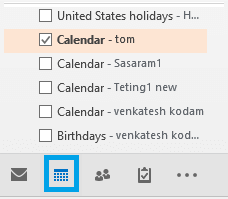
Note: All the members of the shared mailbox can create, view and manage calendar appointments. Each member would also be able to view the changes performed in the calendar.

Using a shared contacts list in Outlook is also quite easy. Just select the Peoples icon at the bottom left of the page, select your shared mailbox and view all the contacts with the details.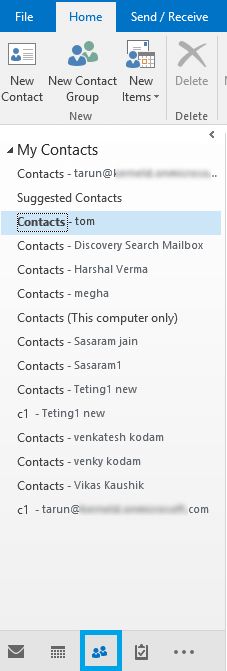
Note: All the members of the shared mailbox can access or export the contacts from the mailbox.

Users can access their Office 365 shared mailboxes in their mobiles by signing into their Office 365 account and going to Outlook on the web.
Note: Before accessing your Office 365 shared mailbox on your mobile phone, you need to add it to your Outlook web-app.
Conclusion
To sum it up, Office 365 users can easily use shared mailboxes in Outlook. This lets group members send emails, reply to messages, check calendars, and access contact lists together.
As a helpful tip, you might want to check out the Kernel Office 365 Backup & Restore tool. It can make your Office 365 experience even better by keeping your data safe. So, go ahead and make the most of shared mailboxes for smoother communication and consider this tool for added security and convenience.