

Read time 8 minutes
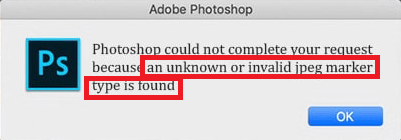

The above error is the most unpleasant thing to a user when he is trying to process his image files in the Adobe Photoshop application. It does not allow your JPG or JPEG image files to get opened in the Adobe Photoshop application for any type of processing like editing, enhancements, etc.
Many Adobe Photoshop users encounter this issue, which may manifest with various error messages such as –
The action couldn’t be executed because of an invalid Photoshop document.
The action cannot be completed as the file extension is unable to analyze or decompose the file.
“Could not complete your request because the file-format module cannot parse the file.”
We’ve gathered a list of possible reasons behind the issues with your JPEG files in the application, along with corresponding solutions or fixes to get them up and running smoothly once more.
- File extension spelled incorrectly or with errors
- Divergent image file format compared to the source file
- Challenges with hardware and devices
- Enabled hidden file name extensions feature
- Damage or corruption in image files
- Modify the file extension
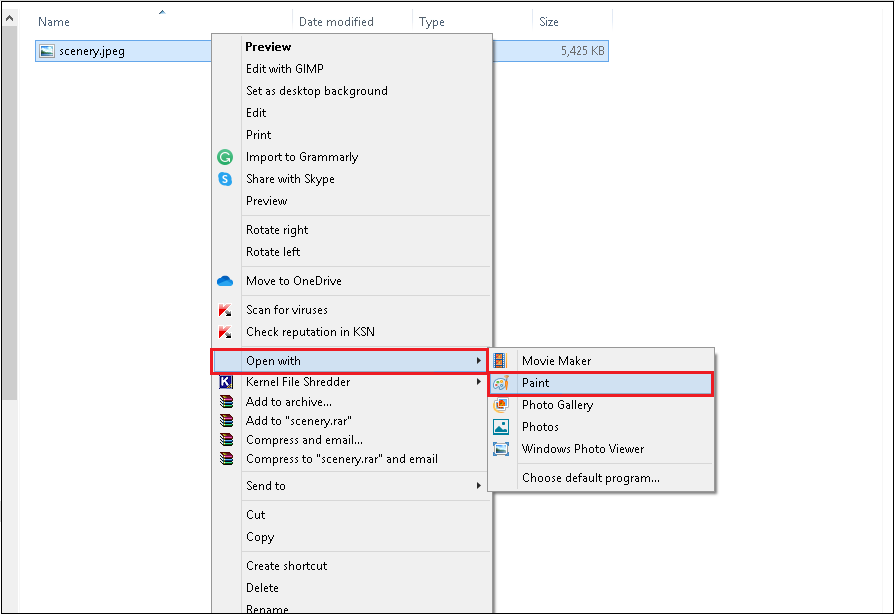
Encountering the error message “An unknown or invalid JPEG marker type is found” often stems from an inaccurate file extension. This typically occurs when a user has previously attempted to manually alter the file extension, leading to potential issues. Whether through misspelling the extension or combining two extensions for a file, the result is an unreadable file in applications like Adobe Photoshop, hindering editing and other processing tasks. It is recommended to correct the file extension manually using the appropriate method.- Right-click on the JPEG image file and select the Open with option. Then select the MS Paint program to open it.
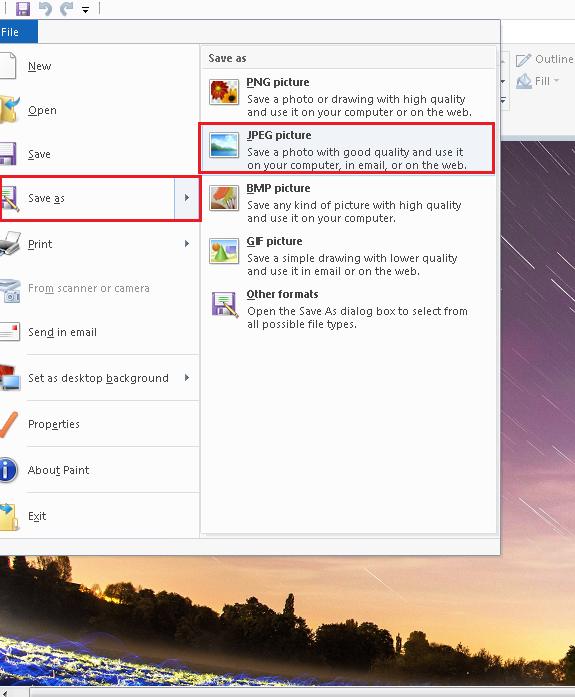
- Navigate to File>Save as option. Choose the saving file extension as the JPEG picture.
- Select the destination, change the file name (optional), and click on Save. This will save the file to the desired destination in the desired format.
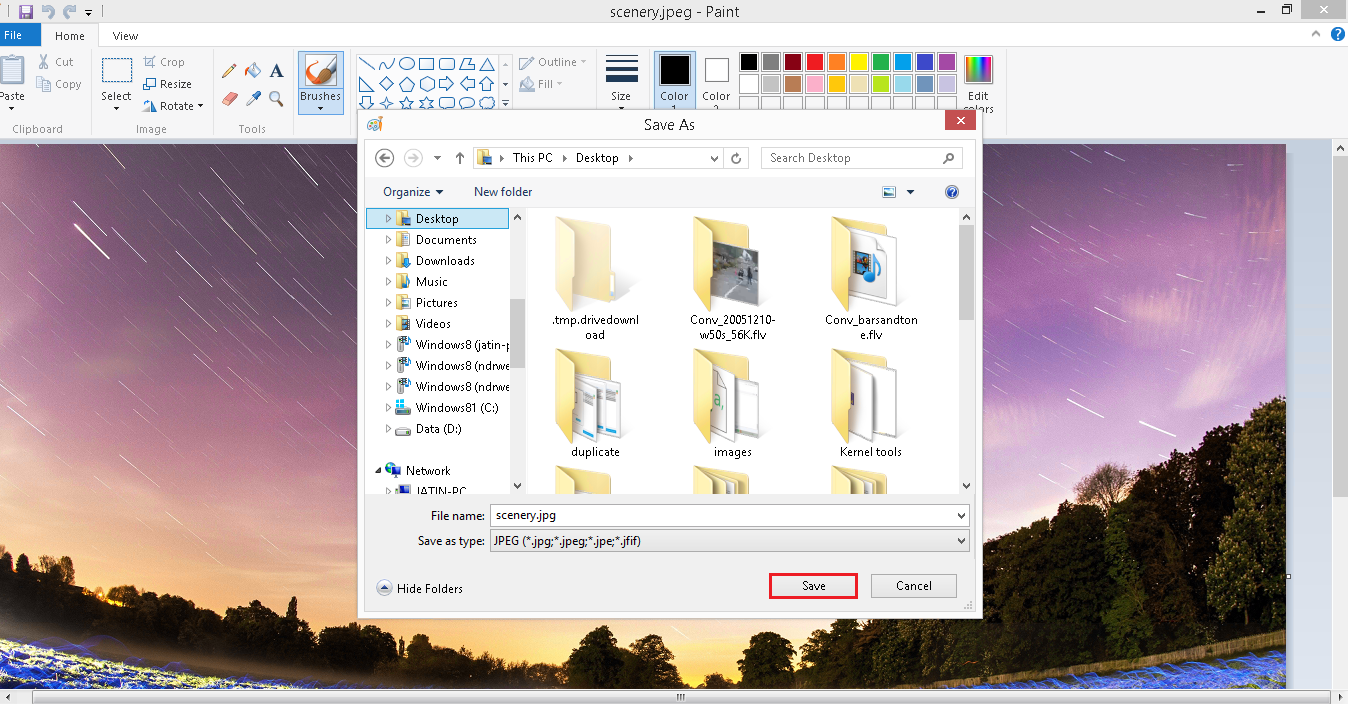
- Now try to access the file in Adobe Photoshop to check the effects.
- Right-click on the JPEG image file and select the Open with option. Then select the MS Paint program to open it.
- Rename the file
Feel free to rename the current file at any point if you’re aware of its original name. The file might undergo several name changes before being utilized in the Photoshop application. Renaming the file is a straightforward process—just choose the file, hit the F2 key on your keyboard, and enter the original file name.
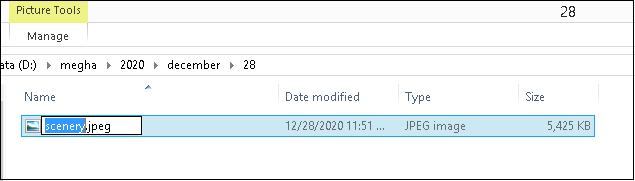
Or right-click the concerned file to select the Rename option from the drop-down list and change the file name hen. - Unhide locked file extensions
You can check if the extensions for known file types are not hidden as they can cause the error. In Windows 10 user, try these steps to check this option.- Open Control Panel on your system.
- Click on the File Explorer options to open it.
- Now, switch to the View tab, go to the Advanced Settings section, and ensure that “Hide extensions for known file types” is unselected; click OK.
- The problem may have resolved now.
Or go to the File Explorer and click on the View menu at the top, from there make sure the File name extensions checkbox is selected. If not, then select it.

- Perform hardware troubleshooting
Make sure to examine hardware for any issues and conduct troubleshooting to address errors that might stem from hardware or device malfunctions. Follow this procedure to initiate hardware troubleshooting on your system.- Go to Control Panel on your system.
- Click on the Troubleshooting option from the Control Panel Items.

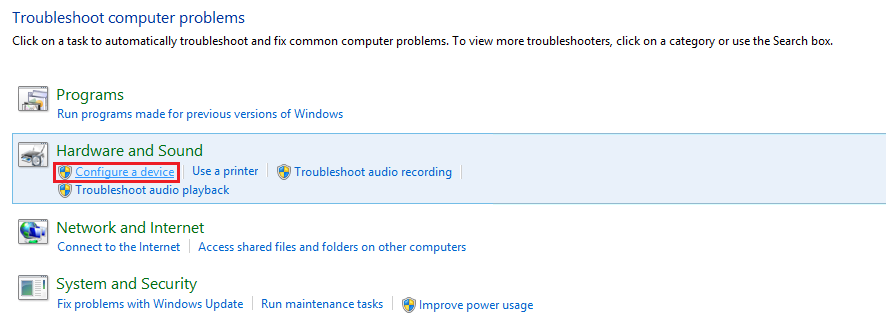
- On the Troubleshoot Computer Problems page, click on the Configure a device option under the Hardware and Sound section.
- On the next page, click on Next to continue.
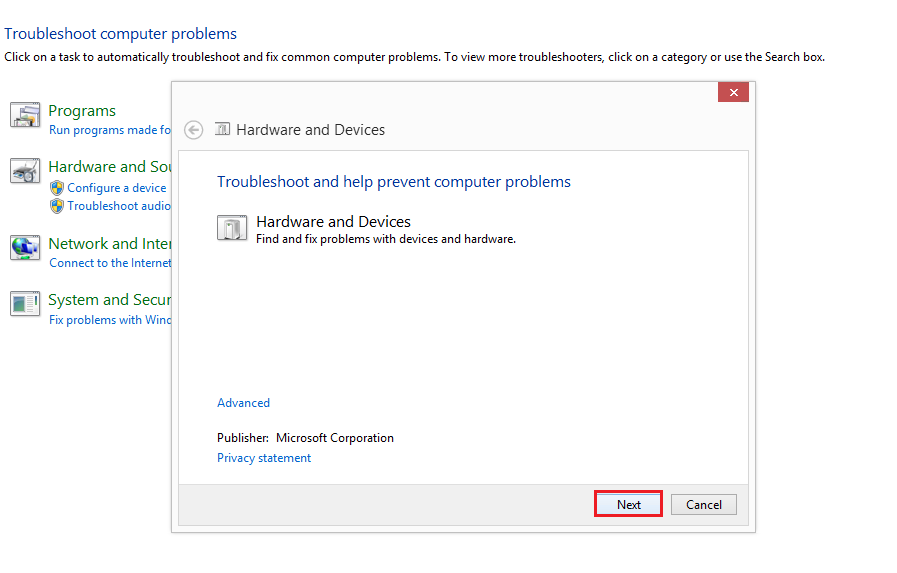
- Follow the instructions to troubleshoot and find the existing issues with the hardware and devices.
- If issues are found, perform the suggested solutions to fix this.
- Open the file in another photo app
You can resolve the “Invalid JPEG marker type” issue by opening your JPG or JPEG image file in a different Photo App such as Picasa or Windows Photo Viewer. Save the file with a new name to a different location. Now, the file is fresh and should open smoothly in the Adobe Photoshop application. Double-check by attempting to open it in Adobe Photoshop.


If the manual solutions are not able to fix the “An unknown or invalid JPEG marker type is found” error, then we recommend an advanced and quick professional photo repair tool – the Kernel Photo Repair tool, also known as the best JPEG repair tool for Windows systems. It can repair all image file formats and make it healthy again for use in minutes. Let us understand its working and know this automatic repair solution better. Visit https://www.nucleustechnologies.com/photo-repair/ to download and install the Kernel Photo Repair tool on your system first.
- Open the Kernel Photo Repair tool and use the plus icon to upload your JPEG files from the system drive for repair.
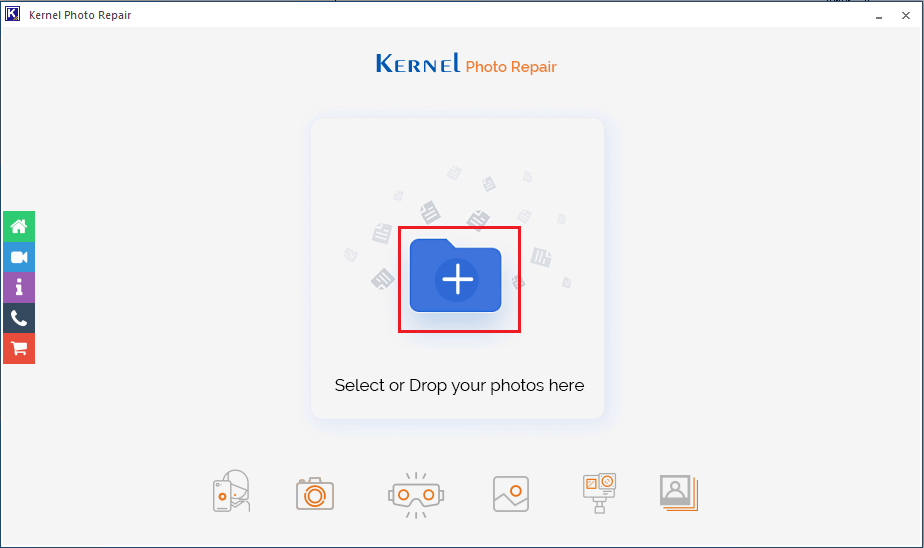
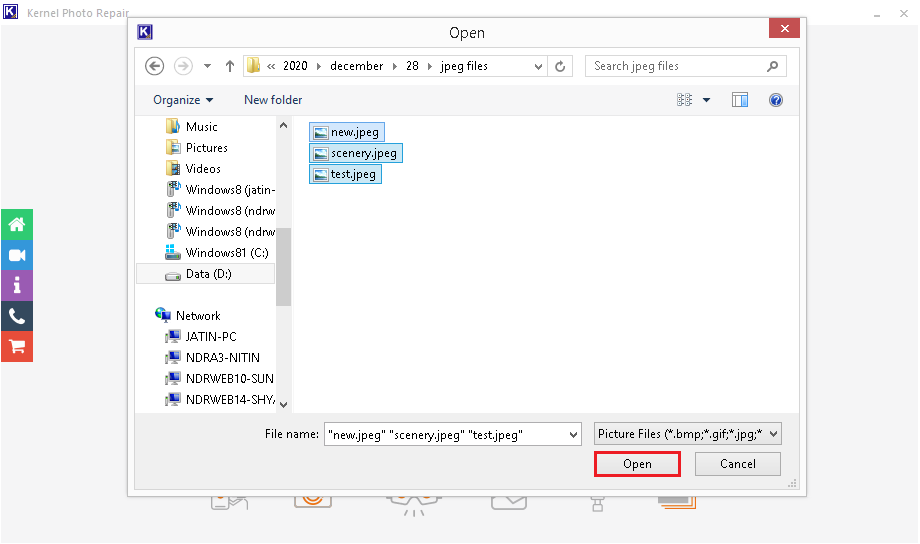
Note: You can alternatively move image files from your system folder location and release them onto the plus icon to instantly include them. - Explore and choose JPEG images located on your system drive. Click the “Open” button to include them.
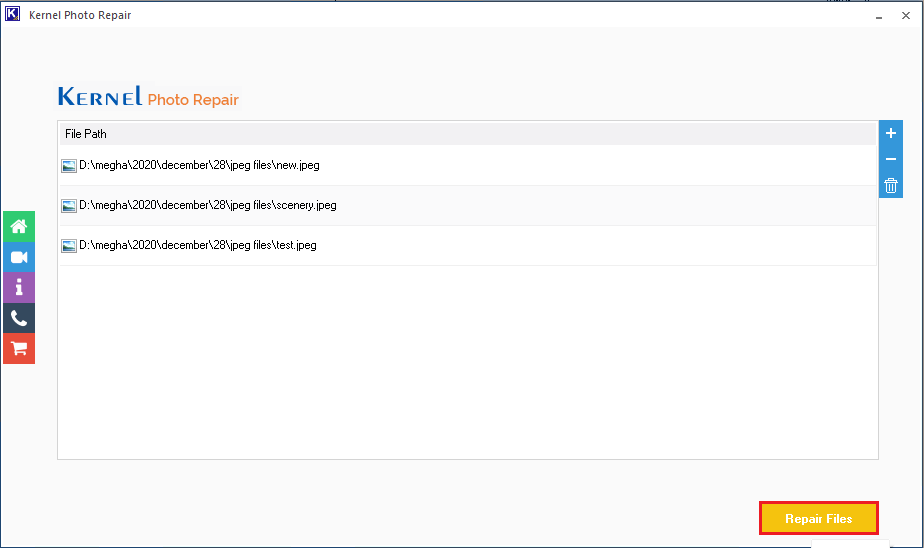
- On the next screen, files will get added, click the Repair Files option to initiate the repair process.
- Please specify the destination folder where you’d like to save the restored files, and then select “OK.”
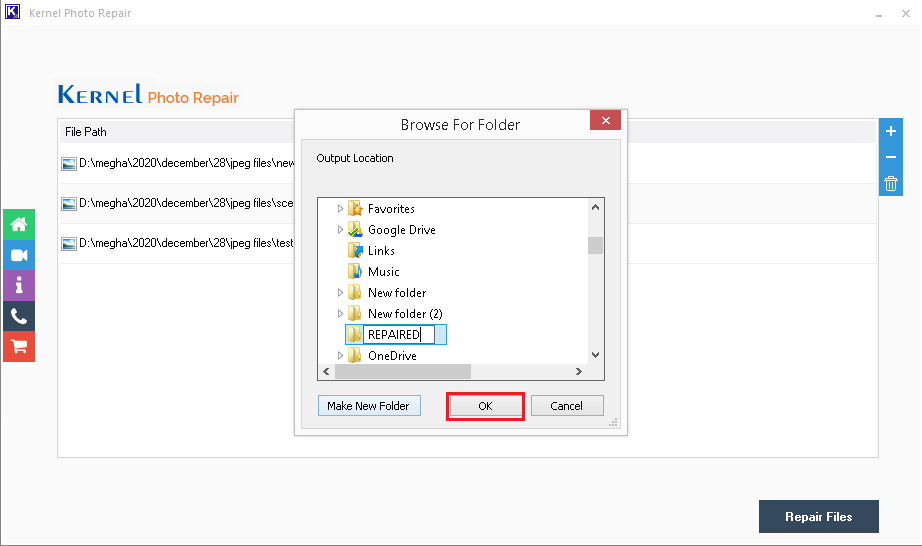
Note: You have the flexibility to generate a fresh folder in any system drive location by selecting the Create New Folder option and then save the repaired files into it. - Let the files be repaired. View the live repair process.
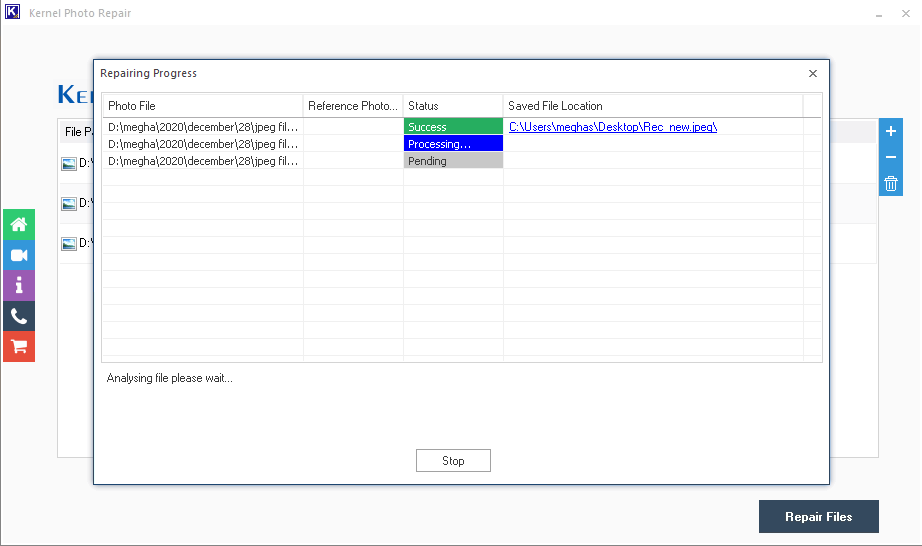
- The files will be repaired soon. Click on Save to CSV option to save the repair report in the CSV file format.
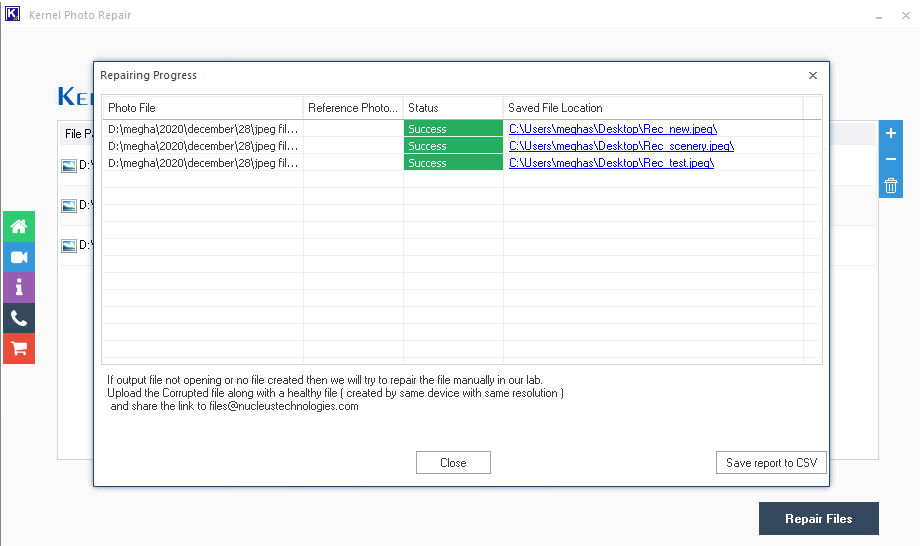
- Now, locate and use the repaired files in the Photoshop application.


Conclusion
Numerous Photoshop users encounter frequent errors when handling JPEG image files, often stemming from issues like improper file settings, malfunctioning hardware, incorrect file extensions, and more. Consequently, this article offers comprehensive explanations of manual solutions tailored to address these issues. Feel free to explore all the suggested fixes to identify the one that resolves your specific problem.