

Read time 5 minutes
As a busy manager, keeping track of your schedule is crucial for staying organized, meeting deadlines and ensuring that you are fully equipped to tackle each day’s tasks. However, there are times when you may need to backup your calendar items for safekeeping.
Fortunately, Office 365 offers a top-notch solution to export or import calendar items using PowerShell. With this technical tool, you can easily maintain control of your schedule so that all important information is safely stored and easily accessible.
So, you need to export the calendar items from Office 365 and you can do it using the PowerShell cmdlets easily.
- Create a network-shared folder to save the PST file.
- The users account should have the read/write permissions to the Exchange Trusted Subsystem group on the folder.
Now start the process
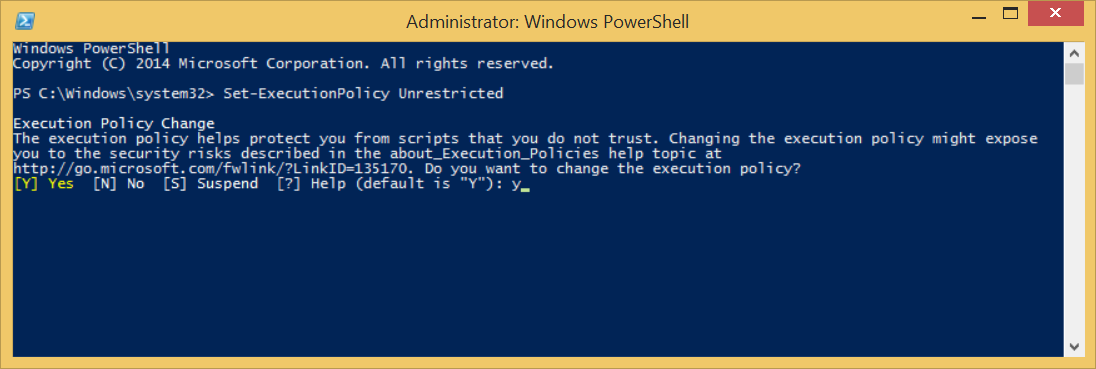
- Run the following command that will let you any kind of script whether it is signed or not. It will ask you to confirm your selection related to the change in execution policy. Click Y
Set-ExecutionPolicy Unrestricted
- Run the second command to input the credentials of Office 365 account.
$livecred=Get-Credential
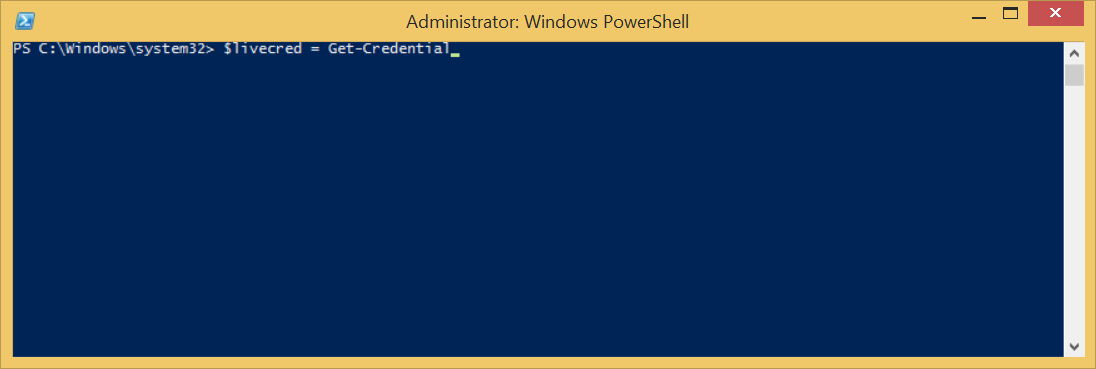
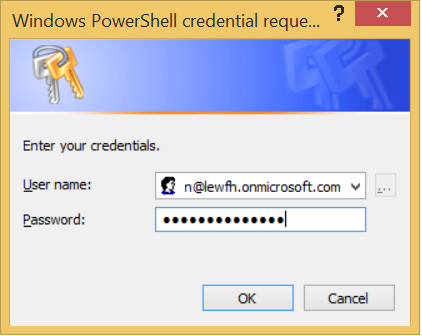
- A pop-up will open and ask you to input the credentials of office 365 account.
- you need to create a session with the Office 365. run the below command –
$Session = New-PSSession -ConfigurationName Microsoft.Exchange -ConnectionUri
https://outlook.office365.csom/powershell-liveid/ -Credential $UserCredential –
Authentication Basic –AllowRedirection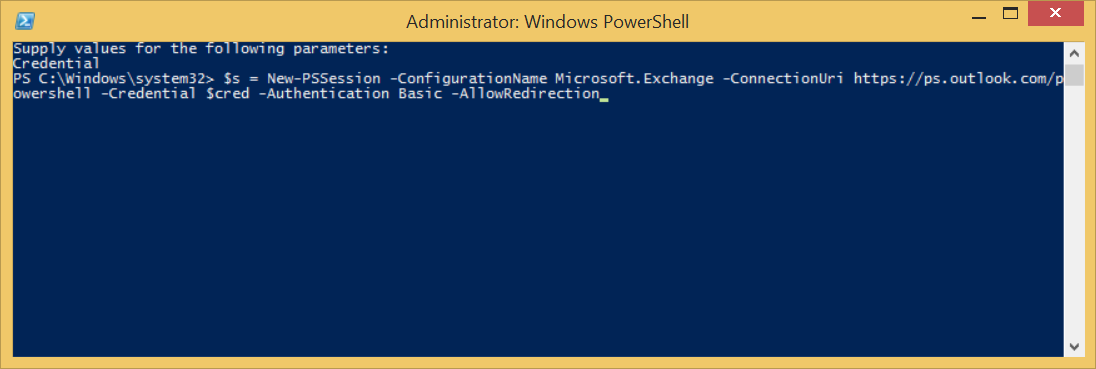
- It will again ask you to input the credentials of your Office 365 account.

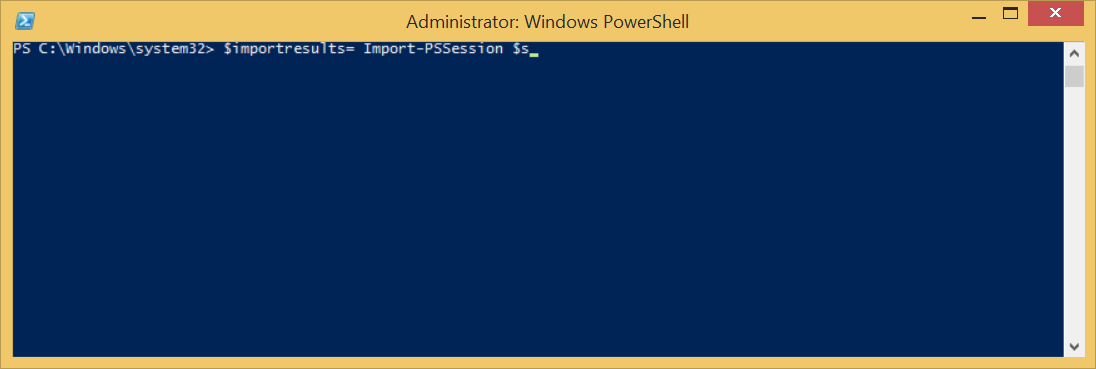
- When the Powershell is connected with the Office 365 completely, then you can import the whole session by running the following command;
Import-PSSession $Session –DisableNameChecking
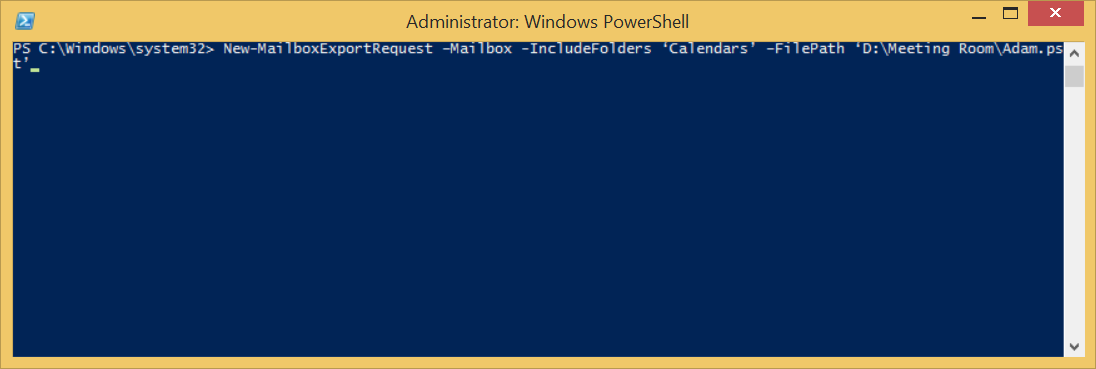
- In last, you can run the cmdlet to export the entire calendar folder to export the data within the range.
New-MailboxExportRequest –Mailbox -IncludeFolders ‘Calendars’ –FilePath ‘D:\Meeting Room\Adam.pst’
OrExport-Mailbox-Identity –StartDate ‘22/06/2016’ –EndDate ‘16/09/2017’ –IncludeFolders ‘\Calendar’ –FilePath \\PSTFile\FolderName\FileName.pst


Import calendar into the Office 365 mailbox
If you have a CSV file with the important calendar events, then you can import the CSV file into the Office 365 mailbox by following the steps;
- Install the EWS Managed API from the below URL –
https://www.microsoft.com/en-us/download/details.aspx?id=35371 - Assign Impersonation Rights to the account.
- Create the CSV file having all the fields like Date, Subject, Start Date, End Date, Start Time, and End Time.
- Now, run the command;
Import-CalendarCSV -CSVFileName D:\Monthly Meetings\calendar.csv -EmailAddress
jacob@domain.com -Impersonate $true - If the account does not have the impersonation rights, then you can run another command;
Import-CalendarCSV -CSVFileName D:\Monthly Meetings\calendar.csv -EmailAddress
jacob@domain.com -username jacob@domain.com -password 1234!@#$
- The manual methods do not let you apply filters easily in the calendar items.
- You need to create a CSV file for importing the calendar items, which may be time-consuming.
- You can export or import the calendar items of the single mailbox only that maybe not enough for a large project.
- If any field in the CSV file is missing, then there is no way to skip it.
- The account should have impersonation rights while importing the data.
- If the session is stopped abruptly during the export, then you will have to start the export process again. It may also corrupt the PST file.
- There can be some errors in the Mailbox Export Request Access path is denied.
Conclusion
In summary, the manual import/export method for calendar items in Office 365 can be quite limiting for many users. However, with the Kernel Office 365 Backup & Restore tool, all these limitations can be overcome. This powerful software enables users to take selective backups of unlimited mailboxes and restore multiple PST files to multiple Office 365 mailboxes with ease.
Furthermore, this tool gives users the flexibility to choose any folder from the mailbox, apply filters, and save it in the PST file. With the ability to import the entire PST file or its chosen folders into the Office 365 mailbox, users can complete the process efficiently and accurately.