

Read time 4 minutes
Presently, Microsoft Office 365 provides a subscription-based service that enables users to access a range of desktop applications. Among the frequently utilized applications are Microsoft Word, Excel, and PowerPoint. These software tools have seamlessly integrated into our daily routines, prompting us to desire their installation and use on our local PCs, both for professional and personal purposes.
In this article, we will explore the process of installing Microsoft Office applications on your desktop and running them locally. The journey begins with signing in and acquiring a Microsoft Office subscription in the first step. Next, we delve into the installation process as the second step. Finally, we’ll conclude by guiding you through the activation of Microsoft Office apps and their usage on your PC as the third and final step.
Step 1 Sign in and Purchase of Microsoft Office 365 Subscription
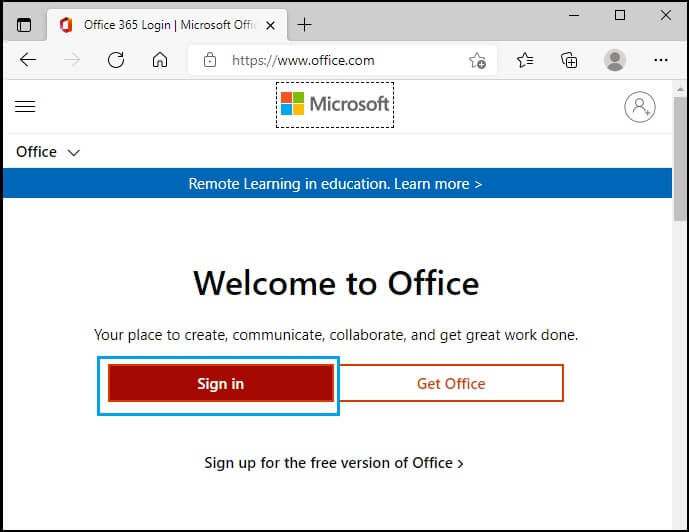
- Go to www.office.com
- If you are not signed in, select Sign In
- Go to the Buy Now option to purchase the subscription. You can select a 30-day free trial version.
- Follow the payment terms and place the order.

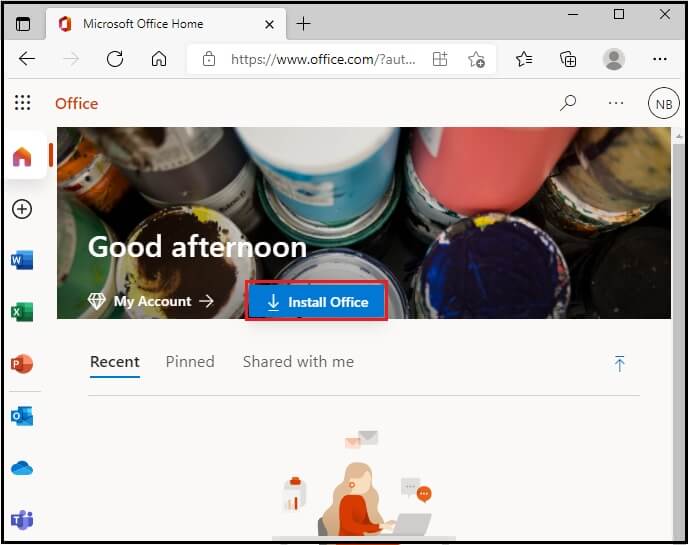
- On the Microsoft Office home page, select Install Office.
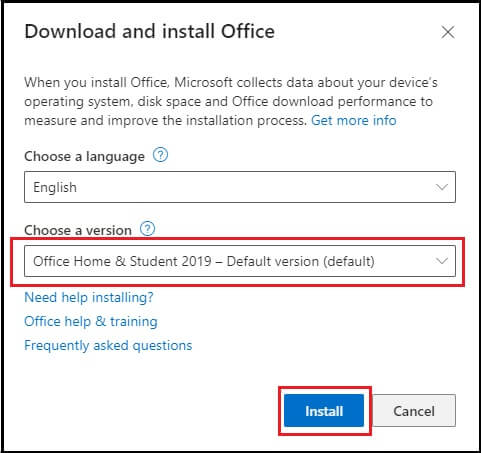
- On the Download and install office screen, select the language. Select the default version (here, “Office Home & Student 2019- Default version”). Select the Install option.
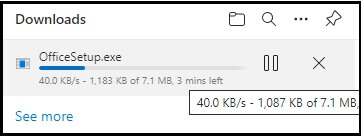
- Depending on the browser, click Run (Edge or Internet Explorer), Setup (Chrome), or Save File (Firefox). OfficeSetup.exe will be installed.
- Click Yes, if the command prompt appears, “Do you want to allow this app to make changes to your device?”
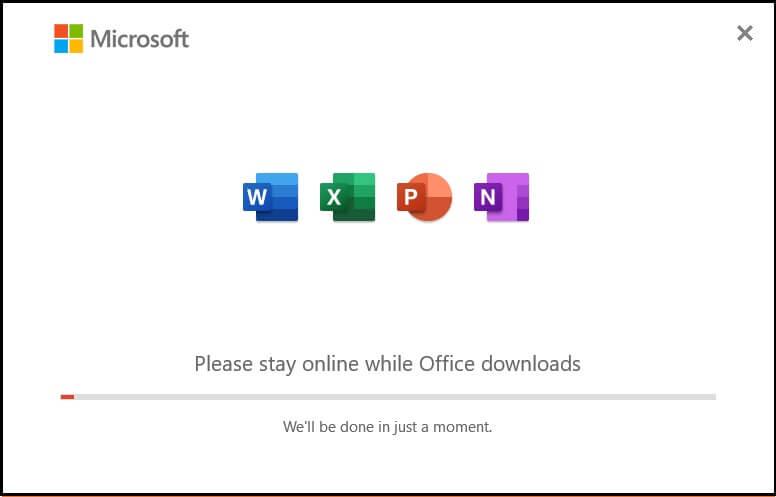
- Once you select Yes, the installation process will begin.

- You will be prompted with, “You’re all set! Office is installed now.” Click on Close.


- Open any of the Office apps, like Word. You can also type the name of the Office app in the Start button.
- Accept the license agreement, and Word will be ready to use.
You can activate the license when the trial period is over.
Summary
The procedure outlined above explains how to install and activate Microsoft Office 365 applications, which can serve various purposes once properly set up. However, there may be instances when these Office 365 applications become corrupted. In such situations, it becomes necessary to repair these MS Office files using specialized tools such as Kernel for Word Repair, Kernel for Excel Repair, Kernel for PowerPoint Repair, Kernel for Access Database Repair, and more. These professional tools are highly efficient and trusted by many MS Office users. Importantly, they are compatible with all versions of MS Office applications, ensuring comprehensive file repair capabilities.