

Read time 6 minutes
Having an SSL certificate on your Exchange Server is the first step in securing your emails. The SSL certificate protects your professional communication, authenticates your identity to the receiver, and saves you from potential hacker or malware attack. But, it does not come inbuilt with the Exchange Server, and so users have to buy it from authorized security certificate vendors and use it in the Exchange.
There is a proper method to generate an SSL certificate request file within the Exchange at the Exchange Admin Center, and later you can use this file at the vendor’s website to mention your organization details.
Generate SSL certificate request from the Exchange Admin Center
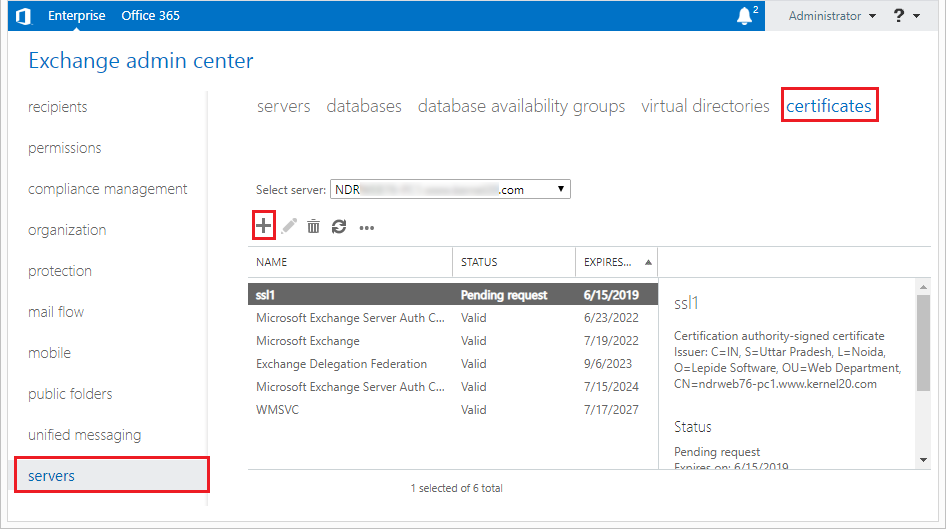
SSL certificates are managed in Exchange Server from Servers > certificates in the Exchange admin center. Here is how you can generate an SSL certificate request:
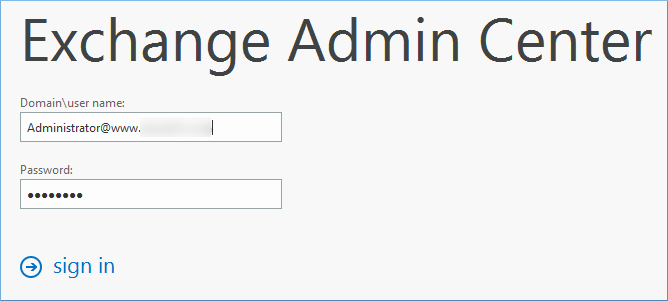
- Login to Exchange Admin Center.
- Go to the Servers category, then click Certificates.
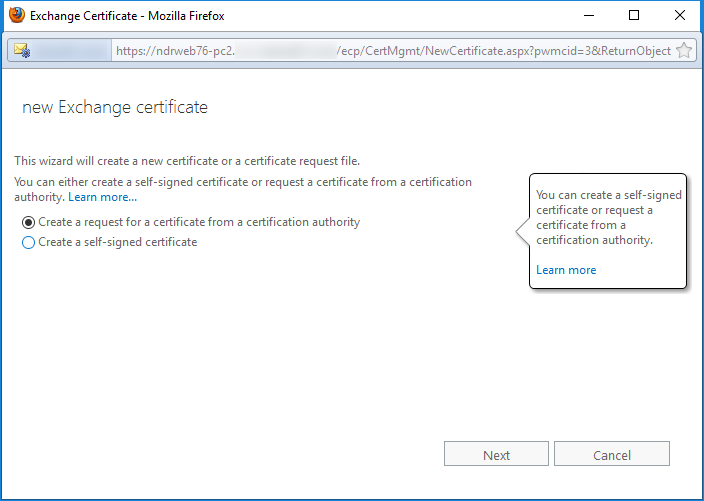
- Choose the first option to ‘create a request for a certificate from a certification authority.’ Click Next.
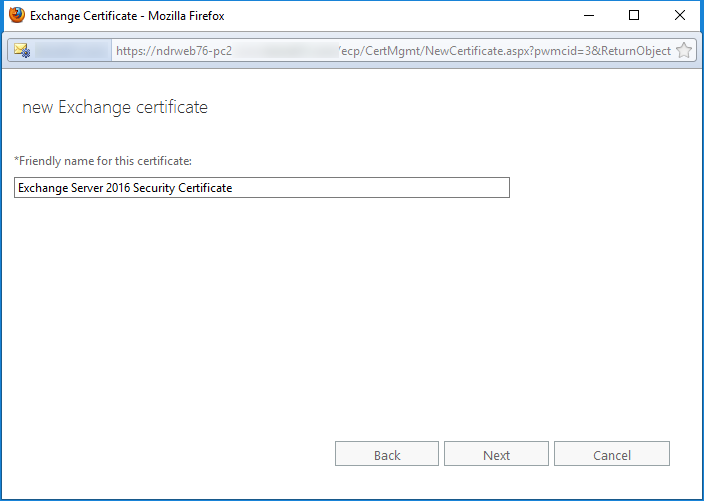
- Provide a descriptive name to the certificate. Then click Next.
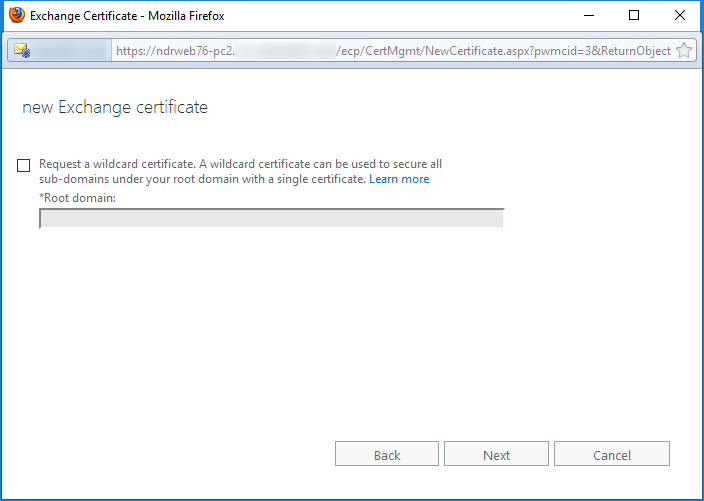
- When you get the option to input a request for a wildcard certificate, then you have three scenarios to consider;
- If you require the wildcard certificate, then input the wildcard character (*) and the root domain name. For example, *.testdomain.com.
- If you require a subject alternative name (SAN) certificate, then skip the option.
- If you require the certificate for the single domain or host, then skip the option.
- Click Next.
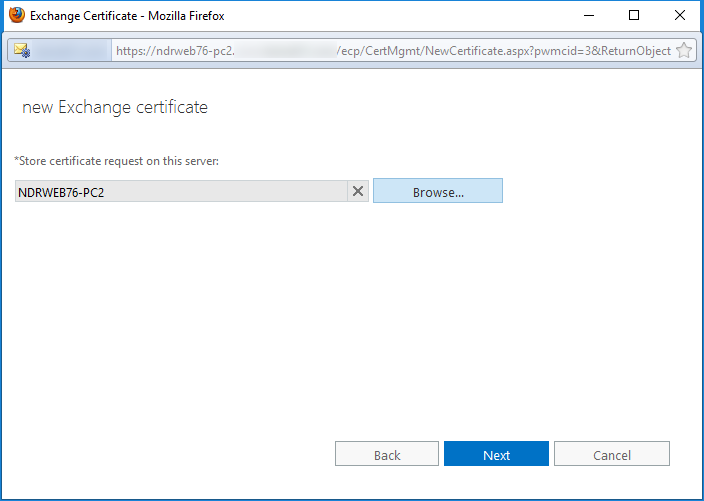
- Click the Browse button and select the Exchange Server for which you want to get the SSL certificate. Then click Next.
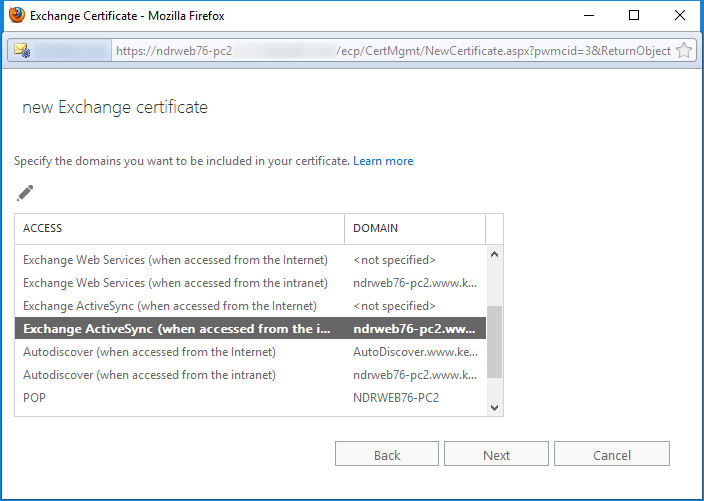
- Specify the domain page allow you to choose the internal and external hostnames which you need for the following Exchange services:
- Exchange Web Services.
- Exchange ActiveSync.
- Autodiscover.
- Outlook Anywhere.
- IMAP.
- POP.
- Outlook on the Web.
- Offline Address Book generation (OAB).
When you select a service option, then the wizard determines which domain is suitable for the certificate and displays its information on the next page. Click Next.
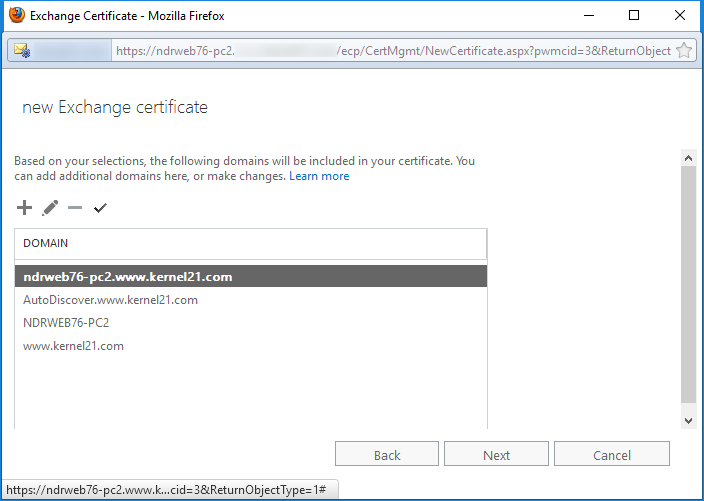
- The wizard shows the domains which it will include in the certificate. You can also choose to edit the domains. Finally, click Next.
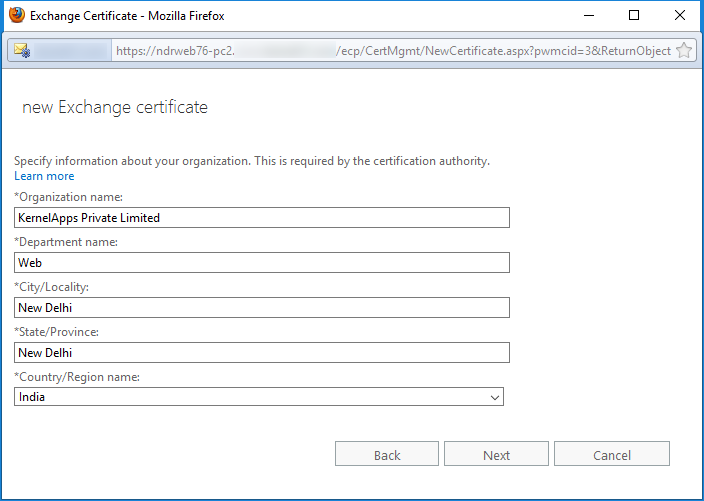
- Specify the following organizational details in the form –
- Organization Name.
- Department Name.
- City/Locality.
- State/Province.
- Country/Region Name.
After filling the form, click Next.
- The ‘Save the certificate request to the following file’ page requires a UNC path to save the requested file. Input the whole path and the filename for the certificate request. Finally, click Finish.
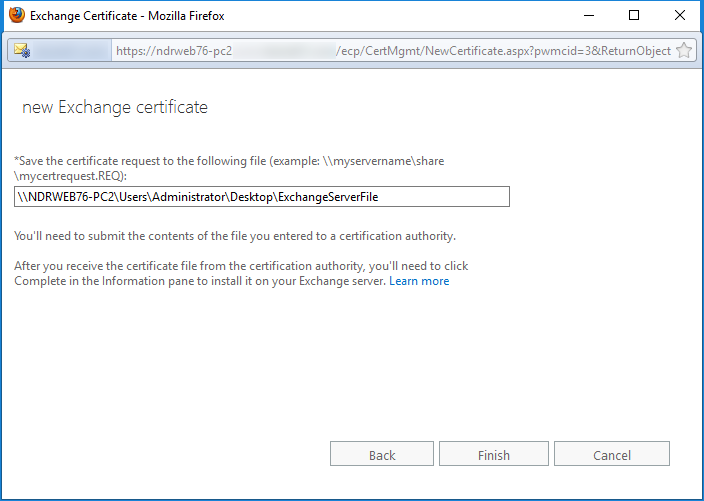


Now, you can go and see that a new .req has been created at the UNC path you input. You can also check at Servers >> Certificates that the request is present in the certificate list and its status is ‘Pending request.’
You will need the request file at the time when you are filling the new certificate form at the certified vendor’s website. When you get the certificate from the vendor, then you can complete the Pending request for the certificate.
When you move from an existing Exchange Server to another Exchange Server, then you need to export the SSL certificate to the new Exchange also. Here is the brief procedure –
- Go to the Source Exchange Server and open the IIS (Internet Information Service), Manager.
- Expand the websites, select the default website, right-click, and select Properties.
- Go to Security tab, click Server certificate and export to the PFX format.
- Now go to the destination Exchange Server and follow the same procedure. But Here, you need to Import the PFX file. The SSL certificate will be enabled for the new server.
Though migrating SSL certificates and configuring other Exchange settings are easy, the actual Exchange migration is not that easy for administrators. When you migrate the Exchange mailbox data to another Exchange, you may face a lot of difficulties. That’s why you should try a professional tool to handle Exchange migration.
Kernel Migrator for Exchange
Kernel Migrator for Exchange is an advanced migration software which conducts fast and secure migration of unlimited Exchange mailbox data. It migrates all versions of Exchange Server and all types of deployments (on-premises, online, hybrid migration). There are numerous features in the software like pre-migration analyzer, Exchange data filters, scheduler, and more to perform the Exchange migration based on the requirements of the organization. You can also conduct a batch migration of Exchange mailbox using CSV file and monitor the ongoing status of each migration process.