
Read time 9 minutes
Benefits of Amazon RDS for a Business
Amazon Web Services, with its offerings like Amazon RDS, offers a multitude of advantages. It significantly streamlines the processes associated with provisioning, managing, and sustaining on-site relational databases. This service efficiently handles the various tasks involved in overseeing large-scale databases, thereby minimizing the time and effort required for server maintenance.
Amazon RDS lets you create multiple types of relational databases like PostgreSQL, SQL Server, Maria DB, Oracle, MySQL, etc. Amazon RDS will take care of all the maintenance of the database, take a routine backup, and allows the use of the latest version of the selected database application.
- Cost-effective :- AWS allows you to pay solely for the services you utilize and the duration of service usage. It offers on-demand pricing, enabling you to pay for a specific period without the need for a long-term commitment. Furthermore, opting for a reserved instance can significantly decrease your overall expenses.
- Scalable :- Achieving scalability for your Amazon RDS database instance is as simple as a single click. For minimizing downtime, a dedicated API can be employed for swift results. If your goal is to access database items exclusively, opting for read replicas is the ideal choice to retrieve the necessary information.
- Quick :- By choosing the faster storage drive like an SSD, you can increase the throughput of the whole RDS database instance. There are multiple storage options for high OLTP applications as well as general-purpose instances.
- Secure :- The highlight of Amazon RDS is its security features. The user can create the database instance in a separate VPC (Virtual Private Cloud) and allow others to access the database using an IPsec VPN. It is encrypted in all the conditions, whether the database is in transit or at rest.
The introduction of Native Backup/Restore functionality in SQL Server database empowers users to generate native database backups directly from the RDS instance and save them in an Amazon S3 bucket. When required, these backups can be restored to either an on-premises SQL Server or another RDS instance, providing flexible data recovery options.
With native backup/restore for SQL Server database, the user (DBA) can do the following:
- Copy backups of the on-premises database to Amazon S3.
- Restore SQL Server database backup to the RDS SQL Server instance.
- Encrypt database backup using AWS Key Management Service (KMS).
- With Amazon S3, the user gets the disaster recovery option for the SQL Server database.
When dealing with Amazon RDS, the approach takes a distinct turn. Instead of depending on the SQL database server’s local file system, the user (DBA) engages with files stored within Amazon S3.
The process of migrating to Amazon RDS follows a different path compared to the typical SQL Server migration. In this method, the user starts by generating a database backup on their local server, then securely stores it on Amazon S3. Finally, the backup is restored to either an existing Amazon RDS DB instance or a new one. The following illustration provides a visual representation of this process.
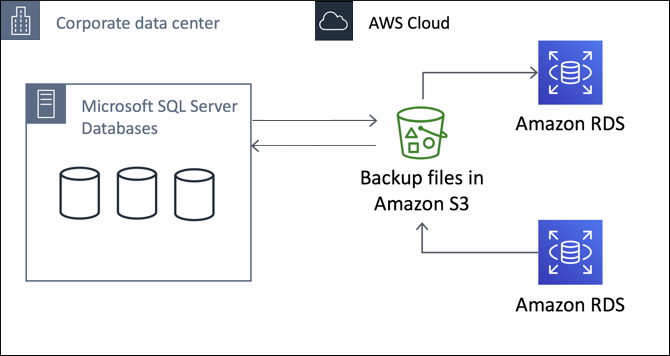

Source: AWS Documentation
Native backup/restore is made available to all regions of AWS including both Single-AZ & Multi-AZ DB instances and supports all available versions of Microsoft SQL Server.
While Amazon RDS provides numerous advantages and valuable features, it’s essential for users to also familiarize themselves with its limitations and best practices.
- The Database Administrator (DBA) is unable to perform backups or restoration operations between an S3 bucket and an Amazon RDS DB instance located in a different AWS region from that of the users.
- SQL Server database backups exceeding the maximum size of 1TB aren’t supported.
- Database backup restoration from one time zone to different isn’t recommended.
- During maintenance procedures or when an Amazon RDS database snapshot is being generated, the creation of native backups is not permitted.
- Within a transaction, calling RDS procedures for native backup/restore isn’t allowed.
- Native backup files are encrypted with the AWS KMS using the Encryption-Only crypto mode.
Before you can begin utilizing Amazon RDS services, it is essential to establish the groundwork for native backup and restore. This involves setting up an Amazon S3 bucket to store your database backup (BAK) files, configuring the necessary AWS Identity and Identity Access Management role to gain access to the S3 bucket, and adding the SQLSERVER_BACKUP_RESTORE option to the user’s DB instance’s option group. Once you have completed these initial steps, you can then initiate the database migration process to Amazon RDS using the native backup and restore method.
Prior to commencing the migration process, it is essential to confirm that native backup and restore functionality is both enabled and properly configured. To do so, please follow the steps provided below:
- Connect to SQL Server Database.
Note: Click here to know how to connect to your database. - Call an Amazon RDS stored procedure to initiate.
Following are RDS stored procedure you can call:Backup SQL Server Database
Use the rds_backup_database stored procedure to back up the SQL Server database.
To call RDS database backup procedure following parameters are necessary:
@source_db_name – Name of the database you want to backup.
@s3_arn_to_backup_to – Amazon S3 bucket you want to use for database backup.Note: For the second parameter, it’s the combination of two, S3 bucket name + key ARN.
ARN stands for “Amazon Resource Name.”
Following are Optional Parameters
@kms_master_key_arn
@overwrite_S3_backup_file
@type_Example
Differential Backup Without Encryptionexec msdb.dbo.rds_backup_database
@source_db_name=’database_name’,
@s3_arn_to_backup_to=’arn:aws:s3:::bucket_name/file_name_and_extension’,
@overwrite_S3_backup_file=1,
@type=’differential’;Full Database Backup with Encryption
exec msdb.dbo.rds_backup_database
@source_db_name=’database_name’,
@s3_arn_to_backup_to=’arn:aws:s3:::bucket_name/file_name_and_extension’,
@overwrite_S3_backup_file=1,
@type=’FULL’;Check Last Backup or Snapshot Using the given SQL Query
select top 1
database_name
, backup_start_date
, backup_finish_date
from msdb.dbo.backupset
where database_name=’name_of_db’
and type = ‘D’
order by backup_start_date desc;Use the rds_restore_database stored procedure to restore the database.
For restoration, the following parameters are necessary:
@restore_db_name – Database name you want to restore.
@s3_Arn_to_restore_from – ARN prefix of the backup files from which you want to restore the database.Following are Optional Parameters
@kms_master_key_arnDatabase Restore Without Encryption
exec msdb.dbo.rds_restore_database
@restore_db_name=’database_name’;
@s3_arn_to_restore_from=’arn:aws:s3:::bucket_name/file_name_and_extension’;Database Restore with Encryption
exec msdb.dbo.rds_restore_database
@restore_db_name=’database_name’;
@s3_arn_to_restore_from=’arn:aws:s3:::bucket_name/file_name_and_extension’;
@kms_master_key_arn=’arn:aws:kms:region:account-id:key/key-id’;Single Database File Restore
exec msdb.dbo.rds_restore_database
@restore_db_name=’database_name’;
@s3_arn_to_restore_from=’arn:aws:s3:::bucket_name/backup_file’;Multiple Database File Restore
Note: Make sure all database backup files have the same prefix, and no other files use it to avoid errors.exec msdb.dbo.rds_restore_database
@restore_db_name=’database_name’;
@s3_arn_to_restore_from=’arn:aws:s3:::bucket_name/backup_file_*’;Track the Task Status
Call the rds_task_status stored procedure to track the task status.
Note: On calling the stored procedure will return the status of all tasks if no parameter is provided.Following are Optional Parameters
@db_name
@task_idExample Query
exec msdb.dbo.rds_task_status @db_name=’database_name’;Note: The task status procedure can return different columns as per the parameter specified.
Using the call procedures given above, you can backup database, restore the database, and track the task status.
But to simplify things to the next level and for the making the database migration to Amazon RDS more easy and fun, we’d suggest using a SQL migration tool.Kernel Migrator for SQL Server for Simple MigrationThis sophisticated software simplifies the process of migrating SQL Server databases to both Microsoft Azure SQL and Amazon RDS, regardless of the database size or backup file size. We understand that not all users are operating the most up-to-date version of Microsoft SQL Server. To ensure accessibility for a broad user base, our software is designed to be compatible with a wide range of SQL Server versions available online.
Follow below steps to migrate SQL Server Database to Amazon RDS using the easiest method:
- Launch Kernel Migrator for SQL Server.
- Click Browse to select the database file.
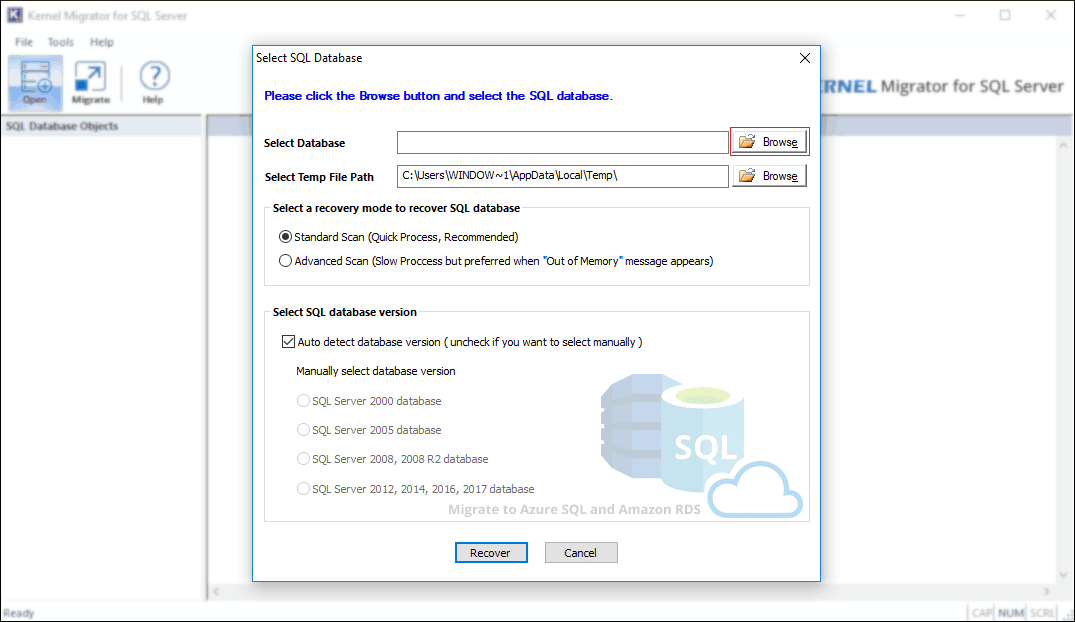
Note: You can select both corrupt/damaged or healthy database file; upon successful load, the tool will fix the issue of file corruption, once you proceed to migration. - After you’ve selected the database file, click Recover.

- Wait while the file is being read; the time taken to read the database file is proportional to the file size.
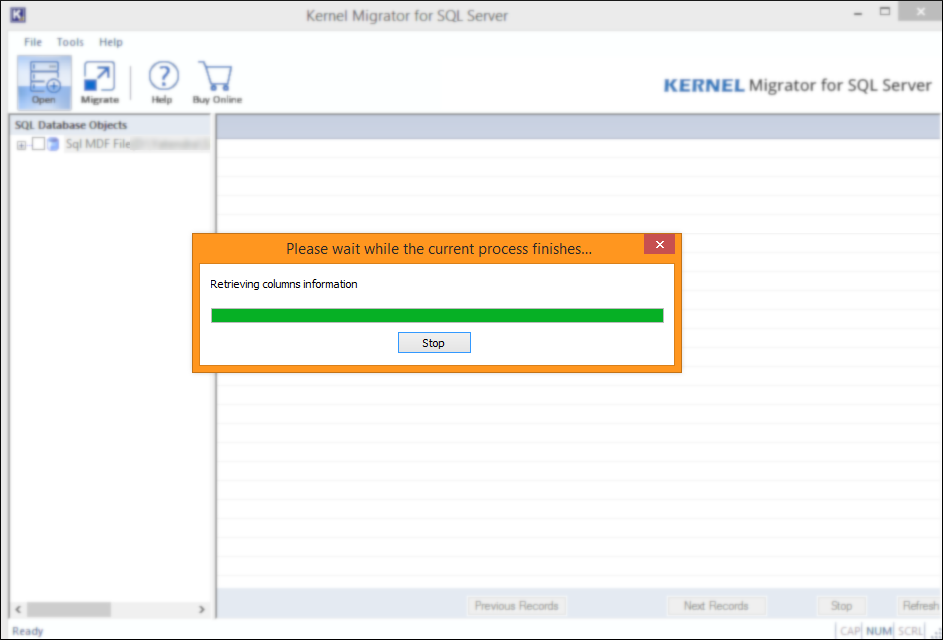
- After the file is loaded successfully, all database objects will be available to preview.
- Select the Amazon RDS option, and input Instance Name, Server Authentication credentials, as below.
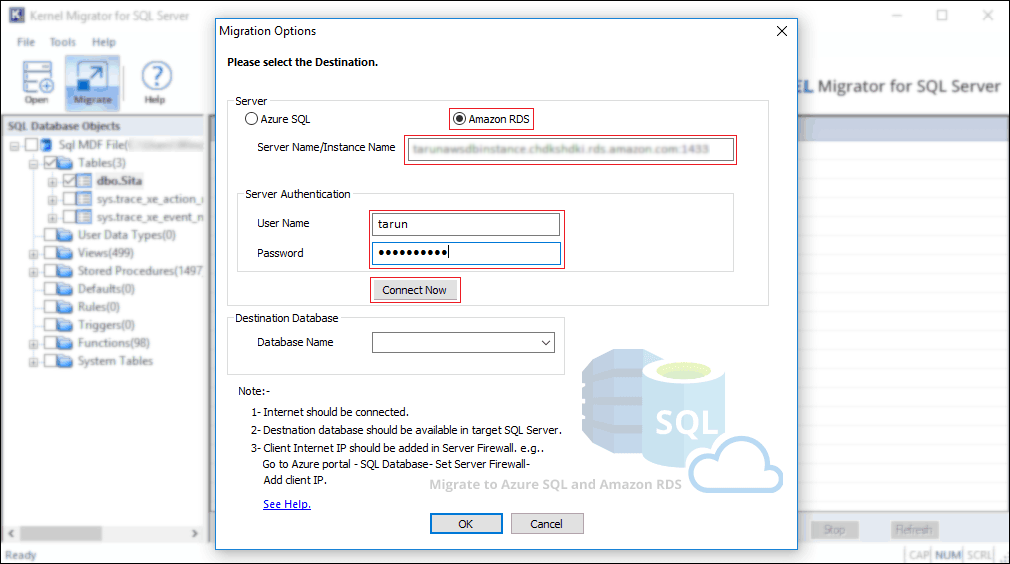
- Now, select the database name from the drop-down, and click Ok.

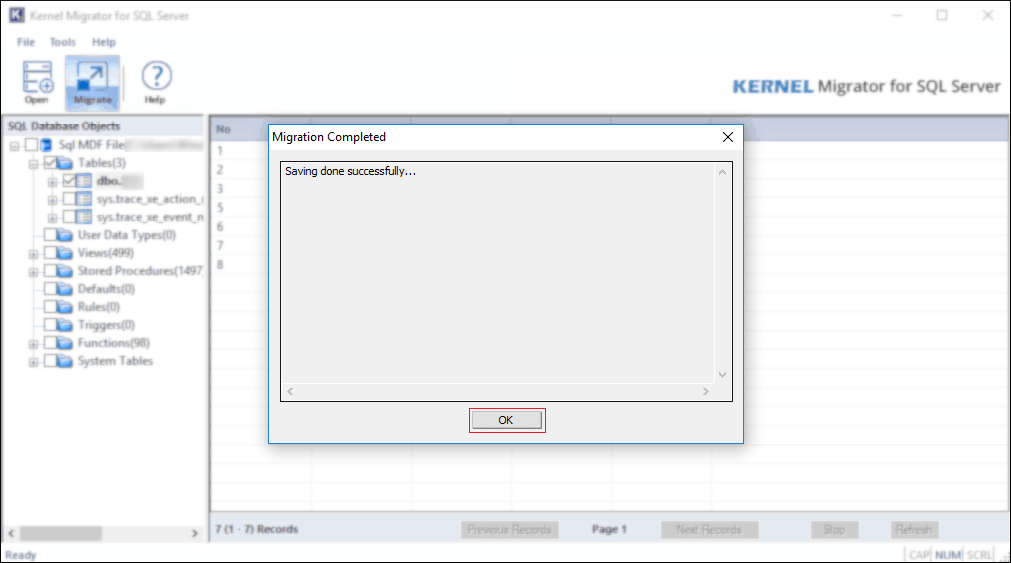
- Once the migration is complete you’ll be notified, click Ok.
Click on the + icon to expand or – to collapse the object.
To generate live data preview, select the parent or child object by clicking on it, as shown below.
To start the database migration, click on the Migrate button.
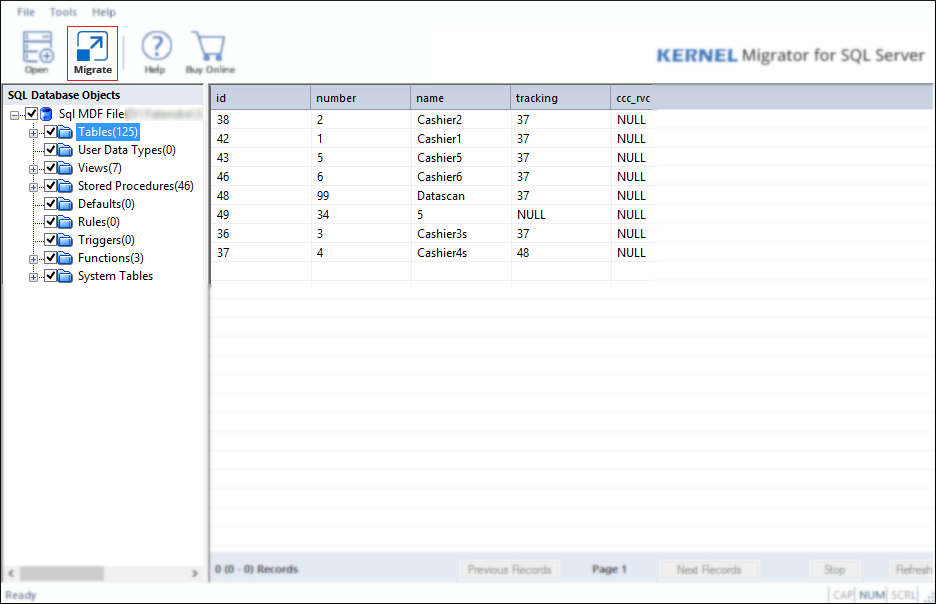
You’ve migrated the selected SQL Server database to Amazon RDS successfully. To confirm login to RDS using sign-in credentials and check.
Wrap up
Kernel Migrator for SQL provides users with the capability to access and work with both damaged or intact MDF/NDF/LDF files. As a third-party solution, it simplifies the database migration process, allowing smooth transitions to Microsoft Azure SQL or Amazon RDS.


