Read time 5 minutes
Migrating On-Premises Exchange to Office 365 is a complex undertaking that requires meticulous attention to each step. It demands both skill and expertise to ensure a successful migration. This blog aims to explore the essential Office 365 pre and post-migration checklist items, providing users with valuable guidance to execute a seamless migration without any data loss.
To facilitate a seamless migration from on-premises Exchange to Office 365, we’ve organized the essential pre-migration tasks into key points. Let’s delve into each of them.
Effective planning and preparation start with clear communication within the organization. Before commencing the migration project, it is crucial that every user is well-informed about the migration plan, its execution process, and the anticipated impacts and changes that will occur within the organization as a result of the migration. Additionally, key considerations include selecting the migration day, defining a suitable time frame, and managing the necessary resources.
To foster collaboration and gather insights from various team members, it’s advisable to conduct preliminary discussions about the migration plan. After this brainstorming phase, the administrator should then compile a comprehensive project plan for the migration, ensuring its accuracy and completeness. You can leverage Microsoft’s premigration planning checklist as a starting point, customizing it to align with your specific requirements.”
Next pre-migration task is to prepare the inventory for the on-premises Exchange. The details you should have before the migration are:
Some checks and reviews are required on the current on-premises Exchange environment.
Before starting the migration, make sure that the data is ready. Some points to be check are:
It is the final task while planning the Office 365/Microsoft 365 migration. Set up your Office 365 accounts with the below-given considerations.
After completing all the tasks on the pre-migration checklist, proceed with the migration process. For a streamlined migration experience, consider utilizing a professional Office 365 Migrator tool. Once all the desired data has successfully migrated to the Office 365 destination, it’s imperative to ensure that you diligently complete the tasks outlined in the subsequent checklist for post-migration activities.
After the migration is completed, it is necessary to redirect users’ email accounts to Office 365. Additionally, double-check the Outlook profile folders to confirm that the status for each folder reads ‘This Folder Is Up To Date’ to ensure proper synchronization.
The mailboxes migrated to the Office 365 account must be allocated licenses promptly, as they will become disabled after 30 days without a license assignment. To ensure long-term usability, it is strongly advised to assign licenses to these mailboxes as soon as possible.
Another important post-migration task is to configure Autodiscover DNS records in Office 365. Doing this would help the users to connect their user mailboxes to Outlook email clients as well as other mobile clients.
After confirming the successful migration of mailboxes to your Office 365 account, assigning licenses, and ensuring everything functions as intended, you can proceed with decommissioning the old on-premises Exchange Server. However, it is recommended to undertake this decommissioning process only when no future synchronization with the source is anticipated, and the permanent migration to the target environment has been fully completed.
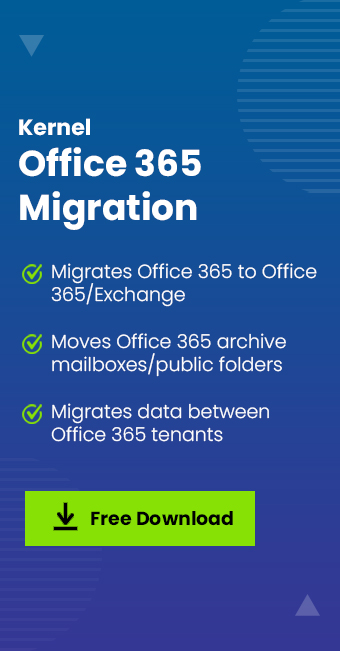
Indeed, these pre and post-migration considerations can appear more complex than the migration itself. To simplify this process and avoid dealing with numerous technical intricacies, you can choose a dependable third-party tool like Kernel Office 365 Migration. This tool streamlines the on-premises Exchange to Office 365 migration in the most straightforward manner. Additionally, it offers user-friendly features for handling certain pre and post-migration tasks. Let’s explore these features.
This feature in Kernel Office 365 Migration helps users to get an estimate about the time needed to perform the migration (based on the size of data added for migration). It also displays information like Total Folders, Total items, Total size, Network Speed, and Migration Speed.

Users can utilize this feature in the tool to migrate the Outlook rules and folder permissions after the completion of the migration task.
Similar to the migration itself, the pre and post-migration tasks are of utmost importance when transitioning between Exchange and Office 365. However, utilizing a professional tool like Kernel Office 365 Migration can streamline these processes by automating various essential tasks, simplifying the overall migration experience.