Summary: This article discusses methods for exporting Office 365 mailboxes to PST files, enhancing data security and accessibility. It covers both manual methods using Office 365 Admin Center and Outlook, detailing the steps involved. Limitations of these manual methods are also highlighted, emphasizing the advantages of using professional applications like Kernel Export Office 365 to PST.
Office 365 takes the responsibility of ensuring secure credentials and safeguards for mailbox data. It offers robust security features to detect and respond to threats promptly. In a cloud environment, there’s a shared responsibility model where Office 365 provides infrastructure, setup, availability, and durability, while accessibility is managed by users.
The admin is also responsible for regularly backing up mailboxes since Microsoft doesn’t offer automatic backups. This practice not only helps reduce mailbox size but also enhances their responsiveness and agility.
Methods to export Office 365 Mailboxes to PST
In this article, we’ll explore methods for exporting Office 365 mailboxes to PST files using both the Microsoft 365 Admin Center and MS Outlook.
Method 1- Export Office 365 mailbox to PST using Office 365 Admin Center
Within the Office 365 Admin Center, you have the capability to create an eDiscovery search and subsequently export its findings into PST format. This process is intricate, involving several steps guided by wizards before the final PST file is created.
Add the Export Role in eDiscovery Manager
The eDiscovery manager is a tool that scans mailbox content and provides export results. However, by default, the Export role is not part of the available roles for eDiscovery Manager. Therefore, you must add this role manually.
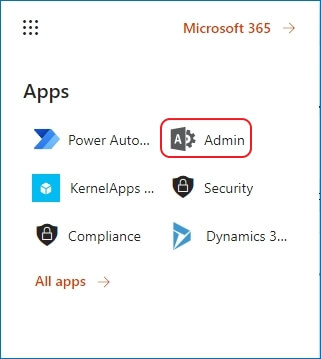
As a Global Administrator, login to Office 365 Admin Center and go to Admin wizard.
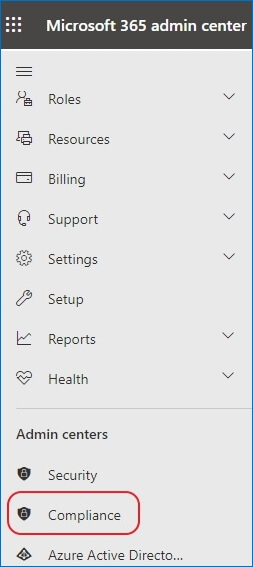
In the list of available admin centers, click Compliance.
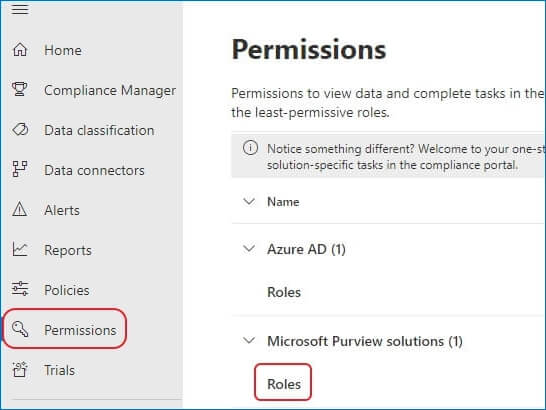
In the Permissions category, check the Roles.
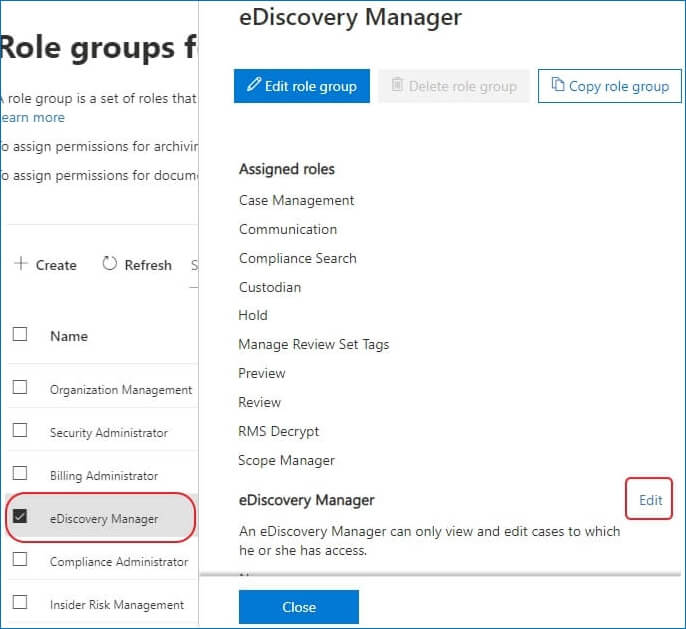
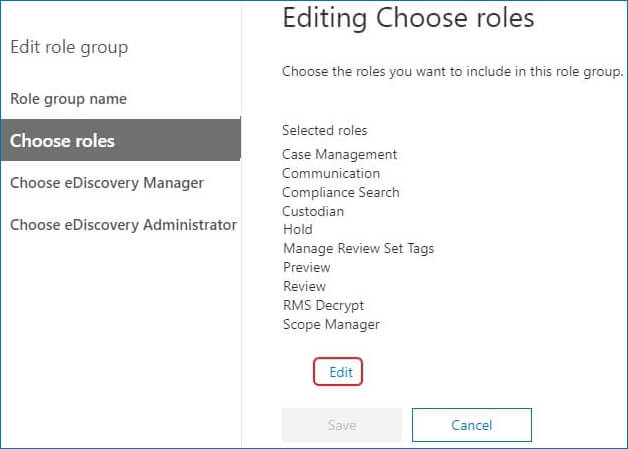
Select eDiscovery manager and double-click on it. You can see that there is no Export Role in the Assigned Roles. Click the Edit option.
To Choose Roles, click Edit option.
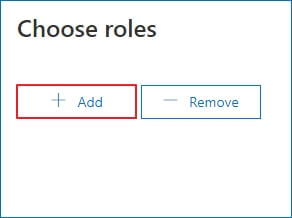
Click the Add button.
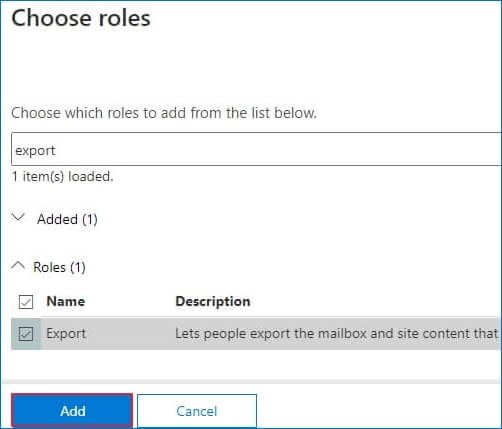
Type Export and use the checkbox to select the role. Then, click Add button.
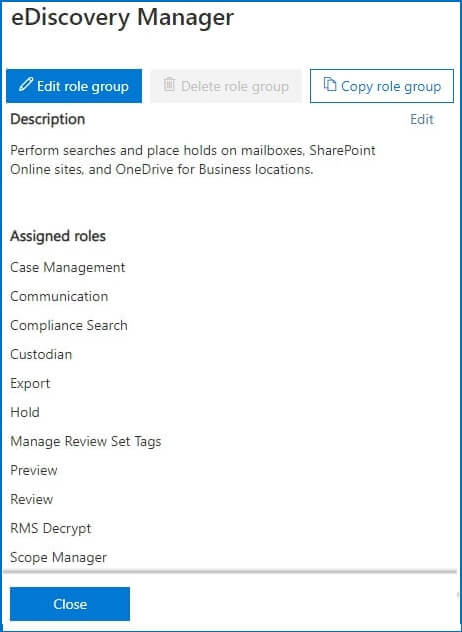
Now Export role is listed in the Assigned Roles. Click Close.
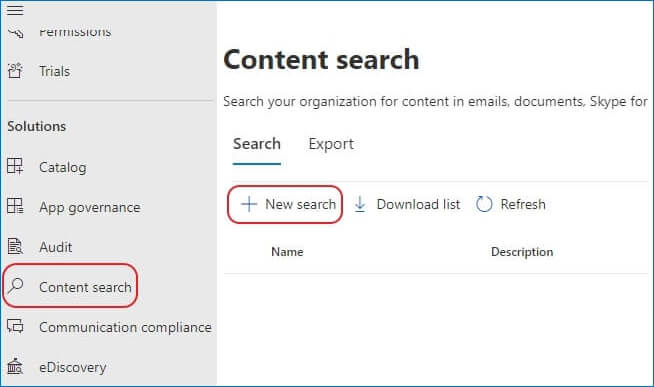
Create the eDiscovery search.
The Content Search creates a search job for the selected mailboxes based on several parameters and keywords.
Click New Search feature.
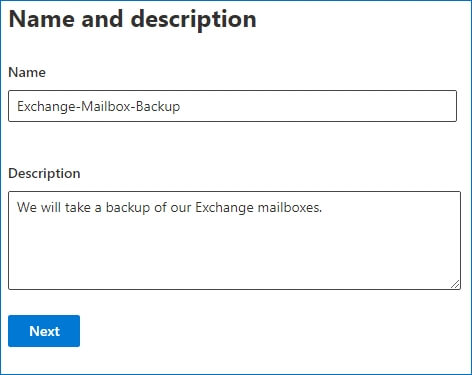
Provide a unique name and an optional description for the search job. Click Next.
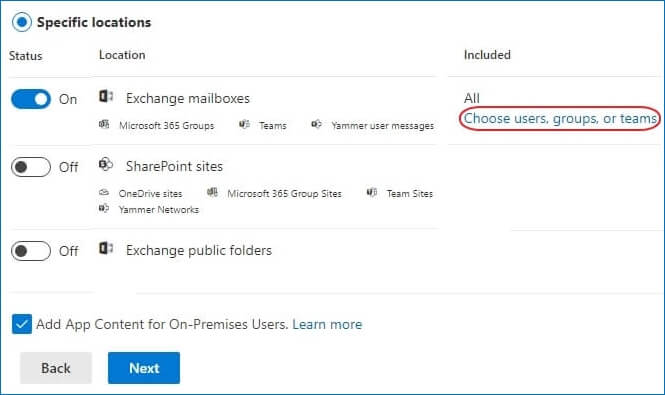
In the Specific locations, enable the Exchange Mailboxes option. Then, choose users, groups, and teams.
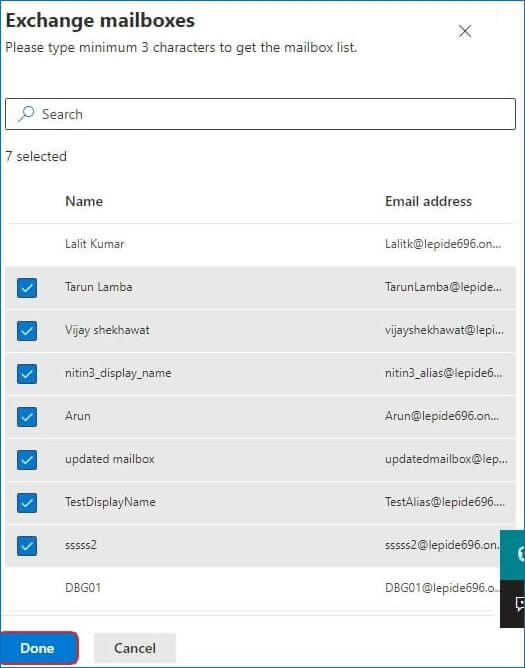
Select the mailboxes for looking the items into it. Click Done.
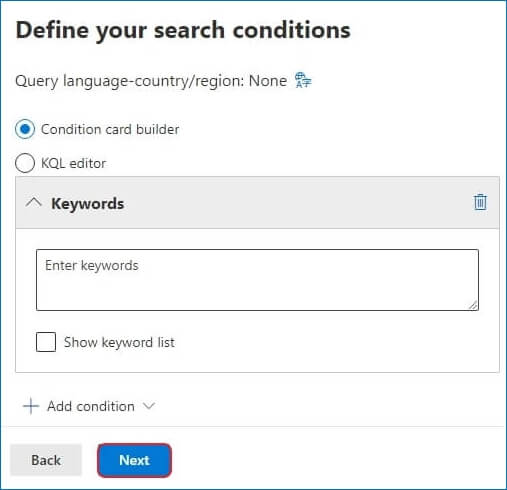
Define the search conditions based on keywords. Use the feature smartly. Click Next.
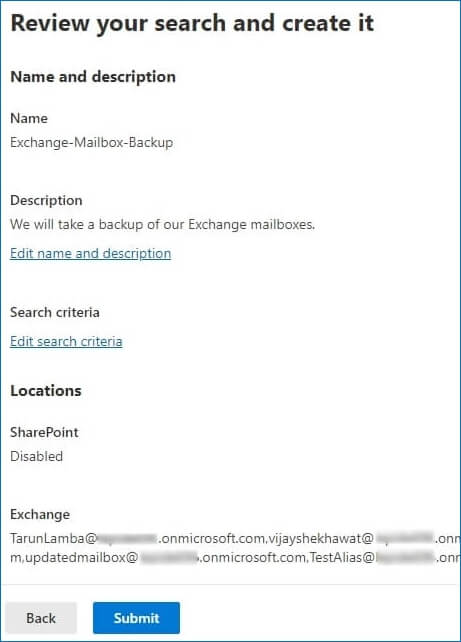
A brief summary shows all the selected locations, user mailboxes, and other features. Click Submit.
A new search is created.
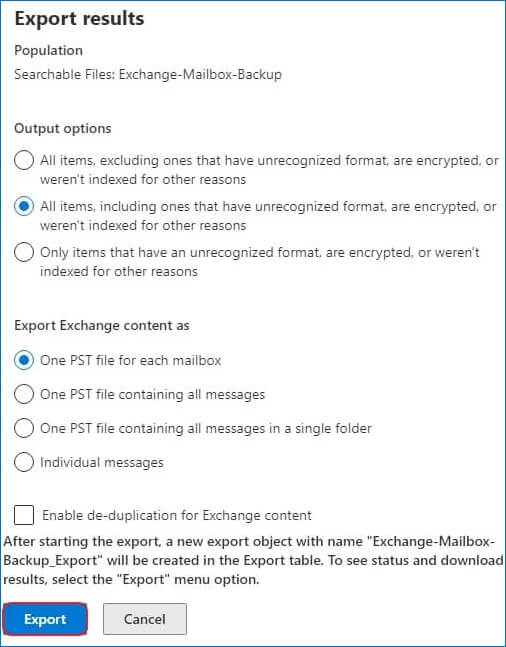
Export the search results into PST format
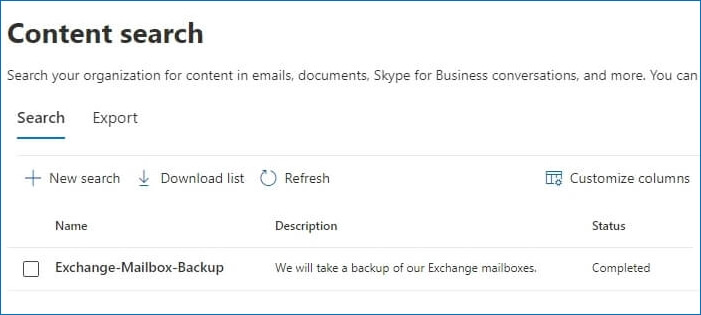
The content search job starts looking into mailboxes based on the given keywords and other parameters. After its completion, the status of search job will be ‘completed.’
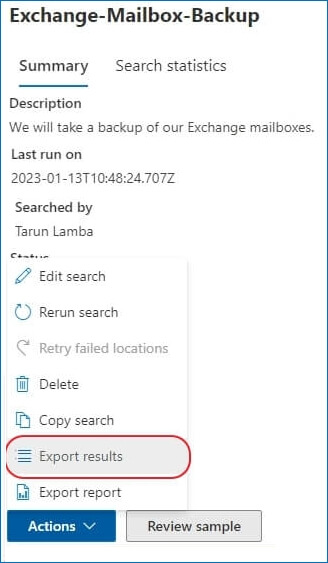
If you double-click on the search results, then its summary will come up and If you click on Action, then many options will appear. Choose Export Results.
There are several options to choose include and exclude items and you can also pick multiple options to create one or multiple PST files. Click Export button.
Copy the Export key as it will be useful at a later step. Click on Download Results to download the eDiscovery tool.
NOTE – You must use Microsoft Edge browser to download the eDiscovery tool.
Authorize the download of the tool by clicking on the open option.
After downloading the tool, start it and paste the export key. Then, use the Browse option to select the folder location. You can also customize the PST file name. Click Start.
The download will start, and you must let it finish before checking the PST file.
Limitations of the Manual export using Microsoft 365 Admin Center
Only an experienced Office 365 administrator can complete the process.
It takes a significant time in completing the export job for a large mailbox.
There is no direct filter option to apply on the mailboxes.
The method will migrate only the primary mailbox.
Method 2- Export Office 365 mailboxes to PST using Outlook
For a single Office 365 account connected to Outlook, you can directly export it to a new PST file without needing additional permissions or administrative involvement. This method is well-suited for exporting Office 365 mailboxes to PST files individually.
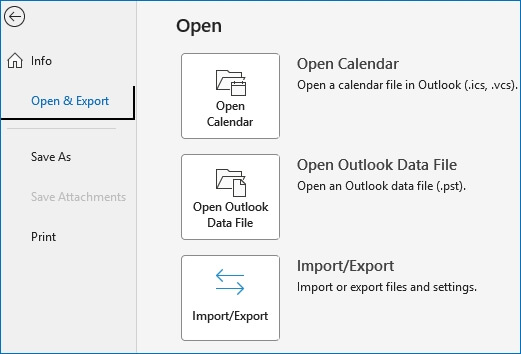
In Outlook, First click on File option and choose Import/Export section in Open & Export category.
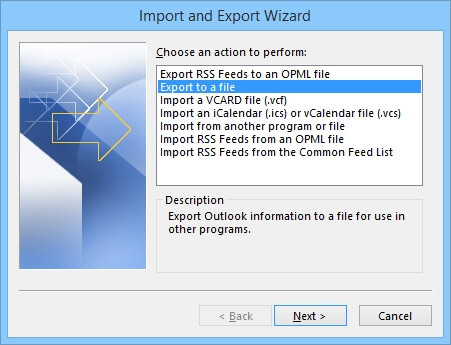
Select the second option to ‘Export to a file.’ Then, click Next.
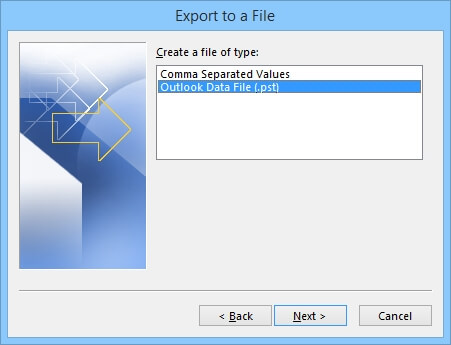
Choose Outlook Data File (.pst) as the format of desired export job.
Limitations of manual export using Outlook
The method can export only a single mailbox at a time.
Some deeper items like message rules, custom views, custom forms, signatures, and folder properties do not move into PST files.
Conclusion
Exporting PST files manually requires a steep learning curve and is limited in its ability to handle a large number of mailboxes. Professional applications simplify the complexities of Office 365 and generate healthy, unique PST files. Kernel Export Office 365 to PST supports all Office 365 plans, including primary mailboxes, archive mailboxes, and public folders, offering a wide range of filters for efficient mailbox content backup.
 |
Updated On - October 09, 2023
|
Updated On - October 09, 2023