Read time 12 minutes
The transfer of information among colleagues generally happens through email communication and Office 365 has made their lives much easier and hassle free. However, both end users and administrators often do not consider taking backup of their mailbox data seriously. They believe that their data is secure in the cloud. But to break this myth, there are various malicious activities which have the power to hamper your data, even in cloud storage. There are numerous reasons to back up your Office 365 mailboxes to a secure format like PST. Maybe you’re moving to a new organization and need to preserve your email data, or you’re trying to create an archive for compliance purposes. Whatever the reason, it is a good practice to backup Office 365 emails and other items.
Office 365 has an inbuilt method called Content Search eDiscovery which can help you to take backup to PST files. Also, there are a few Office 365 Backup tools that can securely export Office 365 mailboxes to PST files. Both these methods have been discussed in detail below.
When you subscribe to Office 365, you entrust Microsoft with the important task of storing and managing your data. However, as any seasoned IT professional knows, relying on a single point of storage is never a good idea.
There are a few key reasons why you might need to backup Office 365 mailboxes to PST. First, if you plan to delete your Office 365 account, you’ll need to export your mailbox data so that you can move it to another account. Second, if you’re troubleshooting an issue with your Office 365 account, exporting your mailbox data can provide valuable information to support technicians. Finally, if you’re concerned about data loss due to hacker attacks or other security breaches, backing up your Office 365 mailbox can give you peace of mind. No matter what your reason for wanting to backup or export your Office 365 mailbox, the process is relatively simple and only takes a few minutes to complete.
There are a few key reasons why you might need to backup Office 365 mailboxes to PST-
Some other reasons could be changing to a different PC, moving from Windows to Mac operating system, hardware failures, unintendedly deletion of files, and decluttering inbox folders. No matter what the reason is, the process is relatively simple and takes only a few minutes to complete.
Office 365 administrators can backup mailboxes using the Content Search eDiscovery method. But it requires much knowledge about Office 365 and the Exchange admin center. If you are a technocrat, then you should try this method to export Office 365 to PST for free. If you are a novice, then this method is not reliable for you. So, you should try third-party backup tools for Office 365. We will discuss both the methods here:
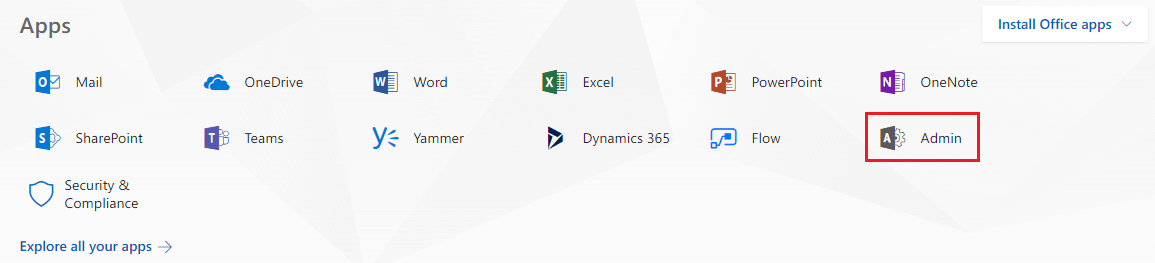
Content Search eDiscovery tool is used to search and find data from the mailboxes/public folders of Exchange Online. Later, you can export this data to PST files for future use. To export Office 365 Mailbox to PST free, you need to log in to your Office 365 account and go to the Exchange Admin Center.
This manual method is performed in 3 major steps-
First, make sure that you are a member of the eDiscovery Manager role group. If you are not, add yourself. Without the necessary permissions, you can proceed ahead with the process.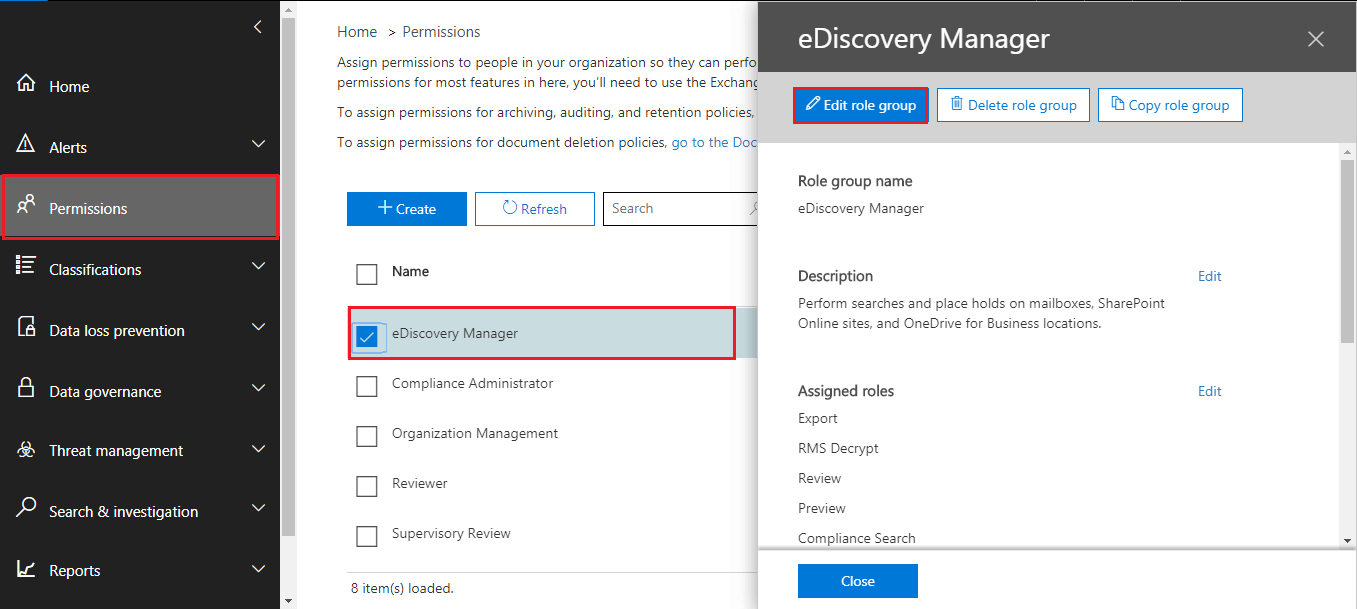
Now you need to create a new Content search. In the Content search, you can select the mailboxes which you want to export. You can also filter your mailboxes before exporting. Finally, you can export this search.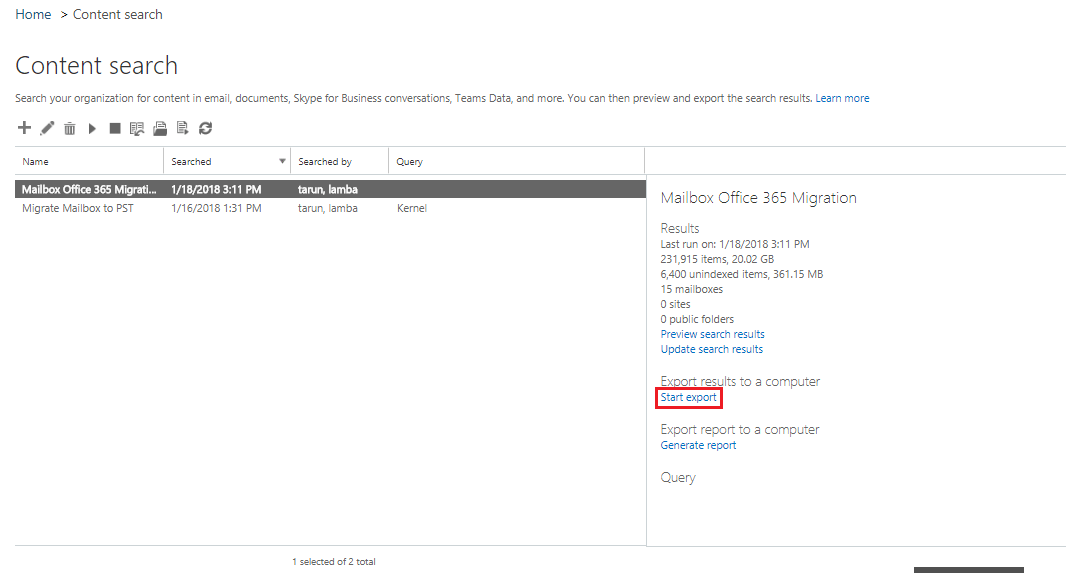
Once the Office 365 export mailbox to PST process is completed, you can download the search results to your computer.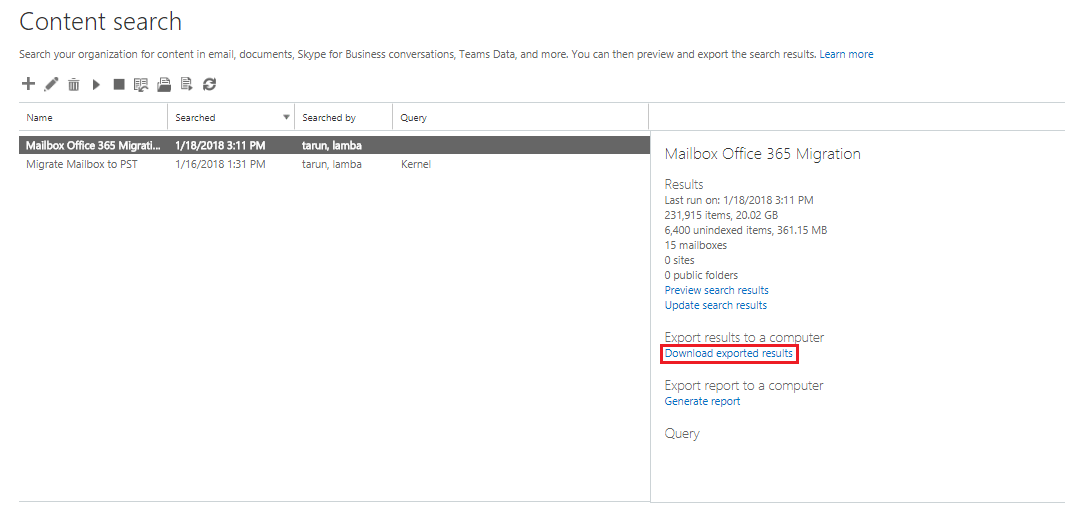
By providing the export key that you get while downloading the search results, you can save your Office 365 mailboxes as PST files on your system. Once it is completed, you can use those files to access your mailboxes again in case of data loss.
The following steps explains in detail the procedure for exporting a mailbox from Office 365 to PST via PowerShell method:
Step 1: Open the PowerShell application
To begin, you need to make sure that you are logged in as an admin & open the PowerShell application either through the Start menu or by using the Run dialog box.
Step 2: Connect to Office 365 Exchange Online
Next, create a new remote PowerShell session & connect to Exchange Online using your Office 365 tenant admin credentials. Use the following command in the PowerShell console:
$UserCredential = Get-Credential
$Session = New-PSSession -ConfigurationName Microsoft.Exchange -ConnectionUri https://outlook.office365.com/powershell-liveid/ -Credential $UserCredential -Authentication Basic -AllowRedirection
Import-PSSession $Session
Step 3: Export mailbox to PST
Once connected, execute the following PowerShell command & initiate the mailbox export process:
Replace `[Mailbox Name]` with the name of the mailbox to be exported, & `[Path And FileName Of PST]` with the path & name of the PST file where the mailbox will be exported.
For example:
Note: The above command will export the entire mailbox content, including all subfolders, to the specified PST file.
Step 4: Complete the export process
After the export process is complete, you can use the following PowerShell command to remove the export request & finalize the process:
Replace [Export Request Name]`with the name of the export request that you want to remove.
Although, these manual methods does bring along a few limitations-
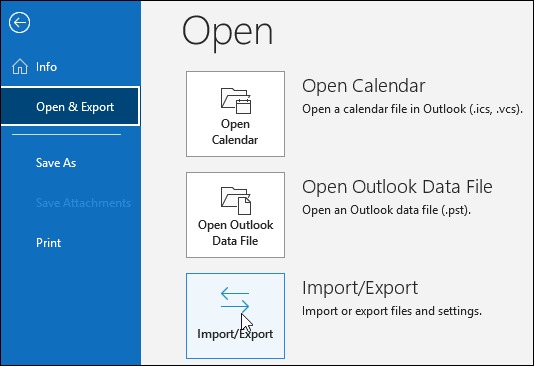
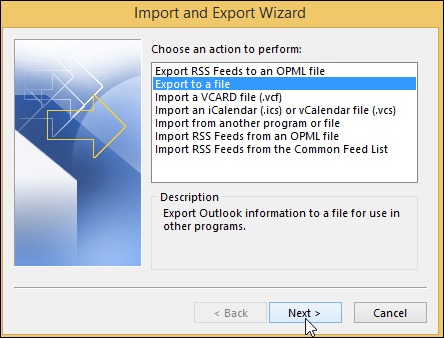
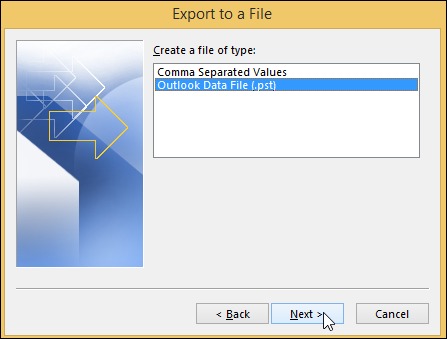
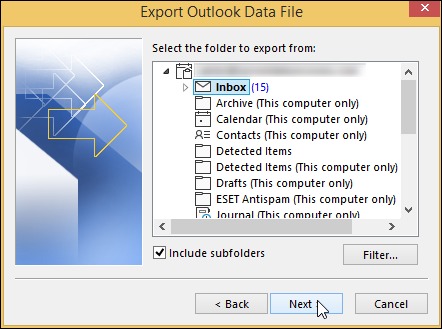
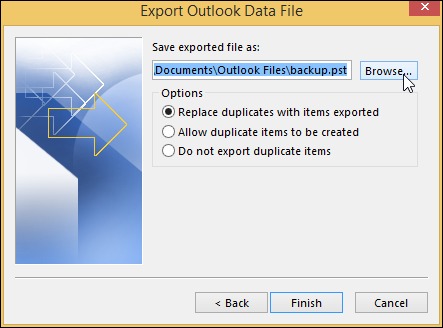
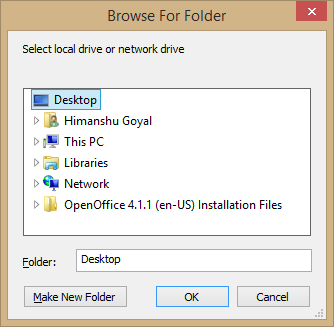
To export Office 365 mailbox to PST from Outlook, follow the steps below.
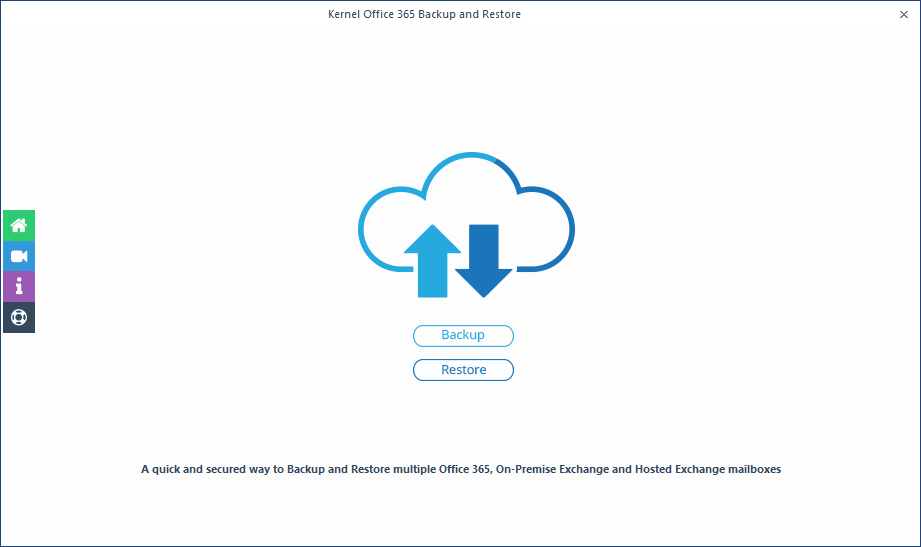
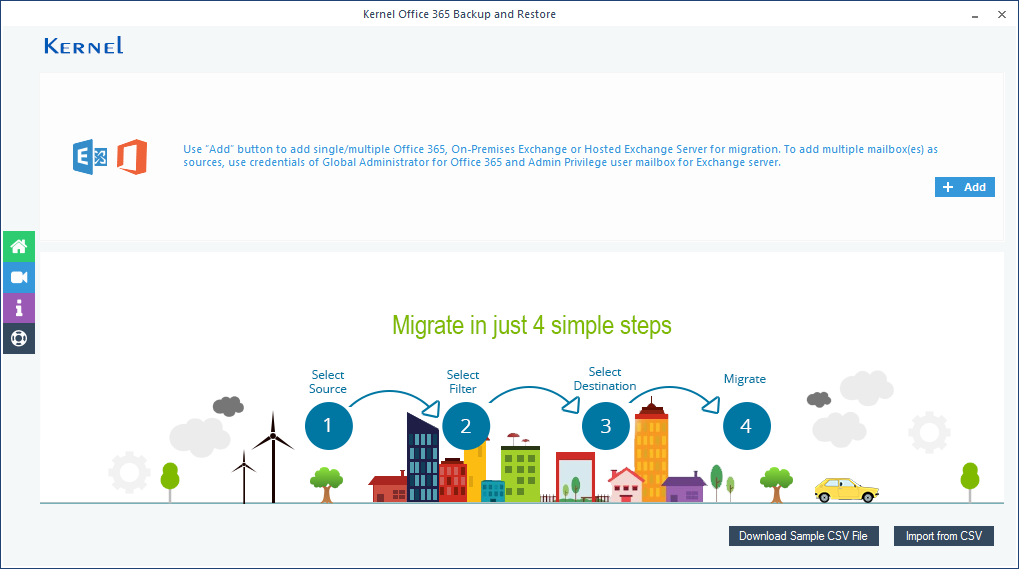
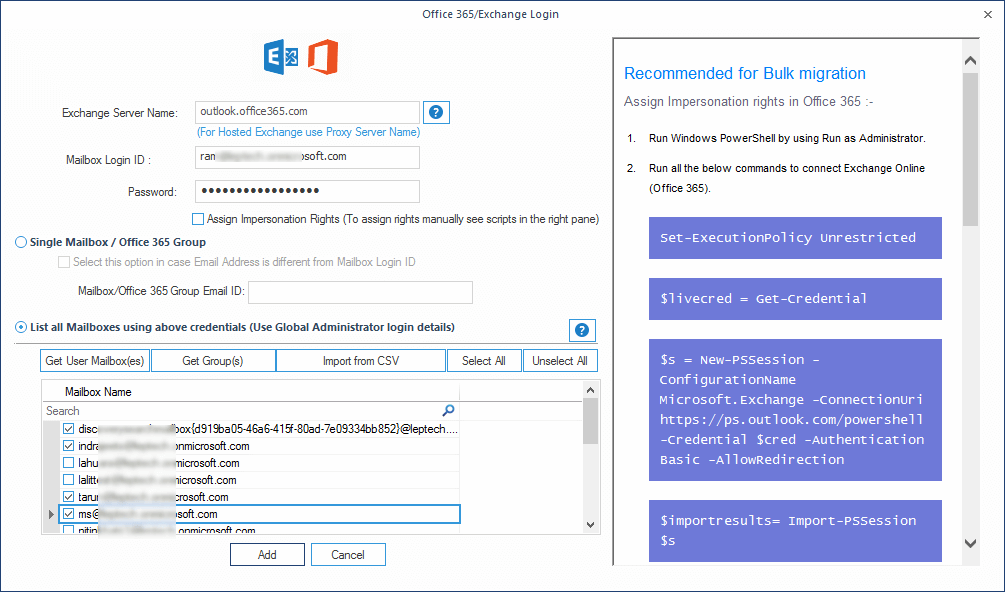
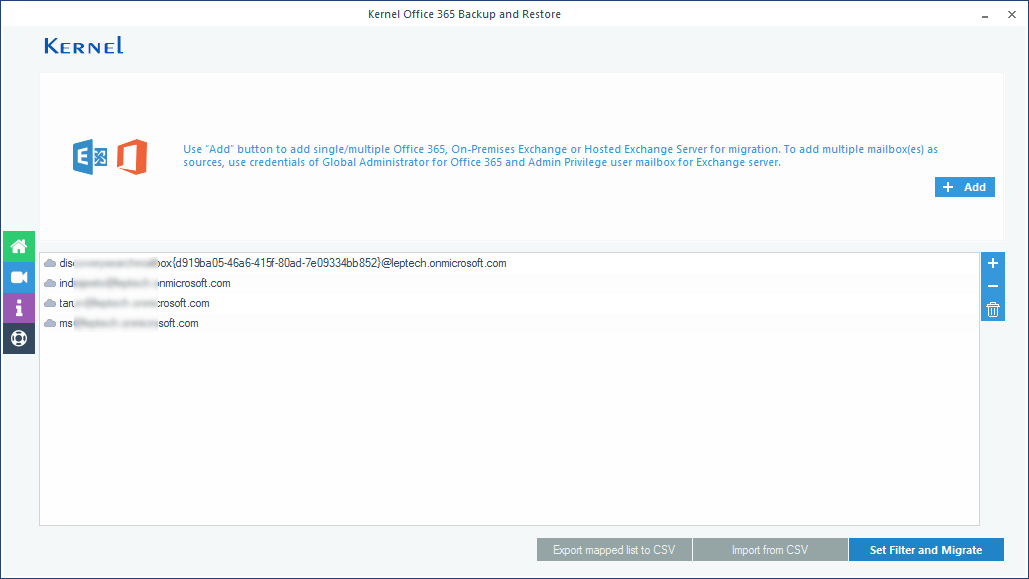
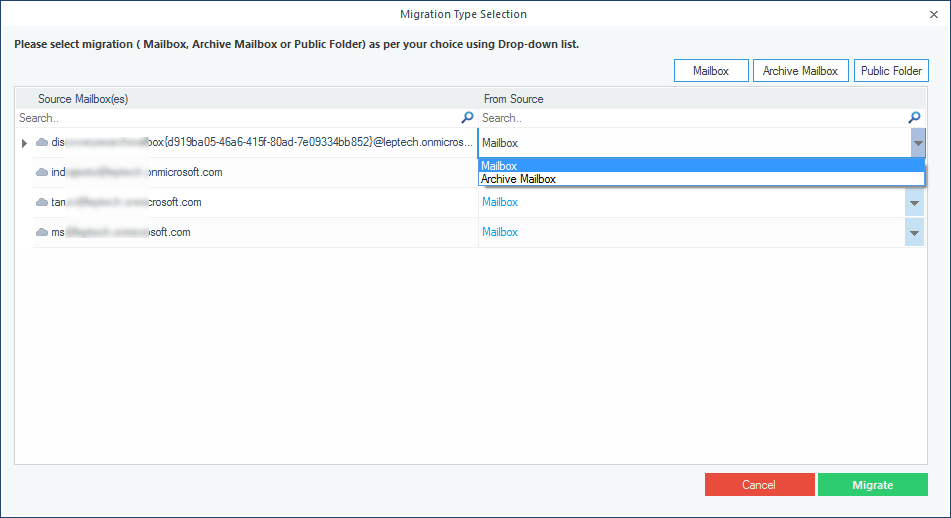
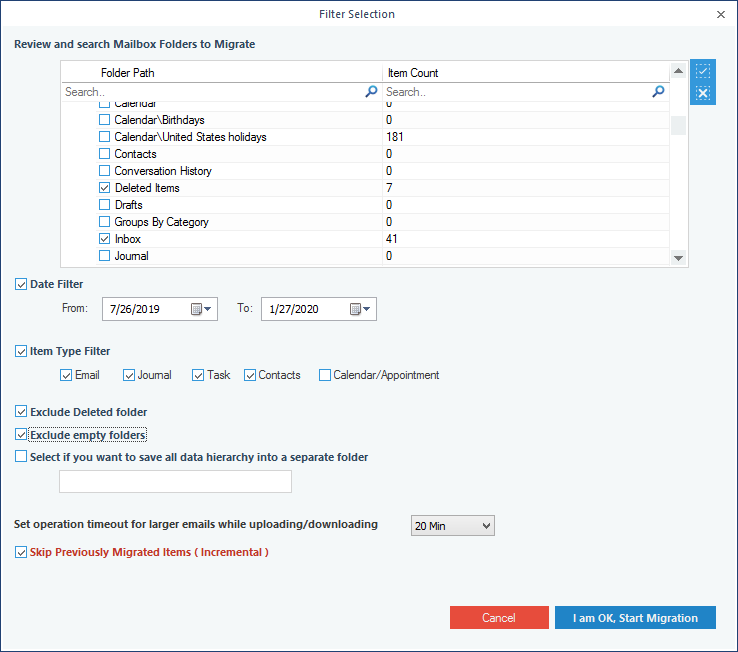
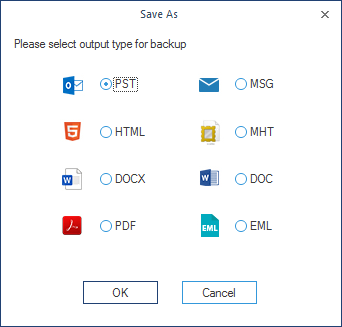
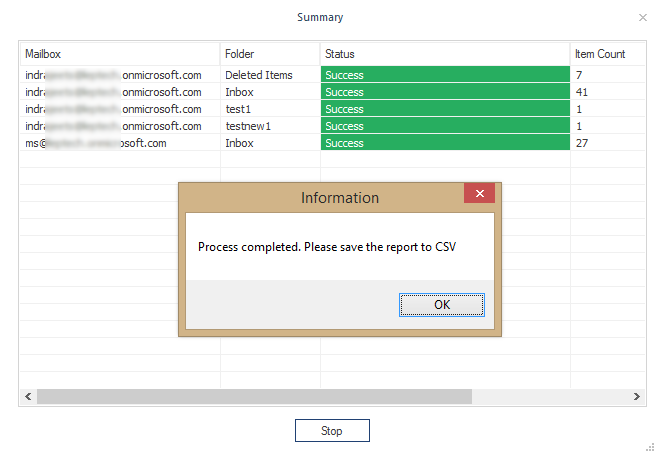
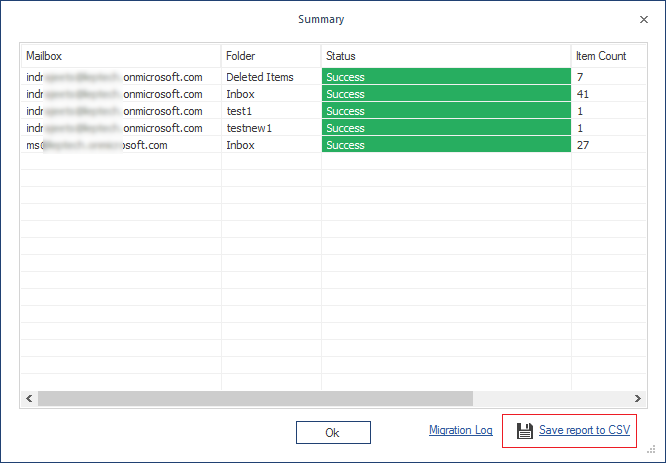
Kernel Office 365 Backup and Restore is a professional tool to backup single as well as multiple Office 365 mailboxes to PST files. Both end users and Office 365 administrators use this tool to backup the entire mailboxes or selective items of it.
In summary, we have discussed four methods for Office 365 mailbox backup to PST files. The manual approaches, using built-in export eDiscovery, Outlook, etc., offer control but demands effort. Alternatively, Kernel Office 365 Backup & Restore simplifies the process with a user-friendly tool. Select based on your preference or organizational needs, but always safeguard your PST files.
Kernel Office 365 Backup & Restore stands out as a robust, user-friendly solution for individuals and businesses. Its intuitive interface and diverse features make mailbox backup swift and straightforward. Try it for free today and safeguard your critical mailbox data effectively.
A- All the email messages, along with calendar items, contacts, notes, & tasks, are stored in the mailbox associated with the Microsoft 365 group. Moreover, they are also stored in a user’s mailbox. Office 365 stores data in the cloud, so users can access it from anywhere & at any time. It is a secure way of storing data as it is backed up & protected by Microsoft’s data centers.
A- To backup a shared mailbox in office 365, you can use the eDiscovery tool to create a search & export the mailbox contents to a PST file. This method, however, does require appropriate permissions & administrative access.
A- Office 365 offers a cloud-based solution for managing your mailbox data. The process of storing your data is secure & seamless, with your information being asynchronously transferred via HTTPS to an Office 365 server. From there, the data is sent via HTTPS to a Mailbox server that resides in the relevant data center. This method ensures that your information is kept safe & that data transfer occurs quickly & efficiently.


The two processes are trustworthy and I have used them to take backup of my Office 365 data to Outlook PST. The best thing about third-party software is that it keeps the software hierarchical. I also appreciate the valuable contribution made by the customer support team.
It’s amazing to have that blog. Otherwise, restoring the data is impossible for me. I’m also grateful to the client support team, who give 100% all the time when I’m in trouble.
Taking backup is very important, because you never know when you need to recover your data. I am very thankful to you for providing such an excellent tool backup Office 365. It works very accurate and smooth (very easy to operate).