When an Administrator creates an Exchange Server account, it essentially establishes a mailbox accessible through Outlook, with its contents stored in an EDB (Exchange Database) file. This EDB file houses various mailbox elements, including emails, contacts, notes, sent items, deleted items, calendar/appointments, and more. However, in situations where the Exchange Server experiences downtime, all this data becomes inaccessible to the user.
This is where the utility of the Outlook OST (Offline Storage Table) file becomes evident. The OST file serves as a complete offline replica of the mailbox, allowing users not only to access their data but also to compose new emails. These newly composed emails, however, will remain pending until a connection with the Exchange Server is reestablished.
Given that the OST file contains an offline replica of your Exchange account, its significance for data safety cannot be overstated. If your OST file becomes corrupted, it can potentially have adverse effects on your business operations. This is where the Scanost tool proves invaluable in such situations. The Scanost tool can assess the data's integrity and attempt to repair any corruption present.
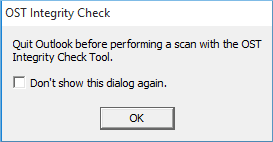
To use scanost.exe, it's crucial to ensure that all Outlook files, as well as the Outlook application itself, are closed. Once confirmed, you can launch scanost.exe to initiate the OST file recovery process. The tool will also prompt you to exit Outlook before commencing the scan using the OST Integrity Check Tool.
- STEP 1: After launching the application, Inbox Repair Tool window will display on user’s screen listing Outlook profiles created by user.
- STEP 2: Select the particular profile that carries corrupted OST file.
- STEP 3: Now, OST integrity check window will appear asking user to choose the folders or files to be scanned. Select the required folders.
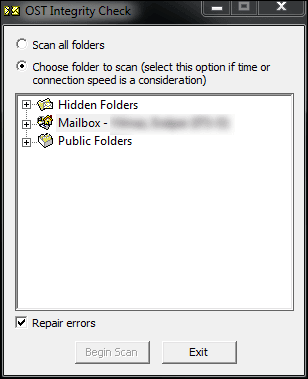
- STEP 4: Check the Repair errors checkbox below the window to repair the selected files and folders.
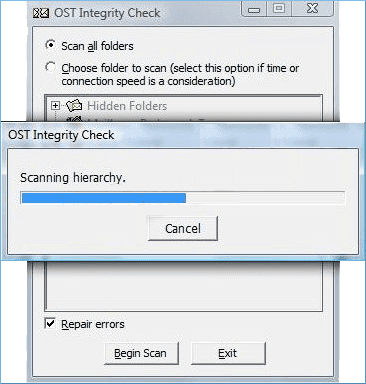
- STEP 5:Click the Begin Scan button to initiate scanning of chosen OST files.
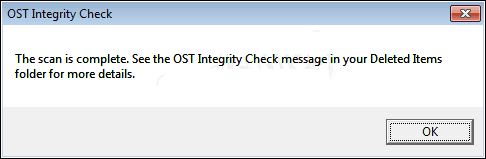
- STEP 6: Upon the completion of scanning procedure, user will receive a message on screen stating, “The scan is complete. See the OST Integrity Check message in your Deleted Items folder for more details.”
However, it's important to note that this method may not always yield successful results, as scanost.exe is primarily effective when file corruption is due to synchronization issues. Furthermore, it has a few additional drawbacks, including:
- Cannot work on severe corruption issues (hardware issues and software issues)
- Not incorporated in MS Outlook 2010 and later version to fix OST file issues
- May provide minimal output ins some synchronization issues
- Can affect the integrity of already corrupted OST files
To address the situations mentioned above, Microsoft experts recommend using a professional tool like Kernel for OST to PST Converter. When considering an external source for this purpose, it's advisable for users to assess its credibility by using the trial version, which can aid in making an informed decision. These third-party tools are designed to convert corrupted OST files into PST format, facilitating the recovery of lost data.