Read time 7 minutes
During the early ’90s, individuals lacked the convenience of preserving their photographs on digital storage devices like flash drives or memory cards. Instead, photographs were predominantly taken by professional photographers in their studios. During that era, cameras relied on rolls or negatives to capture images, which were subsequently developed into physical prints. These printed images were carefully stored in photo albums to be cherished by future generations. Nevertheless, printed photos had a limited lifespan, susceptible to fading, speckling, or cracking over time.
Thanks to digitalization technologies, we can now effortlessly capture high-resolution graphic images, securely store backups, and conveniently print images in customized file sizes and formats. Additionally, utilizing raster graphic editors such as Adobe Photoshop enables us to restore damaged photos to their original quality. Photoshop offers a wide range of format support and considered to be the best JPEG repair tool for windows systems.
In this article, we will explore key functionalities within Adobe Photoshop that can aid in the recovery and restoration of your aged photographs, even if they exhibit cracks or significant damage.
Adobe’s Photoshop stands out as a globally renowned solution for rectifying distorted images. This application, created and continually improved by Adobe, boasts a comprehensive set of features including noise reduction filters, Lab color mode, and an array of retouching and repair tools. These tools empower users to address issues such as pixel density, color and luminance reduction, and the correction of imperfections like spots, blemishes, and red-eye in their photographs.
Listed below are several common features and functionalities of Photoshop that can be employed to repair and enhance damaged or distorted images.
We will discuss all the above-mentioned features in a more detailed manner.
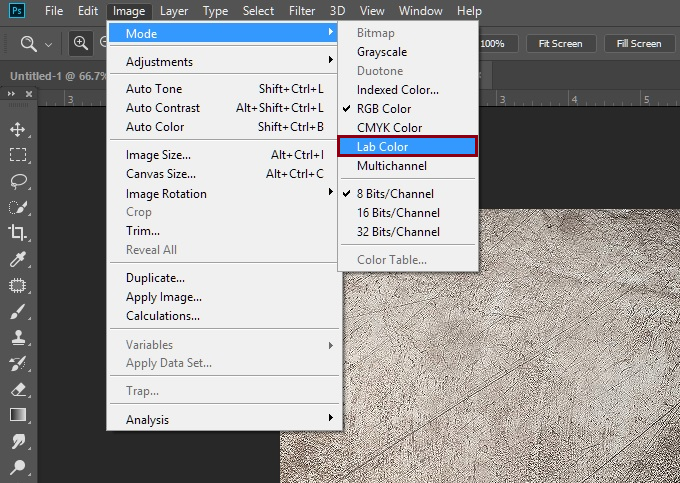
Similar to the color modes found in Photoshop, like RGB and CMYK, Lab Color Mode is a commonly utilized color model enabling users to define any desired color using numerical values across different channels.
The Lab Color Mode is meticulously crafted to mimic the way humans perceive color and contrast in real-world photographs. When you activate this mode, you gain the ability to address various issues that can disrupt the color harmony in your images, such as adjusting brightness and correcting colored anomalies like black, white, and gray spots.
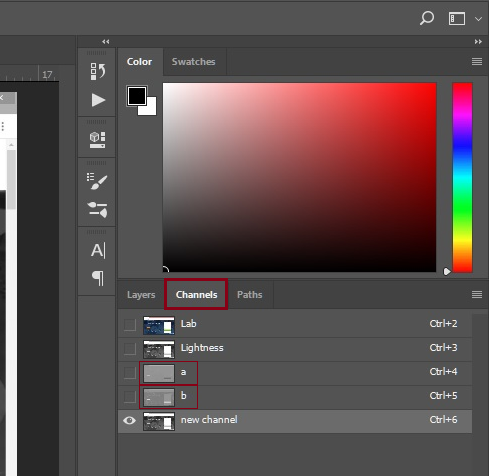
Here are the steps to activate Lab Color Mode in Photoshop, which will help you diminish luminance noise in your photos.
Adobe Photoshop comes equipped with a range of retouching and restoration tools that empower you to enhance the quality of your images and rectify imperfections in your aged or flawed photographs. These tools make it effortless to correct issues like red-eye, blemishes, and scratches, restoring your photos to their best possible state.
Professional photographers frequently employ this feature to elevate the quality of the photographs captured with their digital cameras.
Adobe Photoshop offers a range of notable retouching and repair tools, including the Healing Brush, Spot Healing Brush, Red Eye tool, Patch tool, Clone Stamp, and more.
Here, we’ll illustrate the application of a retouching tool to provide you with a clear grasp of its functionality.
Give the Healing Brush tool a try for smoothing out imperfections in your image file. Follow these steps to make the most of the Healing Brush tool in Photoshop.

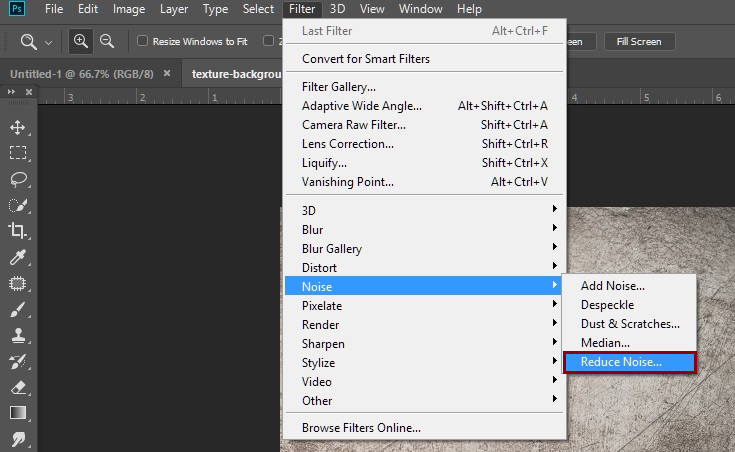
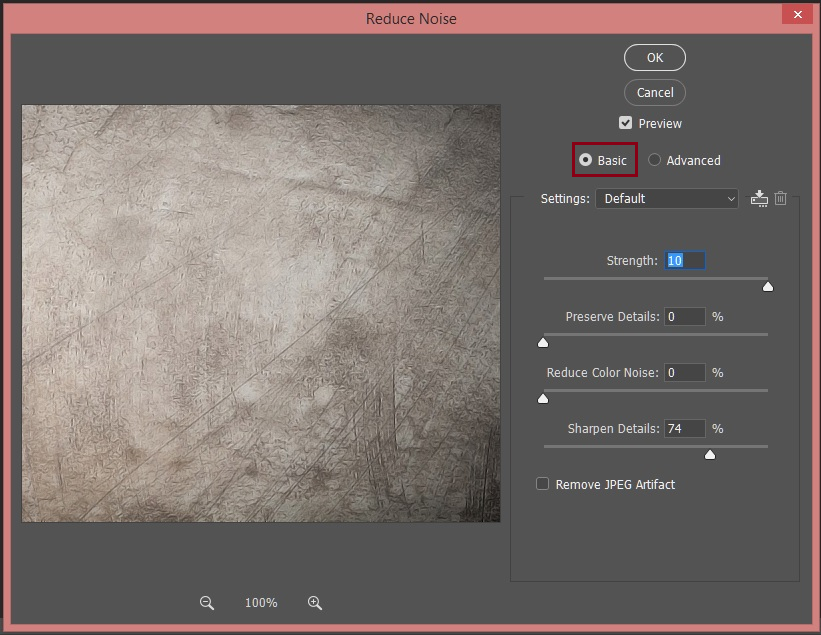
In Photoshop, the Noise Reduction feature erases imperfections like spots, grains, red dots, halos, shadows, luminance noise, banding, and more from your image files.
There are two modes in Adobe Photoshop designed for tweaking or minimizing image noise: the Basic mode and the Advanced mode. The basic mode often falls short of delivering the desired results, making it advisable to opt for the advanced approach. This not only helps in noise reduction but also addresses other glitches and disorientation in your images.
In order to use the Noise Reduction feature in Photoshop, follow the steps given below:
Should the source file become corrupted in the course of the process, or if you encounter a scenario in which the final image is compromised or damaged for any reason, how would you respond?
It’s not uncommon for image files to run into corruption issues. If you’ve got a backup of your source file, getting your data back is a breeze. However, if the corrupted image is the sole copy you’ve got, things get trickier. In those cases, your best bet is turning to third-party repair tools to mend the corruption in your images. Alternatively, for format-specific problems, you can explore free online methods to restore your image files. For instance, suppose you have an entire folder of corrupt JPEG files then you must seek resources in form of free methods to repair corrupt JPEG files.
Kernel Photo Repair tool is a popular alternative to repair corrupt and damaged photos. The tool is embedded with robust algorithms and is capable of restoring images irrespective of their file size and format.